Strawberry Yogurt Recipe

An Amateur Cook – Save Recipe

Save this recipe!

Get this recipe sent to your inbox, plus
new home-style recipes from An Amateur Cook every week.

This one started on a day when I wanted dessert… but didn’t want to commit to dessert.

You know what I mean. Not a full cake situation. Not something heavy that makes you question your life choices halfway through.

Just something light, cold, and a little sweet.

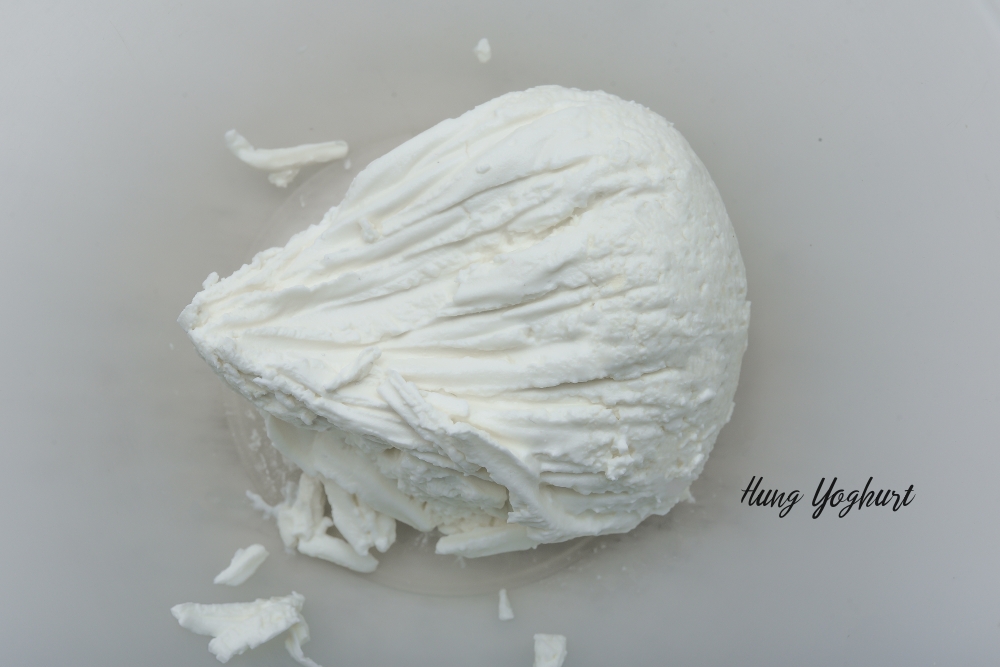
I had strawberries that were getting dangerously close to that “use me now or regret it” stage. And some yogurt sitting quietly in the fridge like it had no idea it was about to become dessert.

I didn’t have a plan. I just started mixing things together, hoping it would set into something.

A couple of hours later, I opened the fridge, grabbed a spoon, and took a bite…

And yeah. This one stuck.

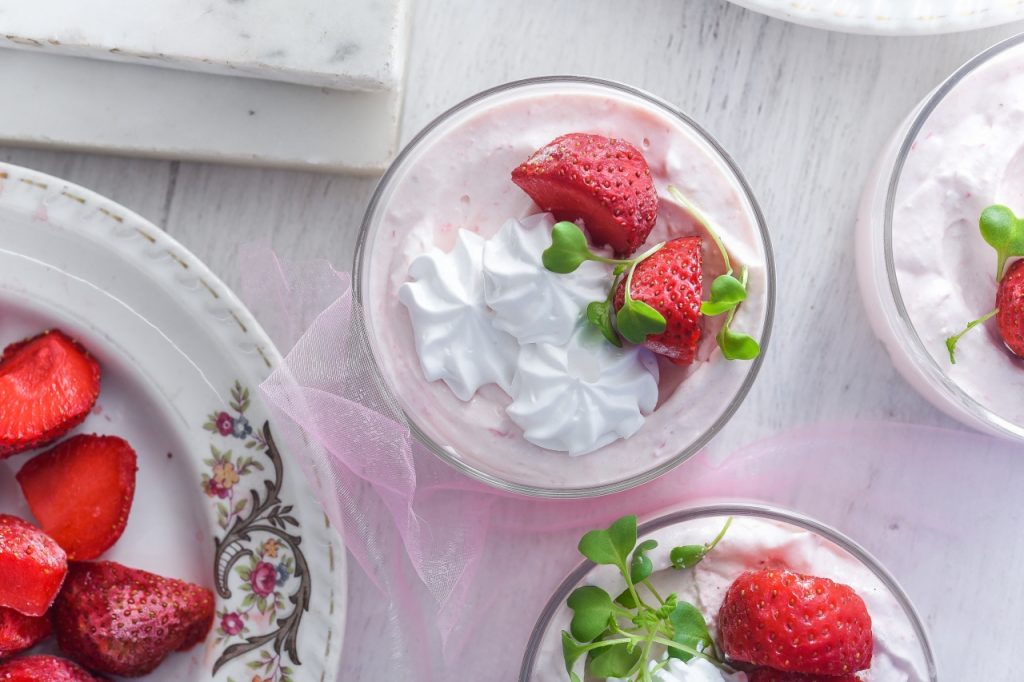
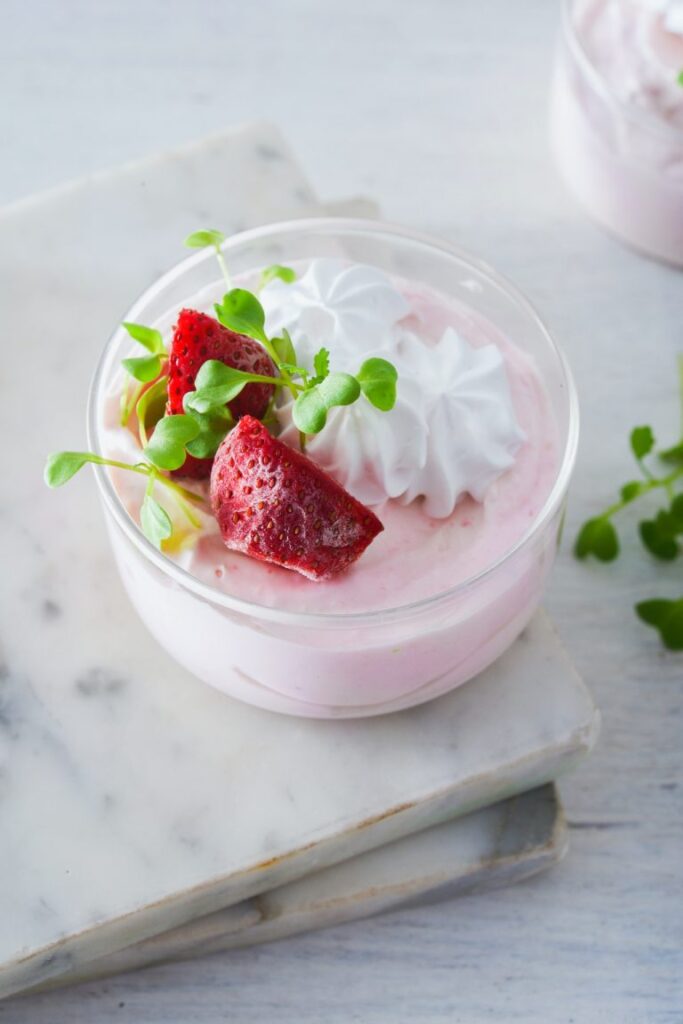
It’s creamy, fruity, a little airy, and feels like dessert without being too much. The kind of thing you eat and immediately think, I could have this again tomorrow.

Why I Keep Coming Back to It

  • Light but Satisfying: It feels like dessert without being heavy.
  • Fresh Flavor: Strawberries really shine here.
  • No Baking Needed: Which automatically makes it better.
  • Looks Fancy, Isn’t Fancy: It looks like effort. It’s not.
  • Perfect for Warm Days: Cold, creamy, refreshing.
  • Make-Ahead Friendly: It waits for you in the fridge.
  • Easy to Customize: Swap fruits, adjust sweetness.

Real-Life Cooking Notes from Ethan

  1. Don’t Skip Blooming Gelatin: Otherwise it won’t set properly.
  2. Warm, Don’t Boil: Gelatin just needs gentle heat.
  3. Use Ripe Strawberries: Makes a huge difference.
  4. Whip Cream to Soft Peaks: Too stiff makes it heavy.
  5. Fold Gently: Keeps it light and airy.
  6. Taste Before Setting: Adjust sugar if needed.
  7. Chill Long Enough: Give it at least a couple of hours.
  8. Use Clear Glasses (If You Have Them): It just looks nice.

Ingredients You’ll Need

  1. Full-Fat Yogurt: 200 ml
  2. Strawberries: 1 cup (plus extra for topping)
  3. Sugar: ¼ cup
  4. Gelatin: 7 g
  5. Milk: 30 ml
  6. Whipped Cream: 1½ cups
  7. Fresh Strawberry Slices: ½ cup
  8. Microgreens (Optional): 2 tbsp
  9. Extra Whipped Cream: ½ cup (for garnish)

How It Comes Together

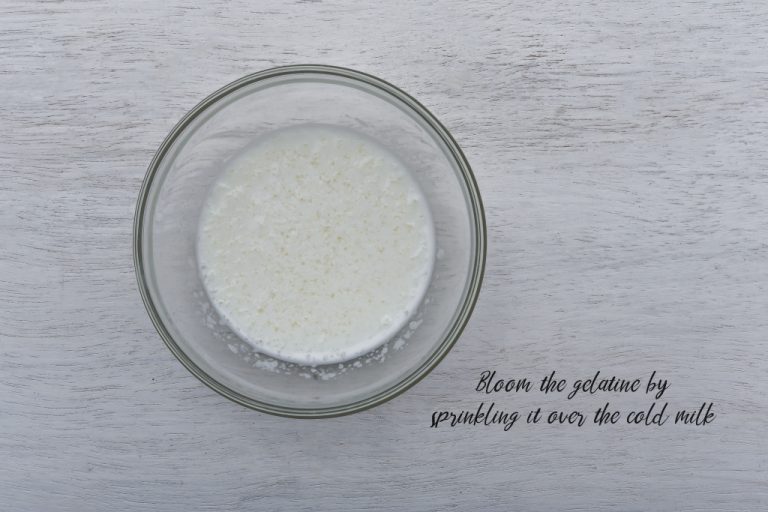
Bloom Gelatin: Sprinkle over water and let sit.

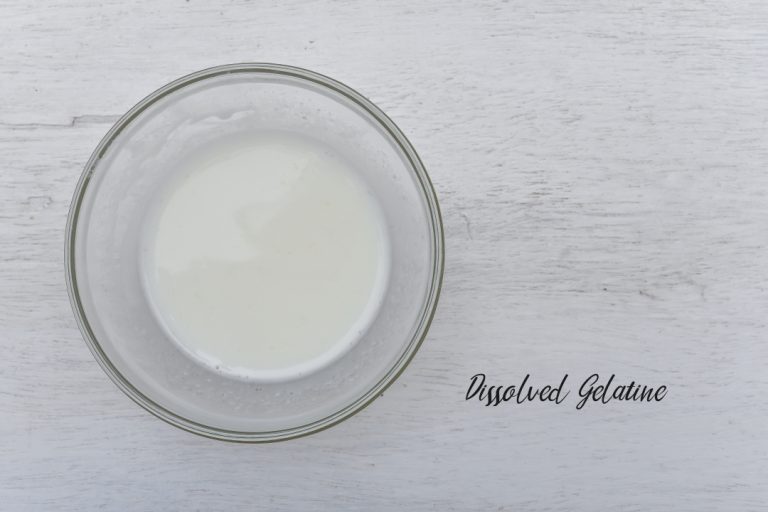
Dissolve Gelatin: Warm with milk until smooth.

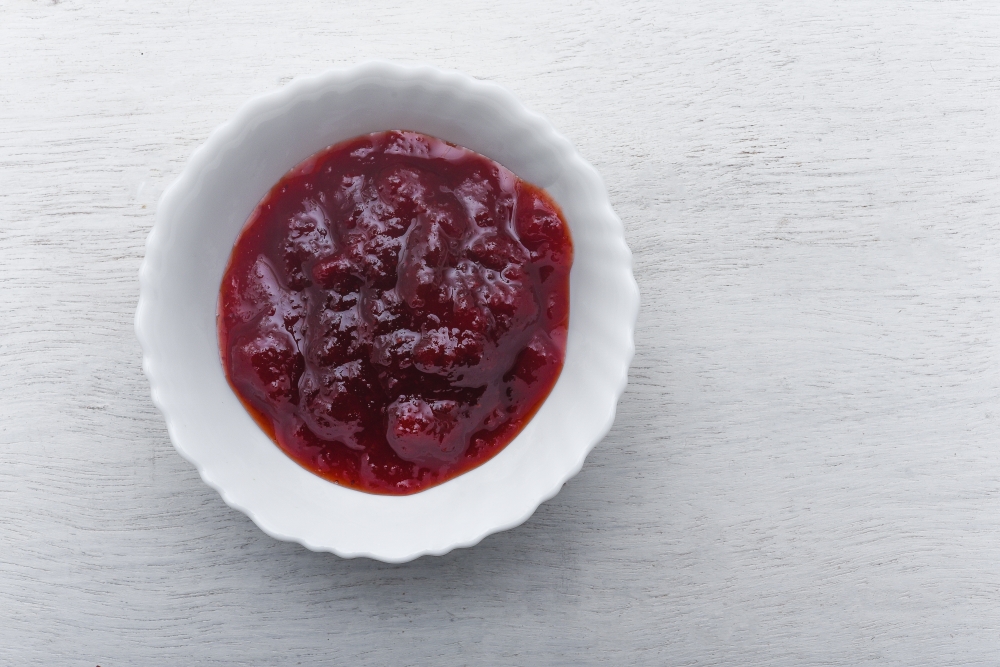
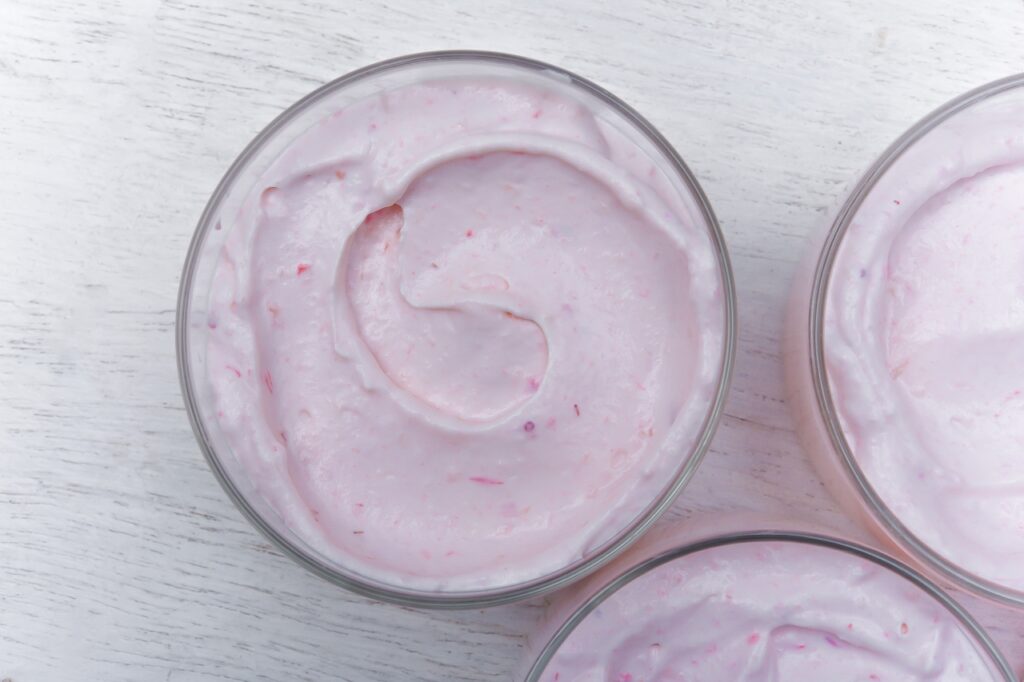
Blend Strawberries: Mix with sugar.

Combine with Yogurt: Whisk until smooth.

Add Gelatin Mixture: Stir gently.

Fold in Whipped Cream: Keep it light.

Pour into Containers: Evenly.

Chill: Refrigerate until set.

Variations You Will Enjoy Trying

  • Mango Version: Swap strawberries for mango.
  • Berry Mix: Use blueberries and raspberries.
  • Chocolate Twist: Add a little cocoa powder.
  • Honey Sweetened: Replace sugar with honey.
  • Citrus Touch: Add a bit of lemon zest.
  • Layered Dessert: Add biscuit crumbs at the bottom.

strawberry yogurt recipe

Light and creamy strawberry yogurt mousse, gently sweetened and set with gelatin, layered with fresh berries for a refreshing dessert.
Prep Time 20 minutes
Cook Time 20 minutes
Total Time 40 minutes
Servings: 6
Course: Dessert
Cuisine: european inspired
Calories: 220

Ingredients
  

  • 200 ml full-fat yogurt
  • 1 cup strawberries plus extra for topping
  • ¼ cup sugar
  • 7 g gelatin
  • 30 ml milk
  • cups whipped cream
  • ½ cup fresh strawberry slices
  • 2 tablespoons microgreens optional
  • ½ cup extra whipped cream for garnish

Equipment

  • Mixing bowls
  • Blender or food processor
  • Whisk
  • Small saucepan
  • Spatula
  • Serving glasses or containers
  • Measuring cups and spoons

Method
 

  1. Bloom Gelatin
  2. Sprinkle the gelatin over water and let it sit until it blooms.
  3. Dissolve Gelatin
  4. Gently warm the gelatin with milk until fully dissolved and smooth.
  5. Blend Strawberries
  6. Blend the strawberries with sugar until smooth.
  7. Combine with Yogurt
  8. Whisk the strawberry mixture with yogurt until well combined.
  9. Add Gelatin Mixture
  10. Stir the dissolved gelatin mixture into the yogurt mixture gently.
  11. Fold in Whipped Cream
  12. Carefully fold in the whipped cream to keep the texture light and airy.
  13. Pour into Containers
  14. Divide the mixture evenly into serving glasses or containers.
  15. Chill
  16. Refrigerate until fully set before serving.
  17. Course: Dessert
  18. Cuisine: European-inspired

Nutritional Snapshot (Per Serving)

NutrientAmount
Calories~220
Carbohydrates~18g
Fat~14g
Protein~5g

Storage and Leftover Tips

  • Refrigerate Only: Keeps well for 2–3 days.
  • Cover Properly: Prevents it from drying out.
  • Don’t Freeze: Texture won’t hold.
  • Add Toppings Later: Keeps them fresh.
  • Stirring Not Recommended: It breaks the set texture.

How I Like to Serve This Dish

  1. In Small Glasses: Makes it feel special.
  2. With Fresh Strawberries: Always.
  3. Extra Whipped Cream on Top: No regrets.
  4. A Few Mint Leaves: Adds freshness.
  5. Straight from the Fridge: Best when cold.

FAQs

  • Can I skip gelatin? It won’t set the same way.
  • Can I use agar-agar? Yes, with adjustments.
  • Is it very sweet? You can control the sugar.
  • Can I use frozen strawberries? Yes, thaw first.
  • What yogurt works best? Full-fat gives best texture.
  • Why didn’t mine set? Gelatin may not have dissolved properly.
  • Can I make it ahead? Yes, it’s perfect for that.
  • Can I make it vegan? Use plant yogurt and agar.

The Last Bite

This is the kind of dessert that doesn’t try too hard… and that’s exactly why it works.

It’s simple, a little soft, a little sweet, and just enough to make your day feel a bit better.

And honestly, those are the ones I keep coming back to.

Author Image

Ethan

I am a 28-year-old part-time barista, full-time vibe curator, and above all, an enthusiastic amateur cook living in Austin, Texas. .

Rate This Recipe

Thank you for rating! 🤍

Leave a Reply

Your email address will not be published. Required fields are marked *

Recipe Rating


PIN & SAVE

Follow on Pinterest

Craving more cozy, easy, and scroll-worthy recipes? Follow along and never lose a favorite again.

Follow Me on Pinterest →

You'll also love