Snickerdoodle Recipe

An Amateur Cook – Save Recipe

Save this recipe!

Get this recipe sent to your inbox, plus
new home-style recipes from An Amateur Cook every week.

I made these because I wanted cookies… but not chocolate chip cookies. I know, shocking. Felt like I needed to switch things up, pretend I had range.

Also, I had this random container of cinnamon sitting in my kitchen that I only ever use like twice a year. It was basically staring at me like, “Do something with me or admit you bought me for no reason.”

So I went with snickerdoodles. Mostly because the name makes me laugh a little every time I say it.

First batch? Slightly overbaked. Second batch? Way better. Third batch? I stopped counting because I kept eating them straight off the tray like I had zero self-control.

No regrets.

Why I Keep Making This Dish (Real Reasons)

  • Soft and Chewy Magic: These cookies stay soft in a way that feels almost suspicious.
  • Cinnamon Wins Every Time: That sweet, warm coating is doing a lot of work here.
  • Smells Like Comfort: Your whole kitchen smells like you’ve got your life together.
  • Easy to Throw Together: No complicated steps. Just mix, roll, bake, done.
  • Hard to Mess Up: Even the slightly overbaked ones still disappear fast.
  • No Fancy Ingredients: Everything is already in the kitchen most of the time.
  • Dangerously Snackable: I tell myself “just one” and immediately don’t listen.

Equipments Required

  1. Mixing bowls
  2. Stand mixer or hand mixer
  3. Measuring cups and spoons
  4. Cookie scoop or spoon
  5. Baking sheet
  6. Wire cooling rack

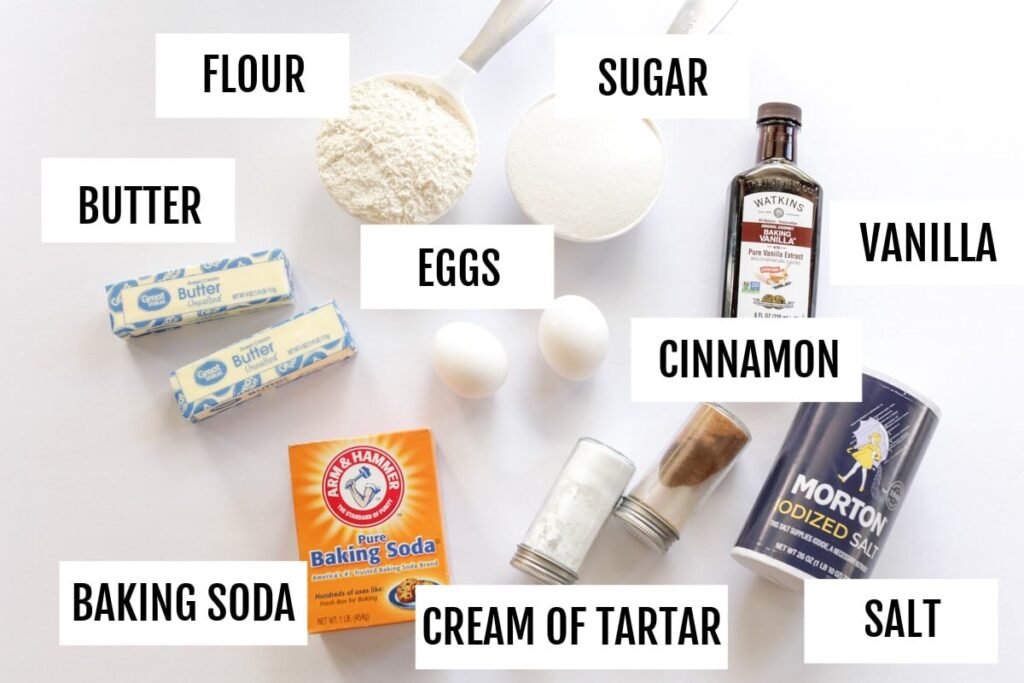
Ingredients Required

Snickerdoodle Dough

  1. 2¾ cups all-purpose flour
  2. 2 teaspoon cream of tartar
  3. 1 teaspoon baking soda
  4. ½ teaspoon salt
  5. 1 cup unsalted butter, just softened
  6. 1½ cups sugar
  7. 2 eggs
  8. 1 teaspoon vanilla extract

Cinnamon Sugar Coating

  1. ⅓ cup sugar
  2. 2 tablespoons cinnamon

Instructions

Step 1: Preheat oven: Set oven to 350°F. Try to actually remember this before you finish the dough.

Step 2: Mix dry ingredients: In a bowl, combine flour, cream of tartar, baking soda, and salt. Set aside.

Step 3: Cream butter and sugar: In a mixer, beat butter and sugar until smooth. Not melted, not cold. Somewhere in between.

Step 4: Add eggs and vanilla: Mix in eggs and vanilla until everything looks combined and slightly fluffy.

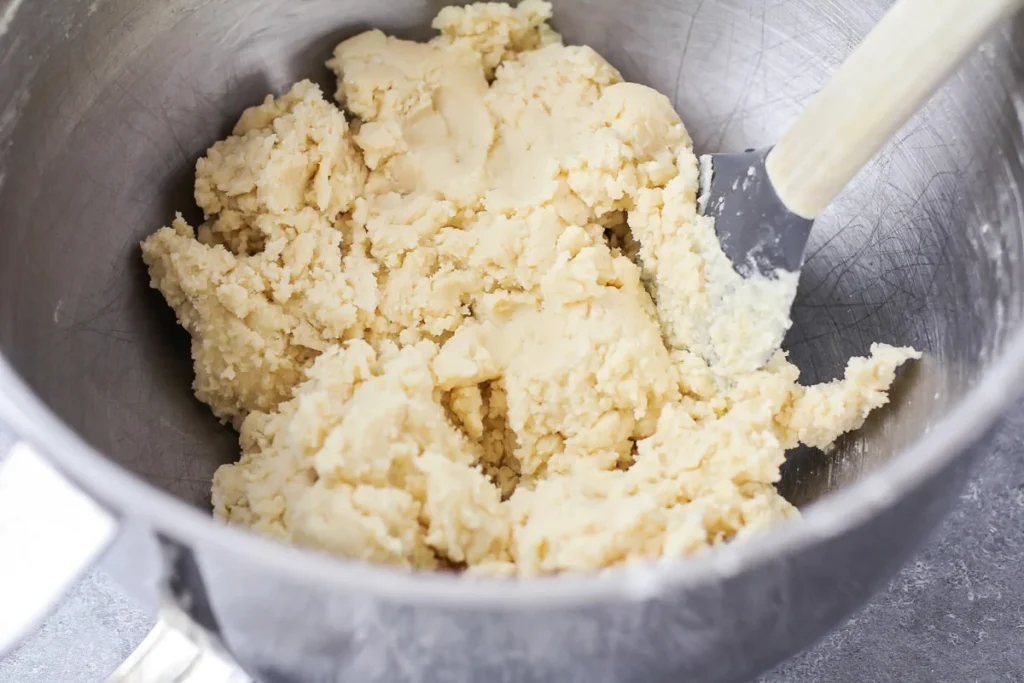
Step 5: Combine everything: Add dry ingredients to wet and mix until a dough forms. Try not to overmix.

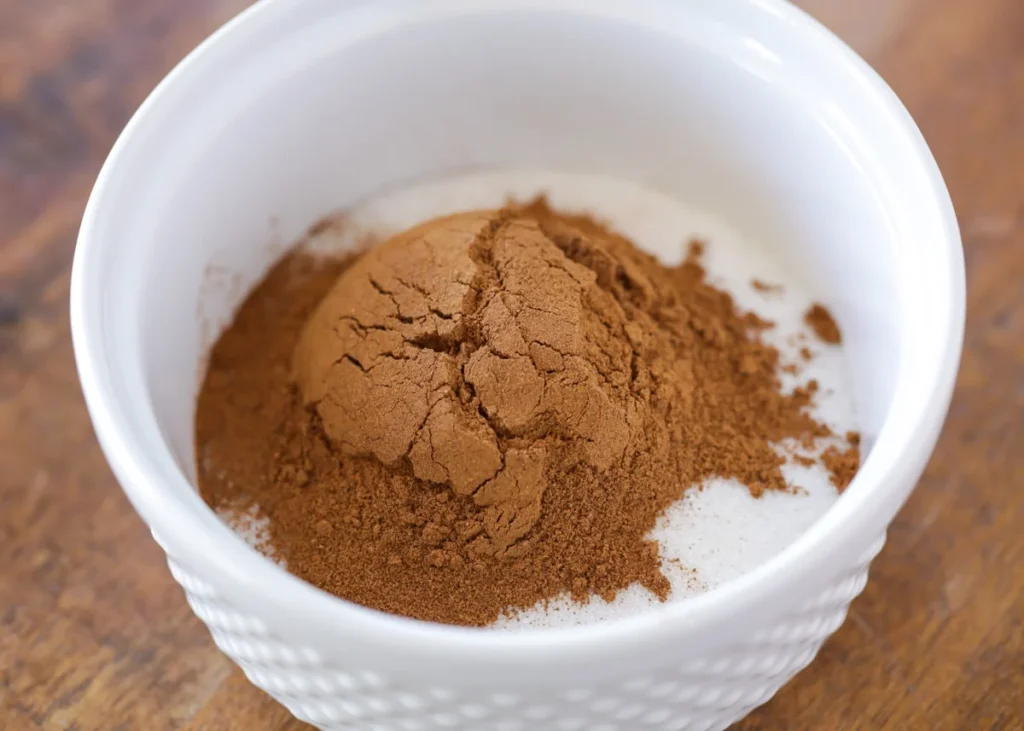
Step 6: Make cinnamon sugar: In a small bowl, mix sugar and cinnamon. This is the good part.

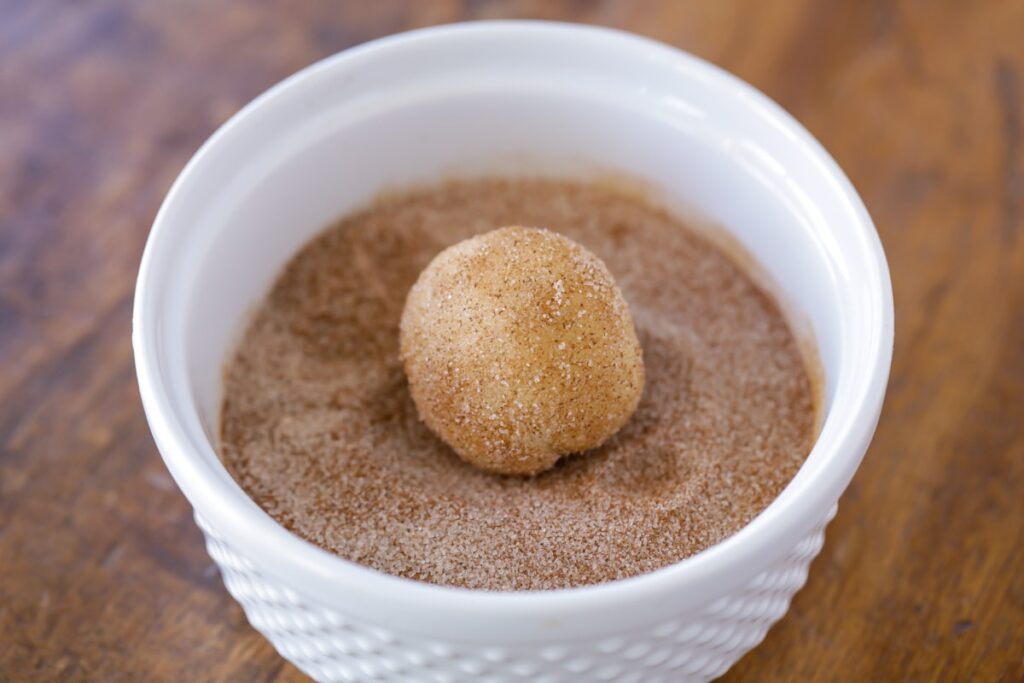
Step 7: Scoop and roll: Scoop dough, roll into balls, then roll each one in cinnamon sugar. Do it twice for extra coating. Worth it.

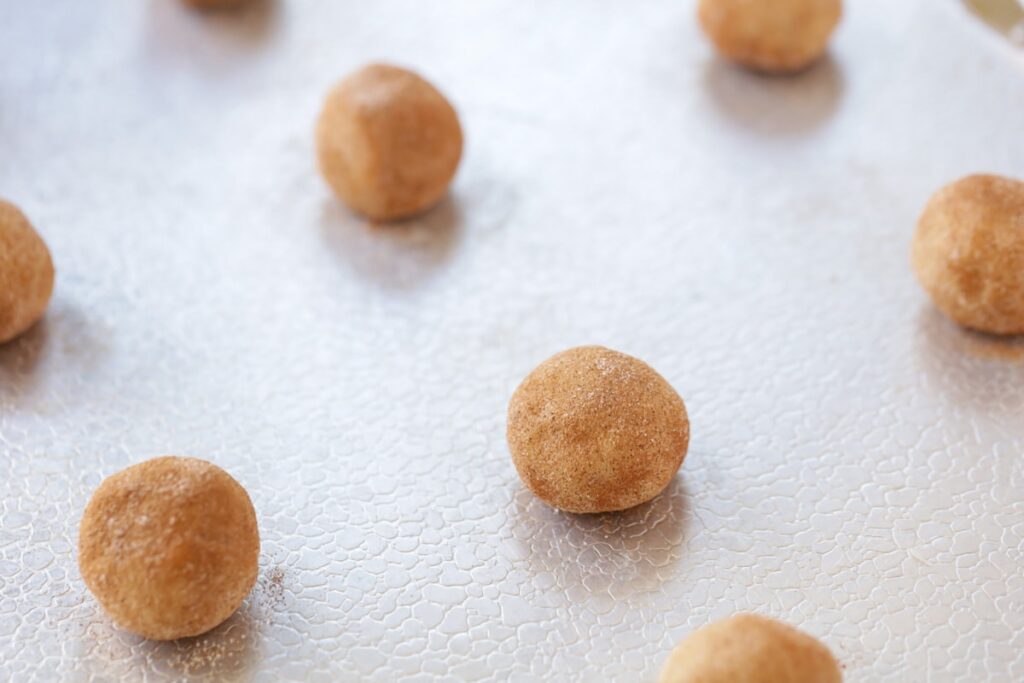
Step 8: Place on tray: Put cookies 2 inches apart on an ungreased baking sheet. They spread. Give them space.

Step 9: Bake: Bake for 8–10 minutes until edges are set but centers still look soft.

Step 10: Cool slightly: Let them sit on the tray for a few minutes before moving to a rack. Or eat one early and accept the consequences.

Tips I Learned the Hard Way

  1. Don’t Overbake: They firm up after baking. I learned this by making crunchy mistakes.
  2. Butter Temperature Matters: Too soft = flat cookies. Too cold = hard to mix. Balance is key.
  3. Double Roll the Dough: One coat is good. Two coats is better. Trust me.
  4. Give Them Space: I once crowded the tray. Ended up with one giant cookie situation.
  5. Watch the First Batch: It tells you everything about timing in your oven.
  6. Slightly Underbake: That’s how you get soft centers. Looks wrong, works right.
  7. Let Them Rest: They settle and get that perfect texture if you wait a bit.

snickerdoodle recipe

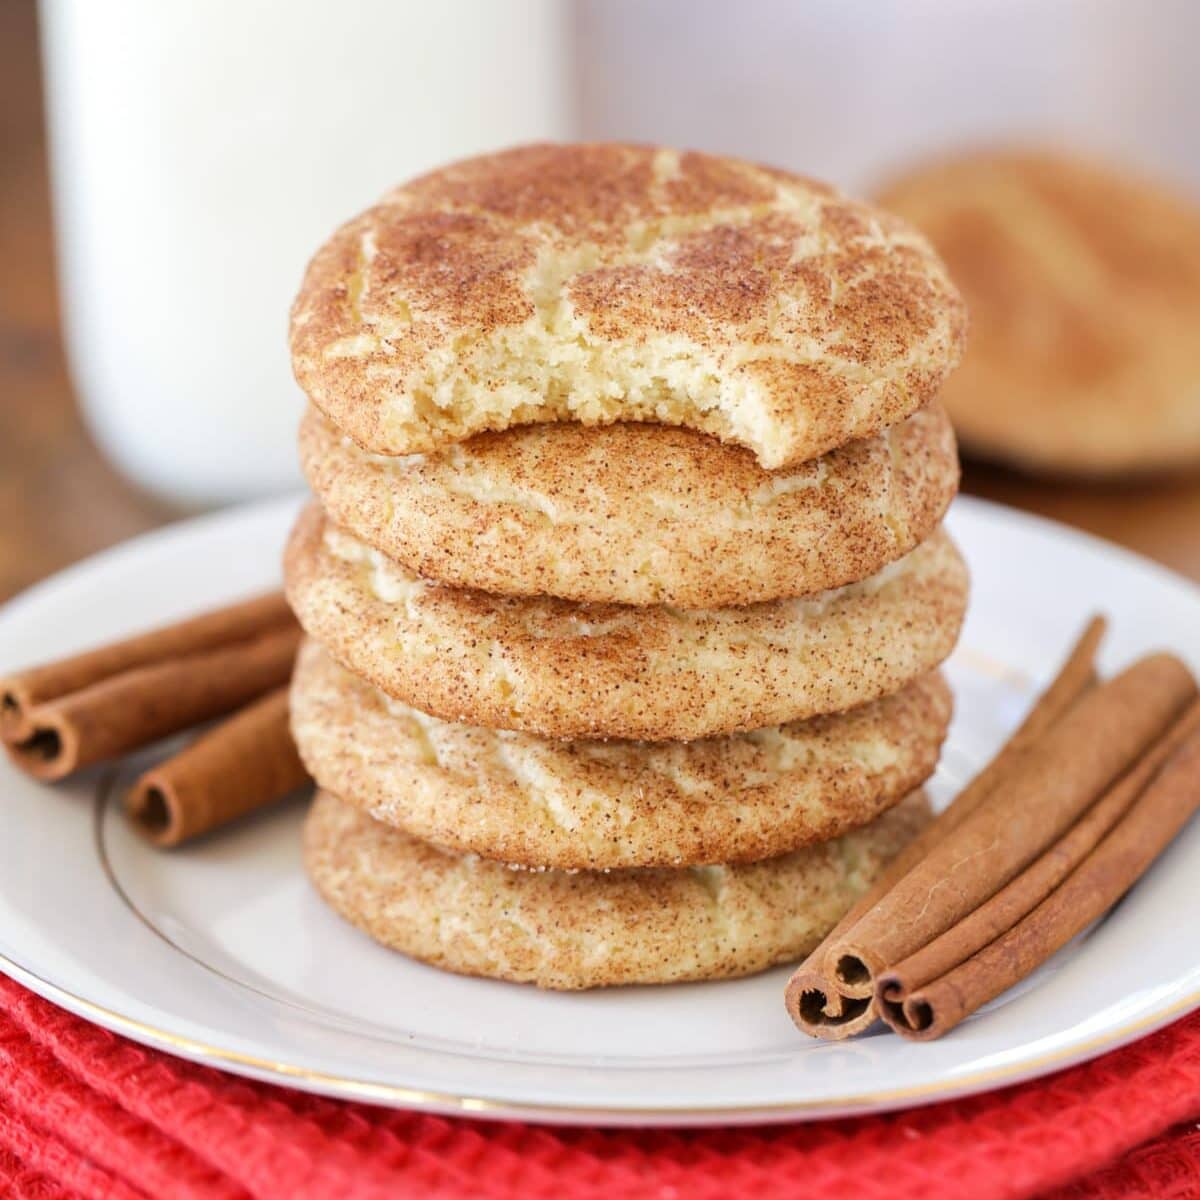
Soft, chewy snickerdoodle cookies coated in cinnamon sugar. Simple to make, full of cozy flavor, and dangerously easy to keep eating.

Prep Time 10 minutes
Cook Time 10 minutes
Total Time 20 minutes
Servings: 36
Course: Dessert
Cuisine: american classic
Calories: 125

Ingredients
  

  • Snickerdoodle Dough
  • cups all-purpose flour
  • 2 teaspoon cream of tartar
  • 1 teaspoon baking soda
  • ½ teaspoon salt
  • 1 cup unsalted butter just softened
  • cups sugar
  • 2 eggs
  • 1 teaspoon vanilla extract
  • Cinnamon Sugar Coating
  • cup sugar
  • 2 tablespoons cinnamon

Equipment

  • Mixing bowls
  • Stand mixer or hand mixer
  • Measuring cups and spoons
  • Cookie scoop or spoon
  • Baking sheet
  • Wire cooling rack

Method
 

  1. Step 1: Preheat oven: Set oven to 350°F. Try to actually remember this before you finish the dough.
  2. Step 2: Mix dry ingredients: In a bowl, combine flour, cream of tartar, baking soda, and salt. Set aside.
  3. Step 3: Cream butter and sugar: In a mixer, beat butter and sugar until smooth. Not melted, not cold. Somewhere in between.
  4. Step 4: Add eggs and vanilla: Mix in eggs and vanilla until everything looks combined and slightly fluffy.
  5. Step 5: Combine everything: Add dry ingredients to wet and mix until a dough forms. Try not to overmix.
  6. Step 6: Make cinnamon sugar: In a small bowl, mix sugar and cinnamon. This is the good part.
  7. Step 7: Scoop and roll: Scoop dough, roll into balls, then roll each one in cinnamon sugar. Do it twice for extra coating. Worth it.
  8. Step 8: Place on tray: Put cookies 2 inches apart on an ungreased baking sheet. They spread. Give them space.
  9. Step 9: Bake: Bake for 8–10 minutes until edges are set but centers still look soft.
  10. Step 10: Cool slightly: Let them sit on the tray for a few minutes before moving to a rack. Or eat one early and accept the consequences.

Variations You Can Mess Around With

  • Extra Cinnamon: Add more if you’re feeling bold. No one’s stopping you.
  • Stuffed Version: Put a little chocolate or caramel inside. Unexpected and amazing.
  • Pumpkin Twist: Add a bit of pumpkin puree for a fall vibe.
  • Mini Cookies: Smaller scoops, quicker baking, more pieces to eat.
  • Crunchy Version: Bake a little longer if you like crisp edges.
  • Sugar Swap: Try brown sugar for a deeper flavor.
  • Spice Mix: Add nutmeg or cloves for something different.

How I Like to Serve This

  1. Fresh Out of the Oven: Slightly warm, slightly too hot, totally worth it.
  2. With Coffee or Milk: Classic combo, no explanation needed.
  3. Late Night Snack: Quiet kitchen, one cookie… then another.
  4. With Friends: Put them out and watch them disappear.
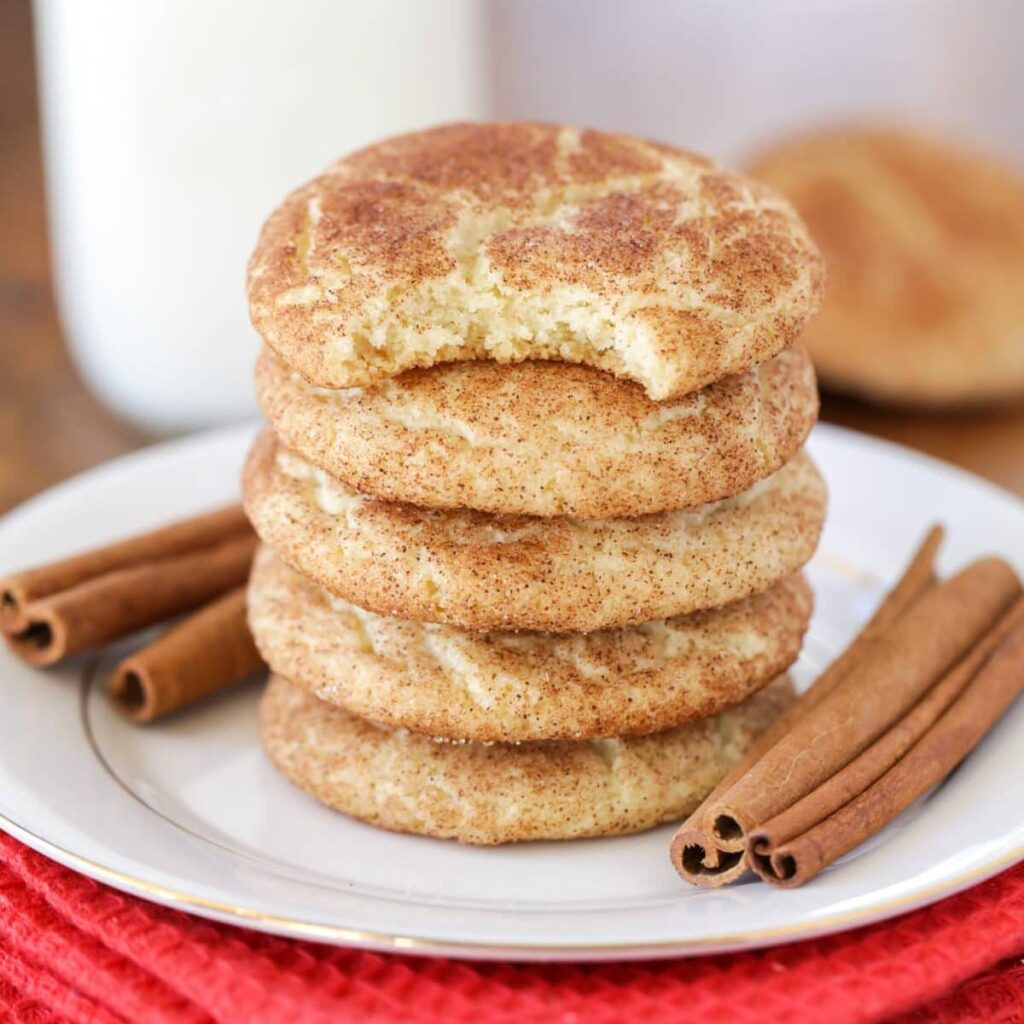
  5. Stacked High: Makes it look like you baked a lot. Which you probably did.
  6. Random Treat: No occasion needed. Cookies are the occasion.

Storage, Leftovers, and Next-Day Thoughts

  • Room Temp Storage: Keep in an airtight container for a few days.
  • Stay Soft: They hold their texture really well. Big win.
  • Reheat Option: Microwave for a few seconds to bring them back to life.
  • Freeze Dough: Roll into balls and freeze for future baking.
  • Baked Freezing: You can freeze baked cookies too.
  • Next-Day Taste: Still amazing. Maybe even better.

FAQs (Real Questions People Actually Ask)

  1. What does cream of tartar do?
    It gives that classic tangy flavor and chewy texture. Don’t skip it.
  2. Can I skip rolling in cinnamon sugar twice?
    You can… but you’ll miss out. Just do it.
  3. Why are my cookies flat?
    Butter too soft or dough too warm. Happens to the best of us.
  4. Can I chill the dough?
    Yes, and it helps control spreading.
  5. How do I know they’re done?
    Edges set, centers soft. They’ll firm up later.
  6. Can I make them ahead of time?
    Yes, dough or baked. Both work.
  7. Why are mine crunchy?
    Probably baked too long. I’ve been there.
  8. Can I make them smaller?
    Absolutely. Just reduce baking time.

The Last Bite

These are the kind of cookies that don’t try too hard but still end up being everyone’s favorite.

If they come out a little uneven or slightly overbaked, that just means they’re homemade. And honestly, that’s the whole point.

Author Image

Ethan

I am a 28-year-old part-time barista, full-time vibe curator, and above all, an enthusiastic amateur cook living in Austin, Texas. .

Rate This Recipe

Thank you for rating! 🤍

Leave a Reply

Your email address will not be published. Required fields are marked *

Recipe Rating


PIN & SAVE

Follow on Pinterest

Craving more cozy, easy, and scroll-worthy recipes? Follow along and never lose a favorite again.

Follow Me on Pinterest →

You'll also love