Mango cake Recipe

An Amateur Cook – Save Recipe

Save this recipe!

Get this recipe sent to your inbox, plus
new home-style recipes from An Amateur Cook every week.

I made this mango cake because I bought way too many mangoes and suddenly became the kind of person who says things like, “I should probably bake something.” Usually that sentence ends with me eating mango slices over the sink instead, but this time I committed.

The funny part is I wasn’t even aiming for cake at first. I was thinking smoothie. Then I saw flour in the cabinet and somehow my brain went, “Yes. Dessert journey.”

The first time I made this, I forgot to grease the pan properly. Half the cake came out beautifully. The other half stayed emotionally attached to the tin. Still tasted great though, which honestly feels like the theme of my cooking life.

Now this cake has become one of those comfort recipes I make when I want something homemade without creating seventeen dirty bowls and a personal crisis. It smells amazing, feels cozy, and somehow makes the kitchen feel calmer. Even when I’m standing there covered in flour wondering where I put the spatula two seconds ago.
Why I Keep Making This Dish

  • Hard to Ruin: I’ve messed up the timing, the mixing, and once almost forgot the sugar. Still edible. Still good.
  • Mango Does Most of the Work: The flavor carries the whole cake like a hero in a low-budget action movie.
  • Perfect Small Cake: Not every dessert needs to feed an entire neighborhood.
  • Tea-Time Champion: This cake plus hot tea makes regular afternoons feel strangely peaceful.
  • Smells Incredible: The mango and cardamom combo makes the kitchen smell like effort and happiness.
  • No Fancy Skills Needed: If you can stir things in a bowl without launching flour everywhere, you’re qualified.
  • Comfort Food Energy: Soft cake on a stressful day feels medically necessary sometimes.
  • Looks More Impressive Than It Is: People think this took serious baking talent. Let’s keep that mystery alive.

Equipments Required

  1. 4 inch X 4 inch cake tin
  2. Parchment paper
  3. Mixing bowls
  4. Whisk
  5. Spatula
  6. Sieve
  7. Oven
  8. Knife

Ingredients Required

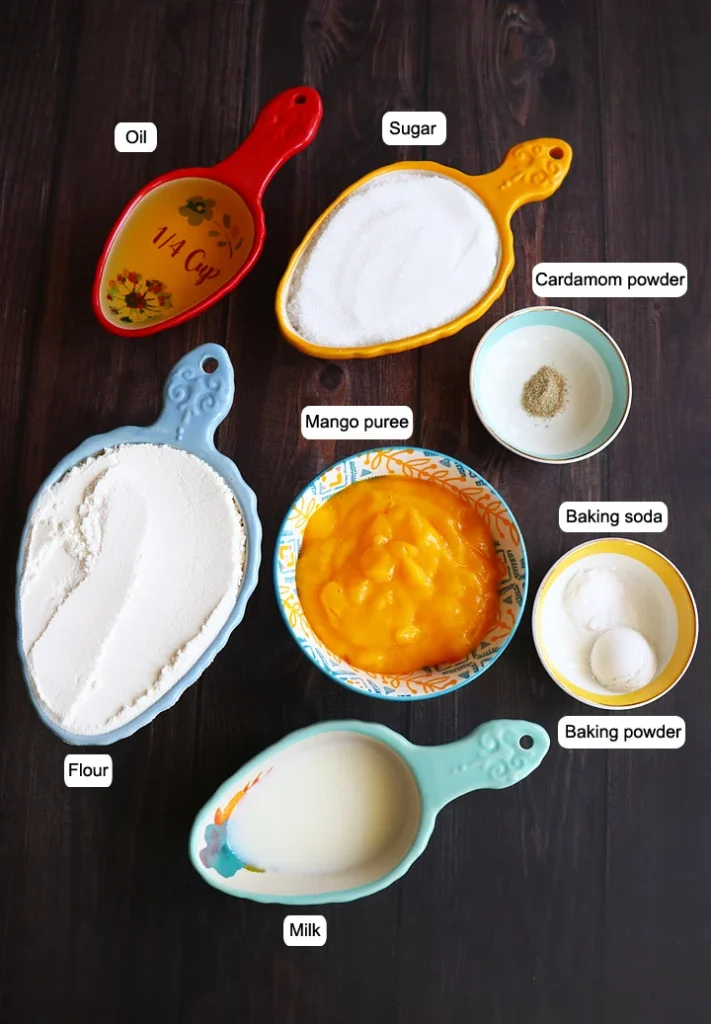
  1. 1 cup flour (maida)
  2. 1 teaspoon baking powder
  3. ¼ teaspoon baking soda
  4. ¼ teaspoon cardamom powder
  5. ½ cup + 2 tablespoon mango pulp
  6. ½ cup sugar
  7. ¼ cup oil
  8. ¼ cup milk

Instructions

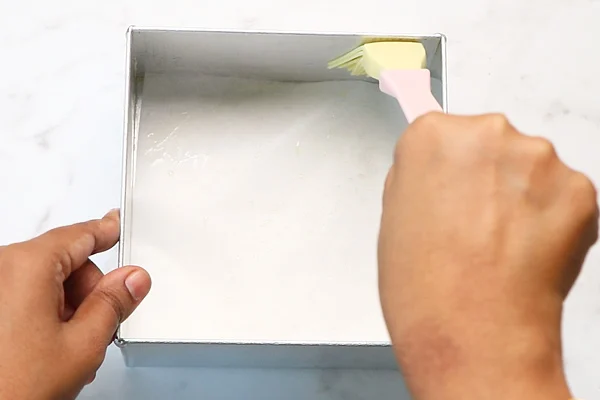
Prepare the Tin: Line a 4 inch X 4 inch cake tin with parchment paper and brush it lightly with oil.
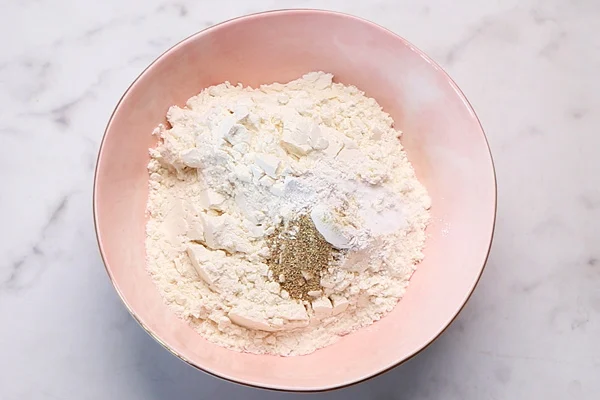
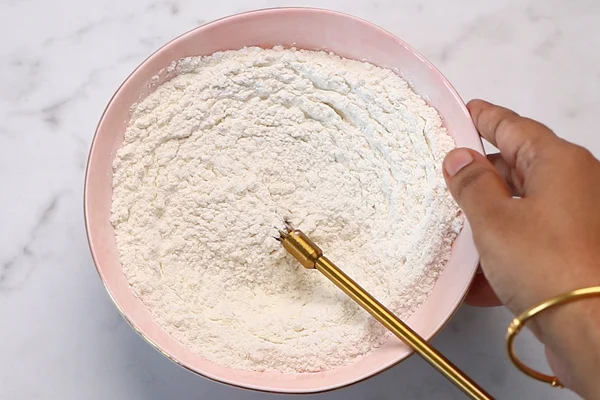
Mix Dry Ingredients: Add 1 cup maida, ¼ teaspoon cardamom powder, 1 teaspoon baking powder, and ¼ teaspoon baking soda to a bowl. Whisk well and set aside.
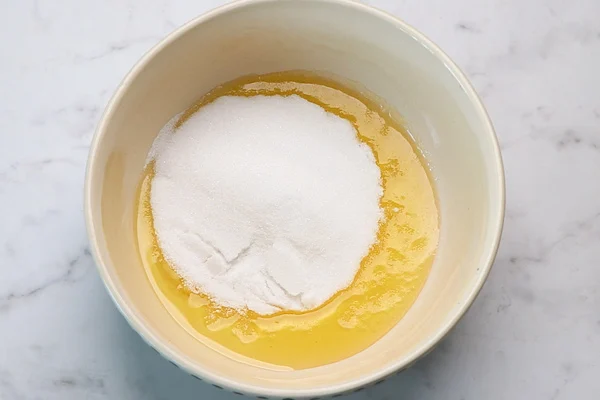
Start the Wet Mixture: In another bowl, add ¼ cup oil and ½ cup sugar. Whisk until combined.
Add Mango Pulp: Pour in ½ cup + 2 tablespoon mango pulp and whisk again until smooth.

Add Milk Slowly: Add the first ⅛ cup milk. Make sure the milk is boiled and cooled to room temperature. Mix well.

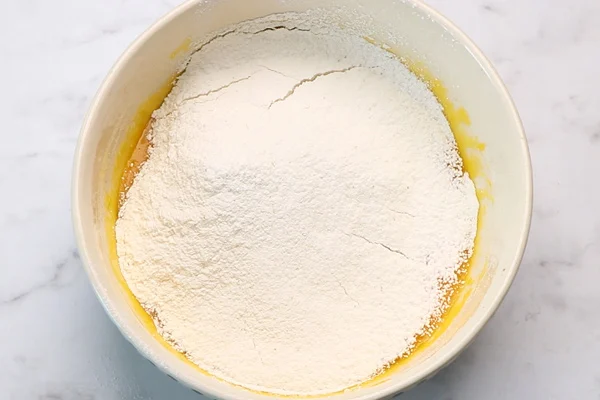
Sift the Flour Mixture: Place a sieve over the bowl and add the dry ingredients. Sieve into the wet mixture.

Fold the Batter: Mix gently using a spatula until no dry flour remains.

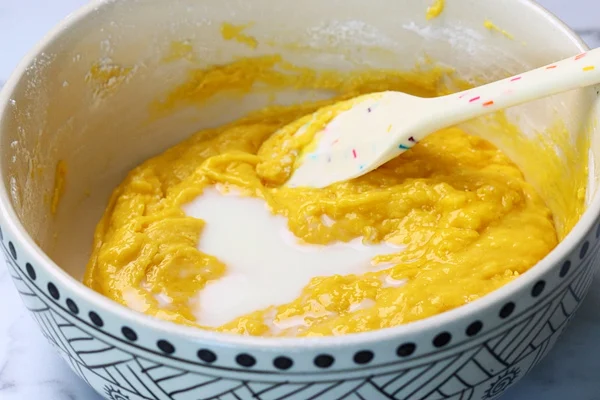
Add Remaining Milk: Add the remaining ⅛ cup milk and fold gently into a smooth batter without lumps.

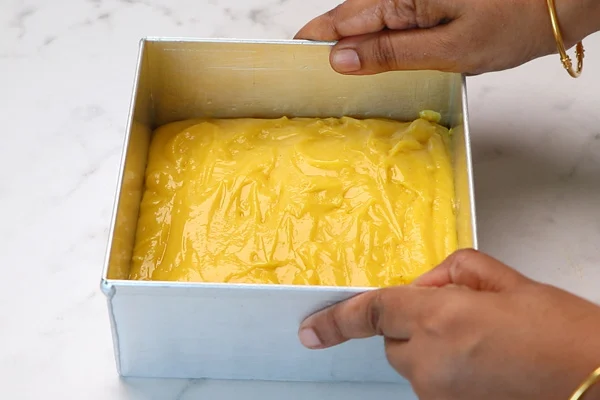
Transfer to Tin: Pour the batter into the prepared cake tin. Tap twice to remove air bubbles. I always forget this step until the very last second.

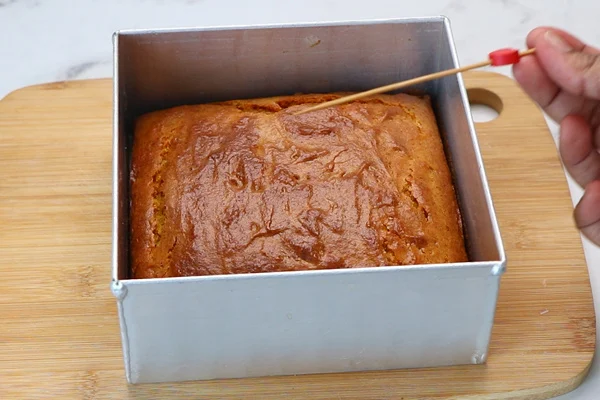
Bake the Cake: Bake in a preheated oven at 180 degrees C for 30 to 35 minutes. Insert a toothpick in the center. If it comes out sticky, bake another 3 to 5 minutes.

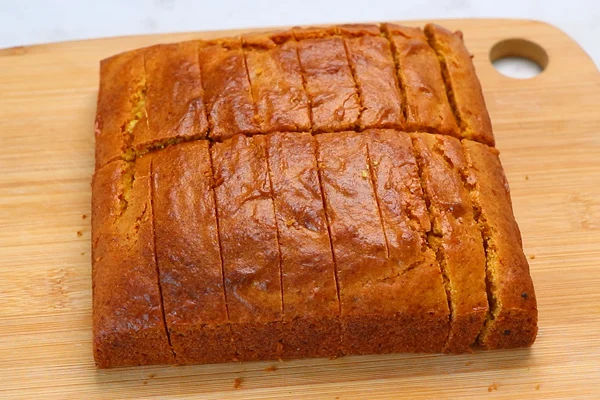
Cool and Demould: Let the cake cool in the tin for 5 to 10 minutes. Run a knife around the edges and carefully invert.

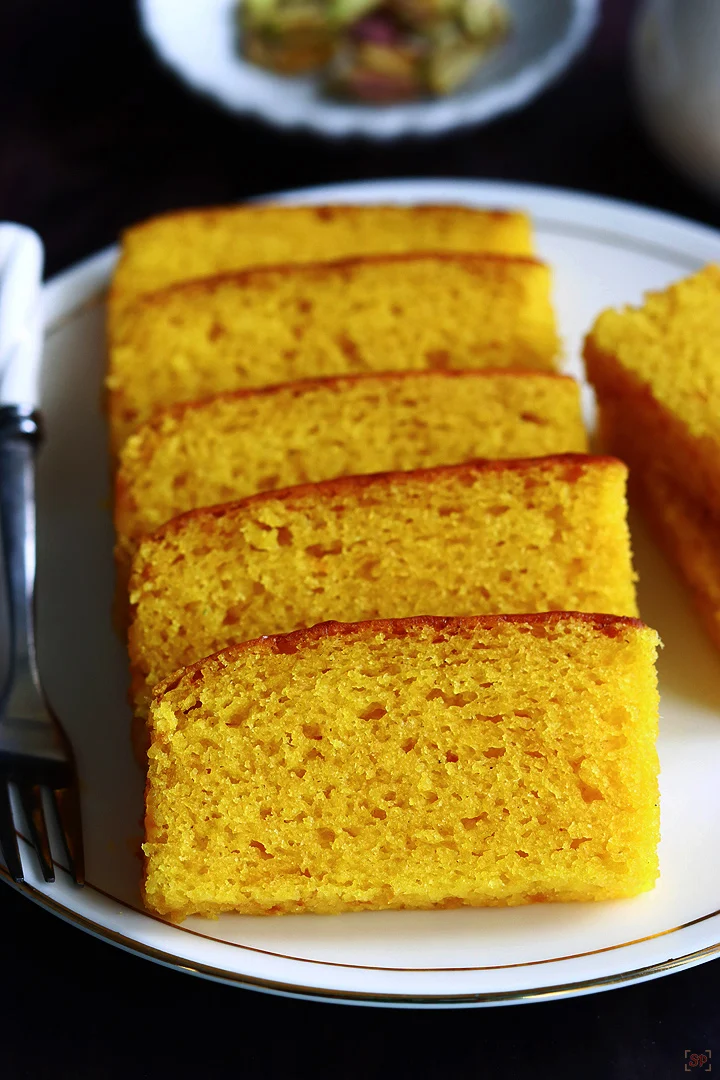
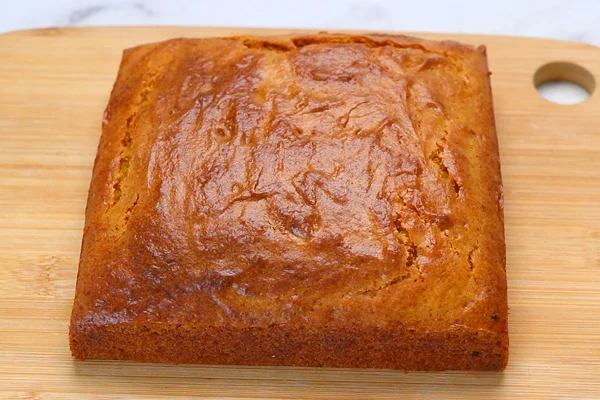
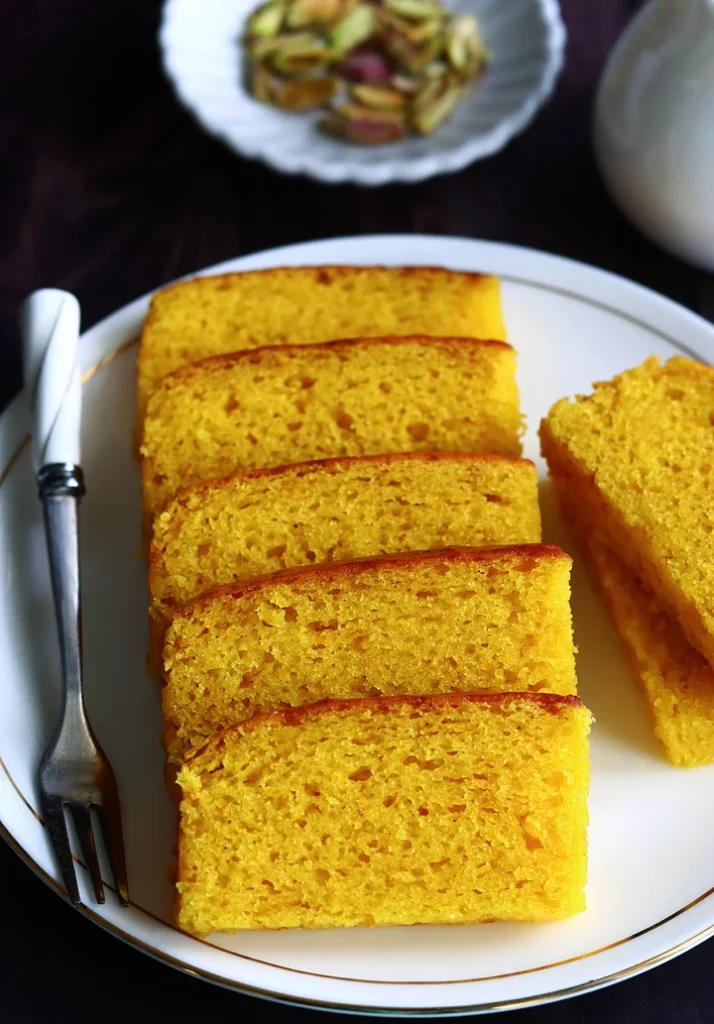
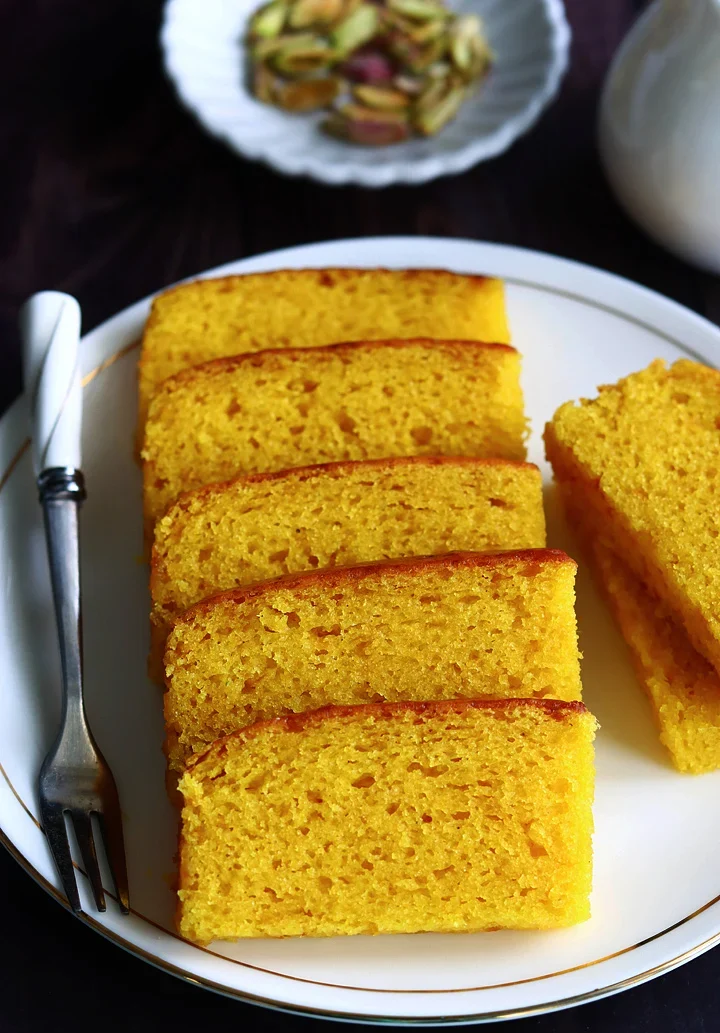
Serve: Soft delicious mango cake is ready. Try to let it cool before cutting it. I fail at this regularly.

Tips I Learned the Hard Way

  1. Grease the Pan Properly: Future-you will appreciate not scraping cake bits out with a spoon.
  2. Don’t Overmix: I used to mix batter like I was training for arm wrestling. The cake became dense and grumpy.
  3. Use Sweet Mangoes: Better mangoes make a better cake. Science probably agrees.
  4. Taste the Batter Carefully: Not too much though, unless you enjoy wondering why your cake suddenly got smaller.
  5. Room Temperature Milk Matters: Cold milk made my batter lumpy once. Not tragic, just annoying.
  6. Tap the Tin Twice: Tiny air bubbles can create weird tunnels inside the cake. Learned that surprise the hard way.
  7. Let It Cool Slightly: Hot cake falls apart fast. Delicious, but chaotic.
  8. Watch the Last Few Minutes: One extra minute can take it from soft cake to dry sadness.

mango cake recipe

Soft, fluffy mango cake made with simple pantry ingredients, sweet mango pulp, and warm cardamom flavor. Easy, comforting, and perfect for tea-time or relaxed weekend baking.
Prep Time 10 minutes
Cook Time 40 minutes
Total Time 50 minutes
Servings: 8
Course: Dessert
Cuisine: indian inspired
Calories: 210

Ingredients
  

  • 1 cup flour maida
  • 1 teaspoon baking powder
  • ¼ teaspoon baking soda
  • ¼ teaspoon cardamom powder
  • ½ cup + 2 tablespoon mango pulp
  • ½ cup sugar
  • ¼ cup oil
  • ¼ cup milk

Equipment

  • 4 inch X 4 inch cake tin
  • Parchment paper
  • Mixing bowls
  • Whisk
  • Spatula
  • Sieve
  • Oven
  • Knife

Method
 

  1. Prepare the Tin: Line a 4 inch X 4 inch cake tin with parchment paper and brush it lightly with oil.
  2. Mix Dry Ingredients: Add 1 cup maida, ¼ teaspoon cardamom powder, 1 teaspoon baking powder, and ¼ teaspoon baking soda to a bowl. Whisk well and set aside.
  3. Start the Wet Mixture: In another bowl, add ¼ cup oil and ½ cup sugar. Whisk until combined.
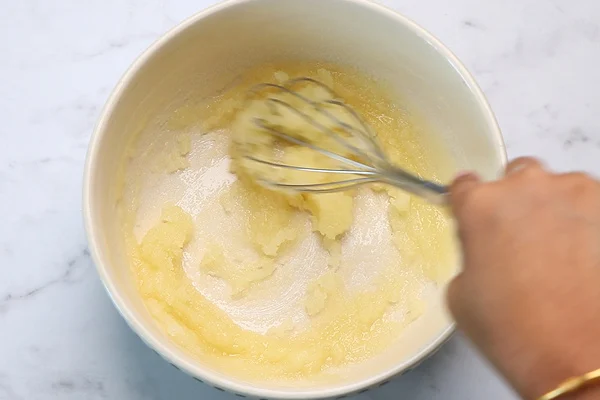
  4. Add Mango Pulp: Pour in ½ cup + 2 tablespoon mango pulp and whisk again until smooth.
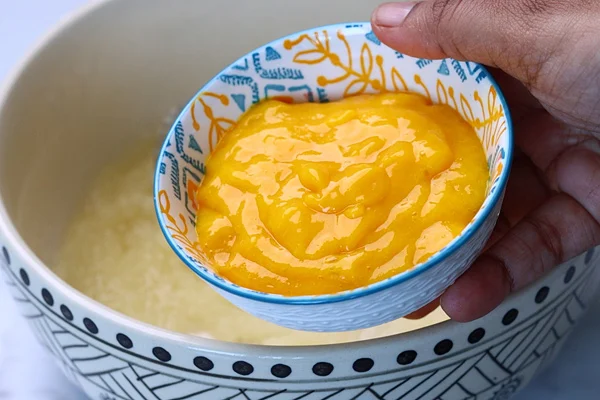
  5. Add Milk Slowly: Add the first ⅛ cup milk. Make sure the milk is boiled and cooled to room temperature. Mix well.
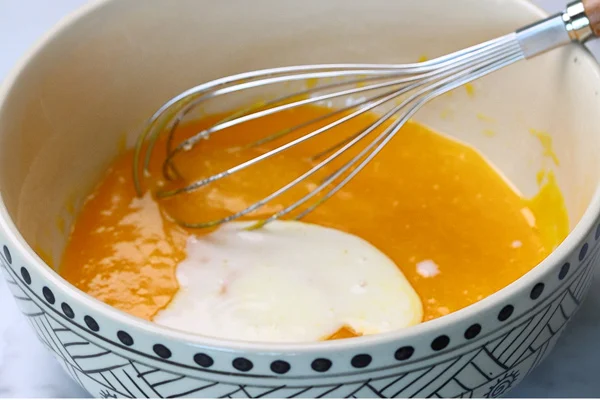
  6. Sift the Flour Mixture: Place a sieve over the bowl and add the dry ingredients. Sieve into the wet mixture.
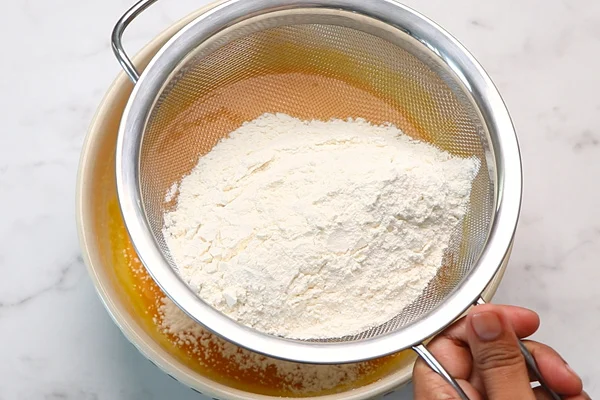
  7. Fold the Batter: Mix gently using a spatula until no dry flour remains.
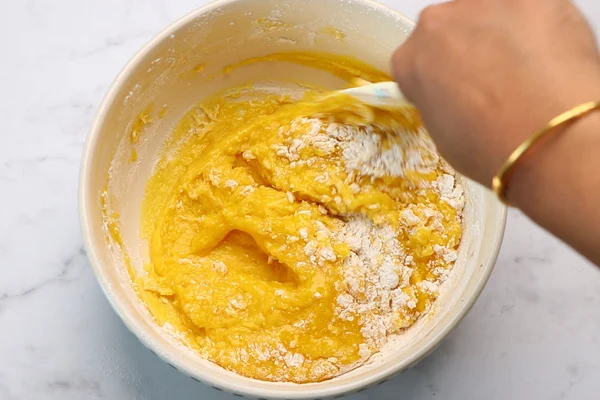
  8. Add Remaining Milk: Add the remaining ⅛ cup milk and fold gently into a smooth batter without lumps.
  9. Transfer to Tin: Pour the batter into the prepared cake tin. Tap twice to remove air bubbles. I always forget this step until the very last second.
  10. Bake the Cake: Bake in a preheated oven at 180 degrees C for 30 to 35 minutes. Insert a toothpick in the center. If it comes out sticky, bake another 3 to 5 minutes.
  11. Cool and Demould: Let the cake cool in the tin for 5 to 10 minutes. Run a knife around the edges and carefully invert.
  12. Serve: Soft delicious mango cake is ready. Try to let it cool before cutting it. I fail at this regularly.
Variations You Can Mess Around With

  • Nutty Version: Add chopped almonds or cashews for crunch.
  • Extra Mango Mood: Fold tiny mango chunks into the batter.
  • Vanilla Twist: A little vanilla extract gives bakery-style flavor.
  • Coconut Addition: Desiccated coconut works surprisingly well here.
  • Chocolate Experiment: Mini chocolate chips sound strange but honestly taste great.
  • Cupcake Style: Pour the batter into cupcake liners for easy snack versions.
  • Less Sweet Version: Reduce sugar slightly if your mangoes are already very sweet.
  • Spiced Up: Add a tiny pinch of cinnamon if you want cozy vibes.

How I Like to Serve This

  1. With Evening Tea: This cake was basically made for tea breaks.
  2. Cold From the Fridge: Weirdly good on hot afternoons.
  3. Late-Night Kitchen Snack: Standing near the fridge in silence counts as self-care sometimes.
  4. With Ice Cream: Warm cake plus vanilla ice cream feels unfairly good.
  5. Weekend Baking Mood: Perfect for slow weekends when you want dessert without drama.
  6. Friends Visiting: Looks impressive enough to make people think you planned ahead.
  7. Breakfast Pretending: Coffee plus cake equals breakfast in my world.

Storage, Leftovers, and Next-Day Thoughts

  • Fridge Friendly: Keeps well for 2 to 3 days in an airtight container.
  • Better the Next Day: The mango flavor gets deeper overnight somehow.
  • Microwave Carefully: A few seconds is enough. Too long turns it rubbery.
  • Cover It Well: Dry cake is heartbreaking and preventable.
  • Freezer Works Too: Slice it first for emergency dessert situations.
  • Cold Cake Hits Differently: Honestly one of my favorite ways to eat leftovers.

Nutritional Information (Approximate Per Serving)

NutrientAmount
Calories210 kcal
Carbohydrates30 g
Protein3 g
Fat9 g
Saturated Fat1 g
Sugar16 g
Fiber1 g
Sodium95 mg

Nutritional values are approximate and can vary depending on mango sweetness and ingredient brands.

FAQs (Real Questions People Actually Ask)

Can I use canned mango pulp?

Absolutely. I do it all the time when mangoes are expensive or disappointing.

What if I don’t have cardamom powder?

You can skip it, but it adds a really cozy flavor that makes the cake feel special.

Can I make this ahead of time?

Yep. Honestly, it tastes even better the next day.

Why did my cake sink?

Usually underbaking. Or opening the oven early because curiosity won.

Is the batter supposed to be thick?

Yes, but it should still fold smoothly without fighting you.

Can I double the recipe?

Definitely. Just use a larger cake tin and adjust baking time.

Can I freeze it?

Yes. Wrap slices individually and freeze for easy future cake happiness.

What if my cake sticks to the pan?

Welcome to my early baking era. Use parchment paper and grease the tin properly next time.

The Last Bite

I like recipes like this because they don’t care if everything goes perfectly. Sometimes the cake cracks. Sometimes you forget a step and panic halfway through. Somehow it still works out.

That’s kind of why I keep baking in the first place.

Author Image

Ethan

I am a 28-year-old part-time barista, full-time vibe curator, and above all, an enthusiastic amateur cook living in Austin, Texas. .

Rate This Recipe

Thank you for rating! 🤍

Leave a Reply

Your email address will not be published. Required fields are marked *

Recipe Rating


PIN & SAVE

Follow on Pinterest

Craving more cozy, easy, and scroll-worthy recipes? Follow along and never lose a favorite again.

Follow Me on Pinterest →

You'll also love