Get this recipe sent to your inbox, plus
new home-style recipes from An Amateur Cook every week.
Gluten-free bread and I did not start out as friends.
The first few loaves I tried making were… humbling. Dense bricks. Gummy centers. One loaf that somehow managed to be dry and sticky at the same time. I remember standing at the counter, knife in hand, thinking, how is this so hard?
This loaf came out of pure stubbornness. I wanted a gluten-free bread that felt normal. Not perfect. Not bakery-level impressive. Just something you could toast in the morning without feeling like you were chewing on disappointment.
One quiet afternoon, I gave it another go. No fancy expectations. I followed the basics, trusted the batter-looking dough, and crossed my fingers. When it came out of the oven golden and light, I actually laughed. It smelled like real bread. It sliced without crumbling. It toasted. That’s when I knew this one was staying.
Now this is the loaf I make when I want gluten-free bread that fits into real life, not just special occasions.
Table of Contents
Why I Cannot Stop Making It?
It Actually Feels Like Bread: Soft inside, lightly crisp outside, not a sad substitute.
No Complicated Steps: Mix, rise, bake. That’s it.
Beginner Friendly: You don’t need to be confident with yeast to pull this off.
Reliable Results: It turns out the same every time, which feels like a gift.
Great for Toast: This bread shines once it hits the toaster.
Naturally Dairy-Free: One less thing to worry about.
Good for Everyday Use: Sandwiches, toast, snacks, all covered.
Tips You Must Know Before You Start!
Choose Your Flour Wisely: Not all gluten-free flours behave the same. Some are better for yeast baking than others.
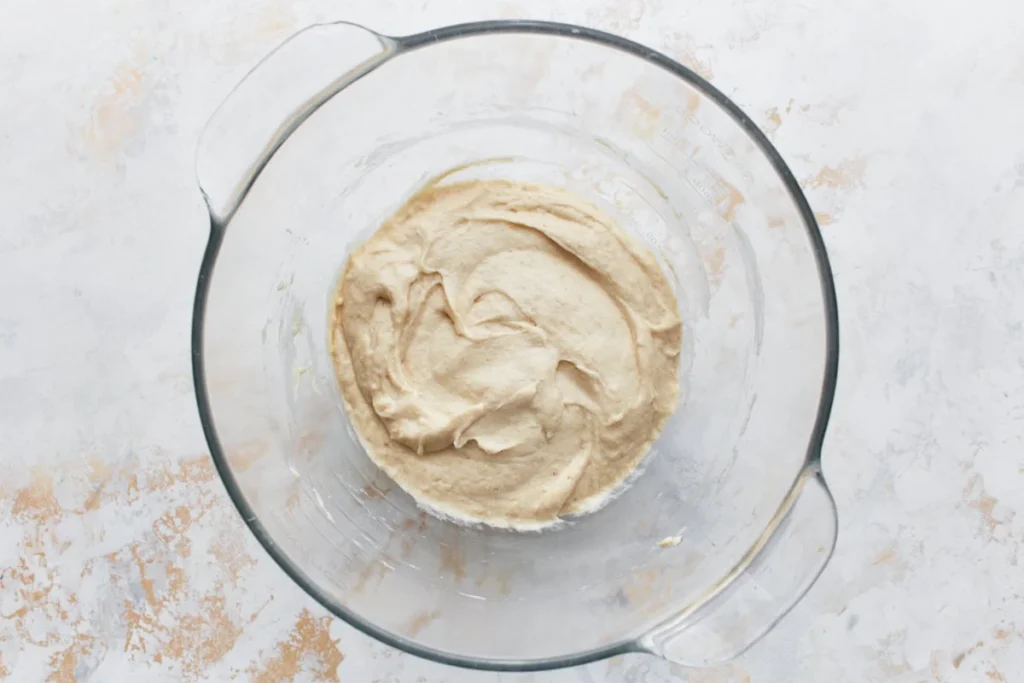
Batter Is Normal: This dough should look like thick cake batter, not kneadable dough.
Warm Water Matters: Think warm tap water, not hot. Too hot will mess with the yeast.
Use the Paddle, Not the Hook: This is mixing, not kneading.
Don’t Skip the Rise: That 30 minutes helps give the loaf lightness.
Middle Rack Only: Baking too high or too low can mess with the texture.
Cool It Out of the Pan: Letting it sit too long in the pan can make the bottom soggy.
How to Make This Gluten-Free Bread?
Ingredients
2 1/2 cups all-purpose gluten-free flour
1 teaspoons xanthan gum leave out if your flour already has it in it
1/4 cup honey You can use agave nectar or maple syrup.
1 teaspoon apple cider vinegar
1 1/2 cups warm water 100-110°F
3 egg whites from large eggs and room temperature**
1 teaspoon salt
Equipments
9×5-inch loaf pan or 9×4-inch small Pullman loaf pan (recommended)
Gluten-free cooking spray
Stand mixer with paddle attachment or hand mixer
Large mixing bowl
Measuring cups and spoons
Plastic wrap
Clean kitchen towel
Cooling rack
Serrated bread knife
Instructions
Step 1: Start by spraying your loaf pan well with gluten-free cooking spray. Move the oven rack to the middle position and preheat your oven to 350°F (175°C).
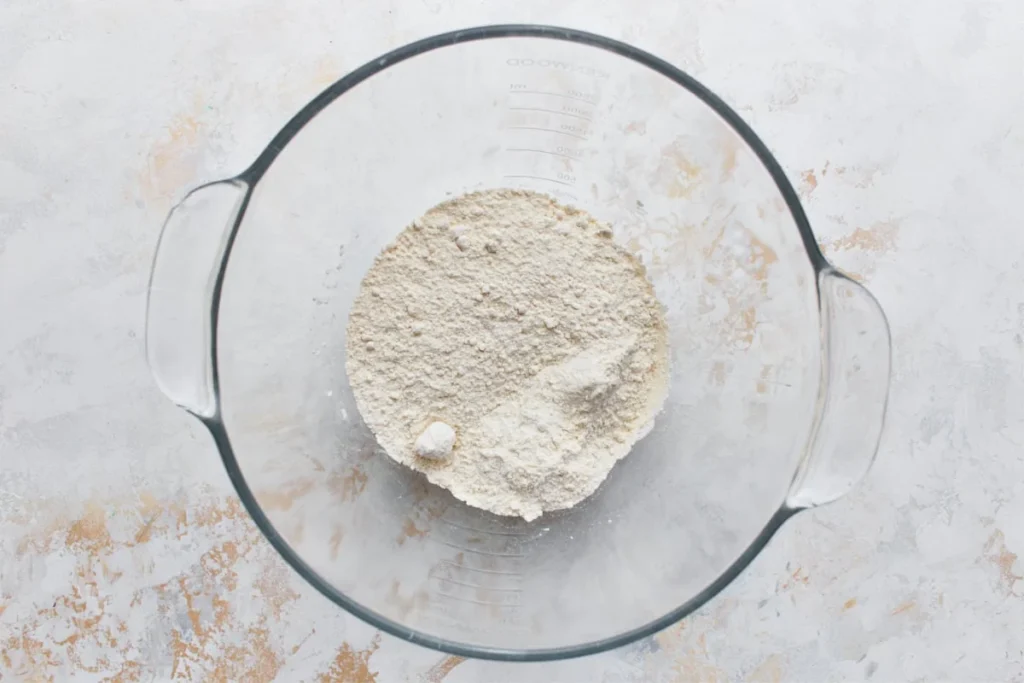
Step 2: In a large bowl, mix together the gluten-free flour, baking powder, yeast, and xanthan gum (if your flour doesn’t already include it).
Step 3: Add the olive oil, honey, apple cider vinegar, and warm water. Mix on low speed for 1 minute using a paddle attachment not a dough hook. This dough won’t look like traditional bread dough.
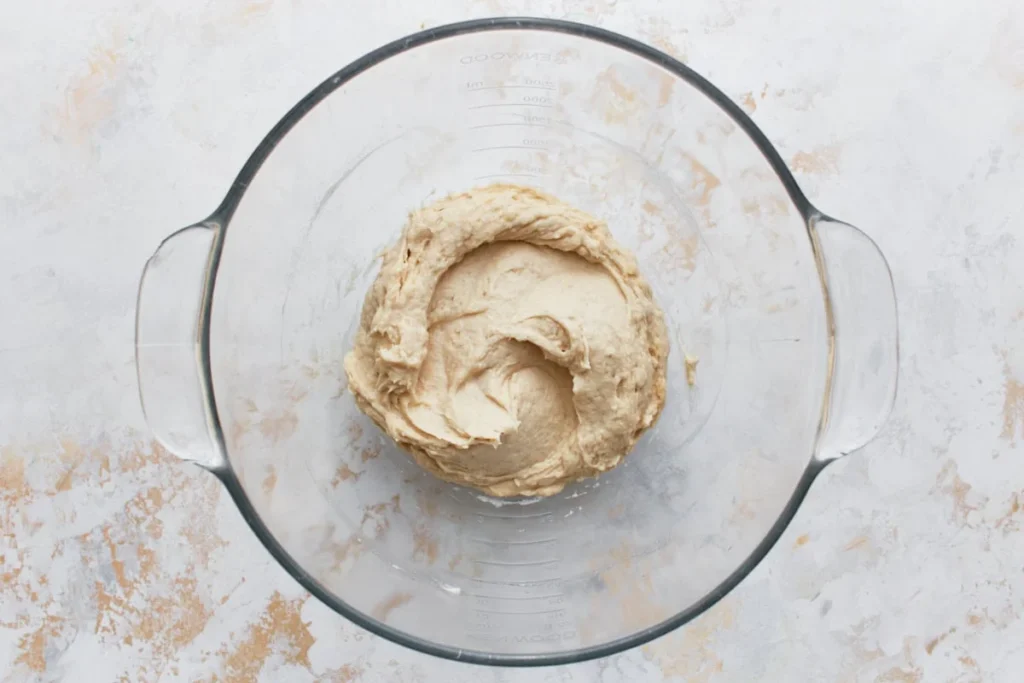
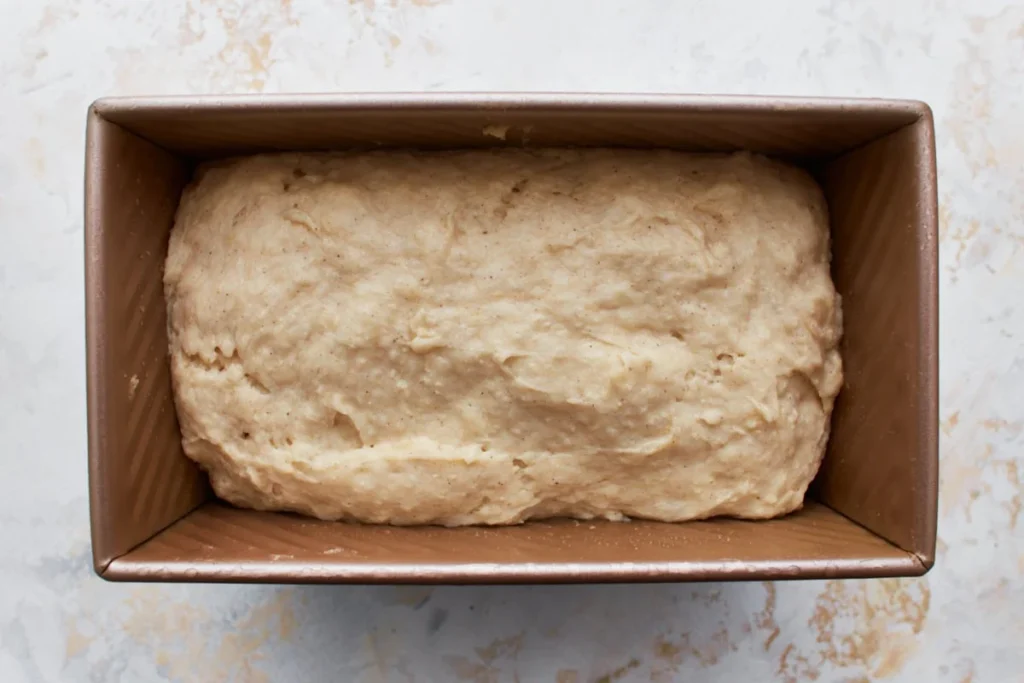
Step 4: Add the egg whites and salt, then mix on medium speed for another minute. The mixture should look like a thick cake batter, not something you can knead—and that’s exactly right.
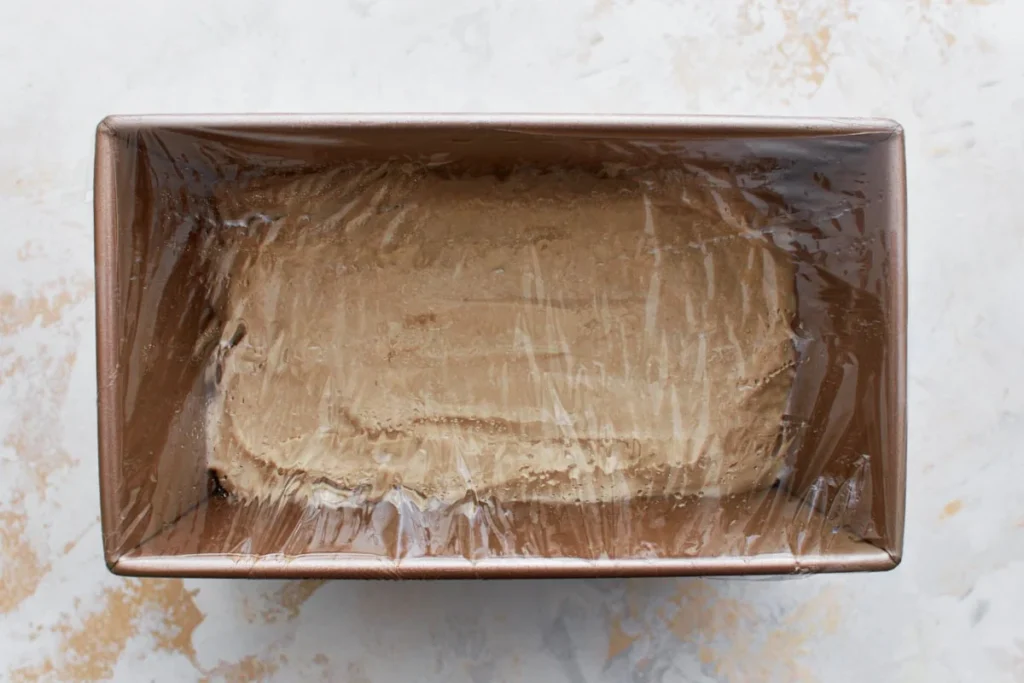
Step 5: Pour the batter into your prepared pan and smooth the top. Spray a piece of plastic wrap with cooking spray and loosely cover the pan. Place a kitchen towel over it and let the dough rise in a warm spot for 30 minutes.
Step 6: Bake the bread for 30 minutes, until golden brown. The internal temperature should read 205–210°F when done.
Step 7: Let the loaf cool in the pan for 10 minutes, then remove it and place it on a cooling rack. Let it cool completely before slicing—this prevents a gummy texture.
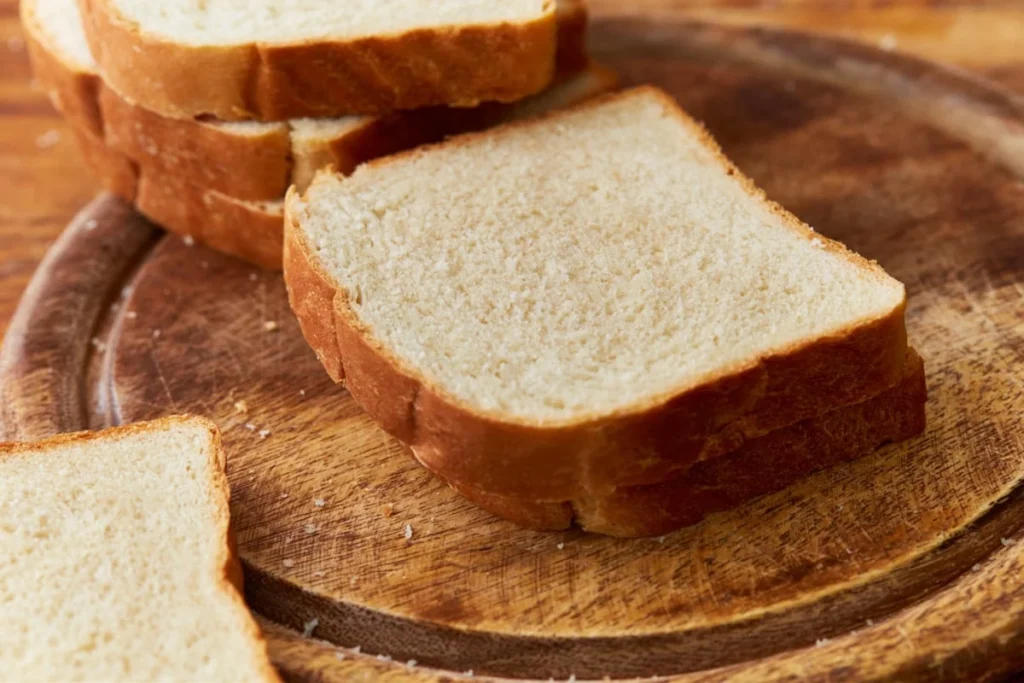
Step 8: Slice using a serrated knife for clean cuts.
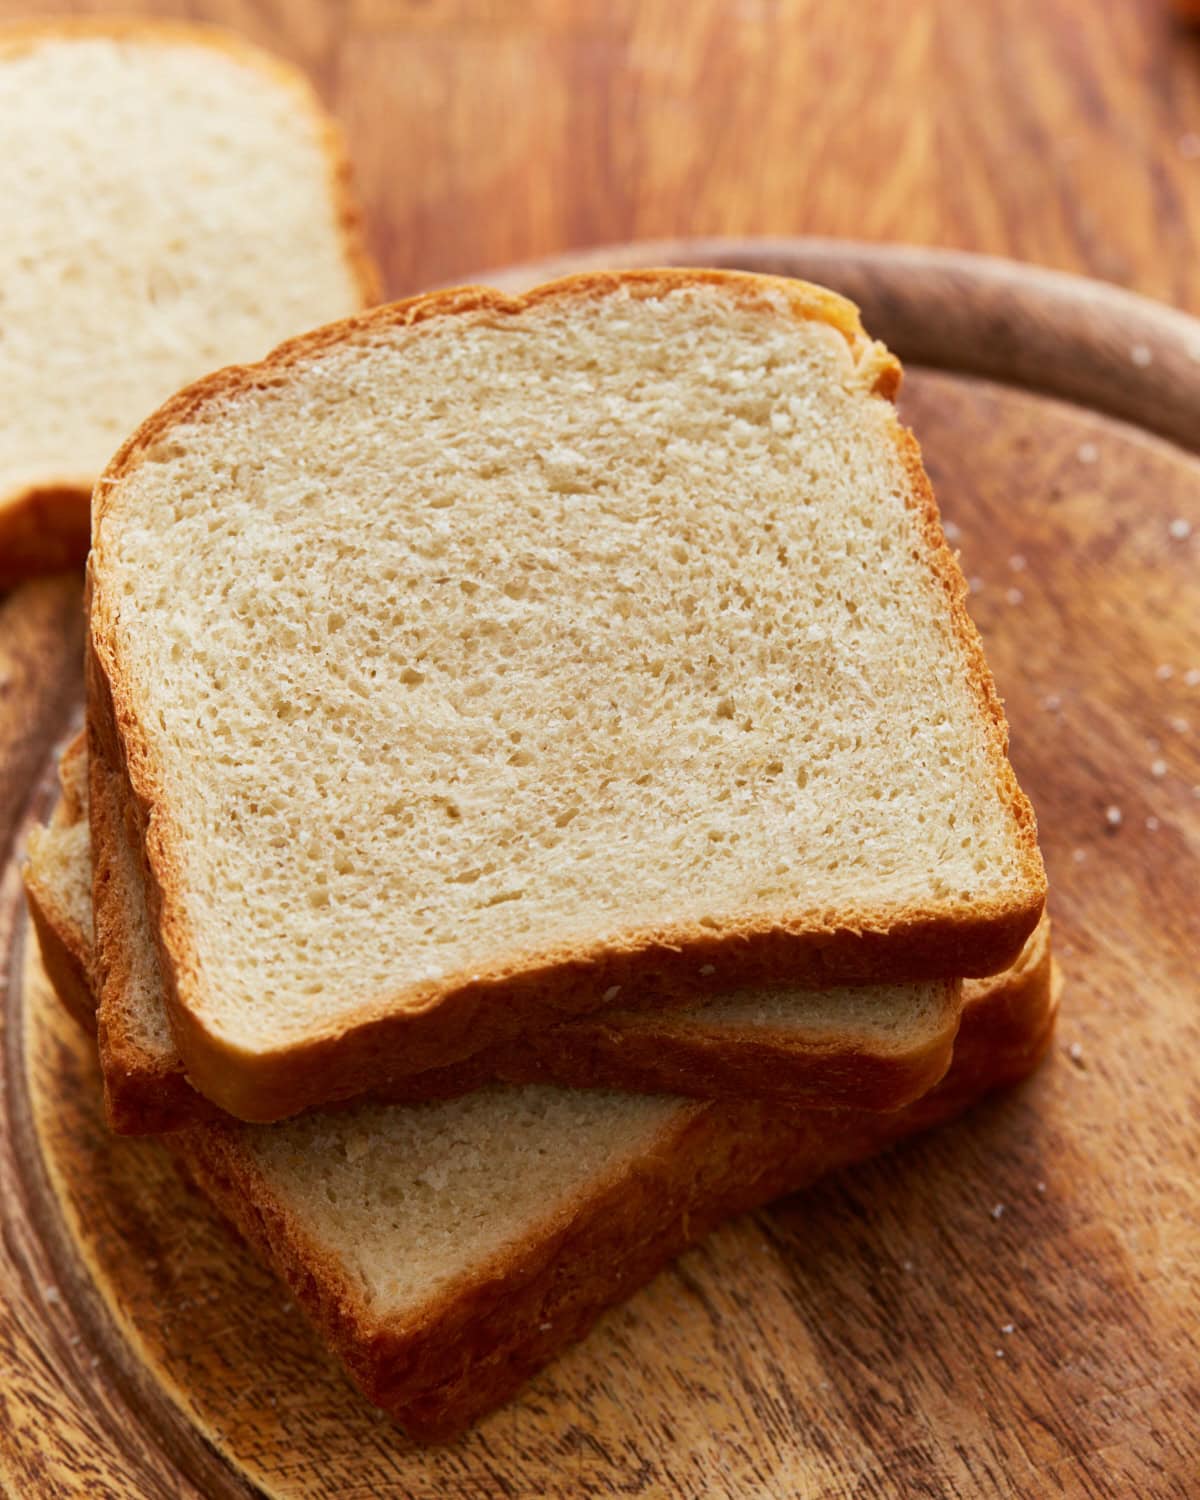
Easy Gluten-Free Bread Recipe
This soft, reliable gluten-free sandwich bread rises beautifully and bakes into a golden loaf with a tender crumb perfect for everyday toast and sandwiches.
1/4cuphoneyYou can use agave nectar or maple syrup.
1teaspoonapple cider vinegar
1 1/2cupswarm water100-110°F
3egg whitesfrom large eggs and room temperature**
1teaspoonsalt
Equipment
9×5-inch loaf pan or 9×4-inch small Pullman loaf pan (recommended)
Gluten-free cooking spray
Stand mixer with paddle attachment or hand mixer
Large mixing bowl
Measuring cups and spoons
Plastic wrap
Clean kitchen towel
Cooling rack
Serrated bread knife
Method
Start by spraying your loaf pan well with gluten-free cooking spray. Move the oven rack to the middle position and preheat your oven to 350°F (175°C).
In a large bowl, mix together the gluten-free flour, baking powder, yeast, and xanthan gum (if your flour doesn’t already include it).
Add the olive oil, honey, apple cider vinegar, and warm water. Mix on low speed for 1 minute using a paddle attachment not a dough hook. This dough won’t look like traditional bread dough.
Add the egg whites and salt, then mix on medium speed for another minute. The mixture should look like a thick cake batter, not something you can knead—and that’s exactly right.
Pour the batter into your prepared pan and smooth the top. Spray a piece of plastic wrap with cooking spray and loosely cover the pan. Place a kitchen towel over it and let the dough rise in a warm spot for 30 minutes.
Bake the bread for 30 minutes, until golden brown. The internal temperature should read 205–210°F when done.
Let the loaf cool in the pan for 10 minutes, then remove it and place it on a cooling rack. Let it cool completely before slicing—this prevents a gummy texture.
Slice using a serrated knife for clean cuts.
Nutrition Information (Per Serving)
Nutrient
Amount
Calories
117 kcal
Carbohydrates
18 g
Protein
3 g
Fat
4 g
Variations You Will Enjoy Trying!
Honey Swap: Use maple syrup or agave for a slightly different sweetness.
Seeded Loaf: Sprinkle sunflower or pumpkin seeds on top before baking.
Herb Bread: Add dried rosemary or oregano for savory slices.
Olive Oil Boost: Drizzle a little extra on top for richer flavor.
Mini Loaves: Divide into smaller pans and shorten the bake time.
Pullman Pan Version: Gives you neat, square slices perfect for sandwiches.
Storage and Leftover Tips!
Cool Completely First: This prevents trapped steam and sogginess.
Room Temperature Storage: Keep in an airtight container on the counter.
Do Not Pre-Slice: Slice only what you need to keep it fresh longer.
Freezer Friendly: Freeze the whole loaf wrapped tightly for up to three months.
Thaw Slowly: Overnight in the fridge works best.
Toast to Refresh: Toasting brings the texture right back to life.
How I Like to Serve This Bread?
Toasted with butter and honey
As a simple sandwich base
With soup on quiet nights
Toasted and topped with avocado or eggs
Warm, straight from the toaster, eaten standing at the counter
FAQs
Is this bread dense? No, it’s soft and light for gluten-free bread.
Why does the dough look so wet? That’s exactly how it should look. Trust the batter.
Can I use a different pan size? Yes, but the 9 x 4 Pullman pan gives the best shape.
Does it need xanthan gum? Only if your flour blend doesn’t already include it.
Why did my loaf sink slightly? Over-proofing or too much moisture can cause that.
Can I make this egg-free? This recipe relies on egg whites for structure, so swaps may change results.
How long does it stay fresh? Best within two days at room temperature or longer if frozen.
The Last Bite
This gluten-free bread reminds me that good food doesn’t need to be complicated to be comforting. It’s not flashy. It’s not trying to impress anyone. It just works. And sometimes, especially in the kitchen, that’s exactly what you need. If your first loaf isn’t perfect, welcome to the club. Mine wasn’t either.


Leave a Reply