Save this recipe!
Get this recipe sent to your inbox, plus
new home-style recipes from An Amateur Cook every week.
Get this recipe sent to your inbox, plus
new home-style recipes from An Amateur Cook every week.
Banana bread usually happens in my house because I ignored the bananas.
I buy them with such optimism. Smoothies. Healthy snacks. Maybe sliced over oatmeal. And then, a few days later, there they are on the counter. Speckled. Soft. Looking at me like, “You had plans for us.”
One Saturday morning, not too long ago, I picked up three very ripe bananas and thought, I could throw these away… or I could turn them into something warm and forgiving.
That is the thing about banana bread. It does not ask much from you. No fancy equipment. No complicated steps. Just a bowl, a spoon, and a willingness to embrace a slightly messy counter.
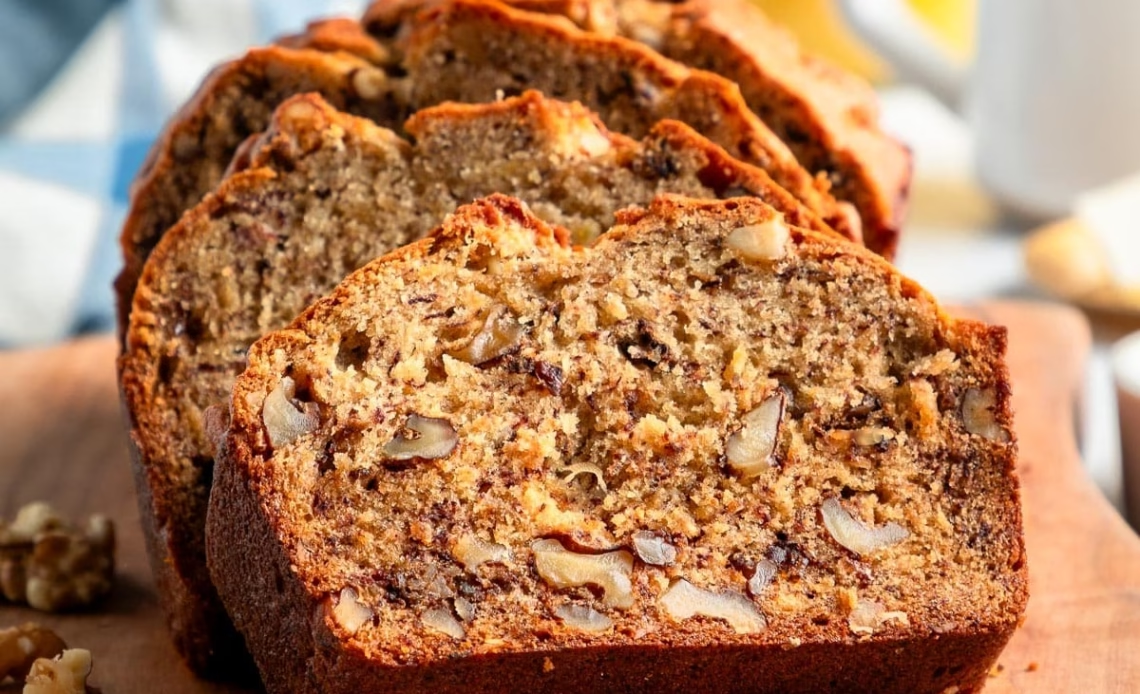
The first time I added walnuts, it was because I needed crunch. I love soft cake, but I also love a little texture. That nutty bite against the sweet banana crumb made it feel complete.
Now, banana bread is not just a way to use up old fruit. It is a ritual. It is what I bake when I want the kitchen to smell like comfort. When I want something simple but deeply satisfying. When I want to feel like I made something real with my own hands.
And honestly, every time I slice into that golden loaf, I feel a tiny bit proud.
• Rescues Overripe Bananas: Instead of feeling guilty about wasted fruit, I get a loaf of something warm and sweet. That feels like a win.
• Smells Like Home: The mix of banana, cinnamon, and nutmeg fills the kitchen in the best possible way. It is instant comfort.
• No Mixer Required: I can make this with a bowl and a whisk. No complicated tools, no stress.
• Perfect Balance of Soft and Crunchy: The walnuts add that little bite that keeps each slice interesting.
• Sweet but Not Over the Top: It feels like a treat without being cake pretending to be bread.
• Great for Sharing: I have handed slices to neighbors, friends, and family. Nobody ever says no.
• Breakfast or Dessert: It works in the morning with coffee or at night with tea. It does not need a category.
• Hard to Completely Ruin: I have slightly overbaked it and slightly underbaked it. It was still eaten. That says everything.
• The Riper the Better: Spotty, soft bananas are what you want. If they look too far gone for eating, they are perfect for baking.
• Do Not Overmix: Once the flour goes in, stir gently. Overmixing makes the bread dense. I learned that after one very chewy loaf.
• Melted Butter, Slightly Cooled: If the butter is too hot, it can mess with the egg. Let it cool for a few minutes before mixing.
• Measure Flour Lightly: Scoop and level instead of packing it down. Too much flour makes the bread dry.
• Toothpick Test Matters: Insert it in the center. If it comes out clean or with just a few crumbs, you are good. Wet batter means it needs more time.
• Do Not Rush Cooling: I know it is tempting to slice it warm. But letting it cool completely helps it set and slice neatly.
• Line the Pan If You Worry: A little parchment paper makes removing the loaf easier. No sticking panic.
• Nutmeg Is Small but Mighty: Just a pinch adds warmth. Too much can overpower. Go easy.
Step 1: Preheat and Prep: Preheat your oven to 350°F. Grease an 8½ x 4½ inch loaf pan and set it aside.
Step 2: Mix the Dry Ingredients: In a medium bowl, whisk together the flour, nutmeg, cinnamon, baking soda, and salt.
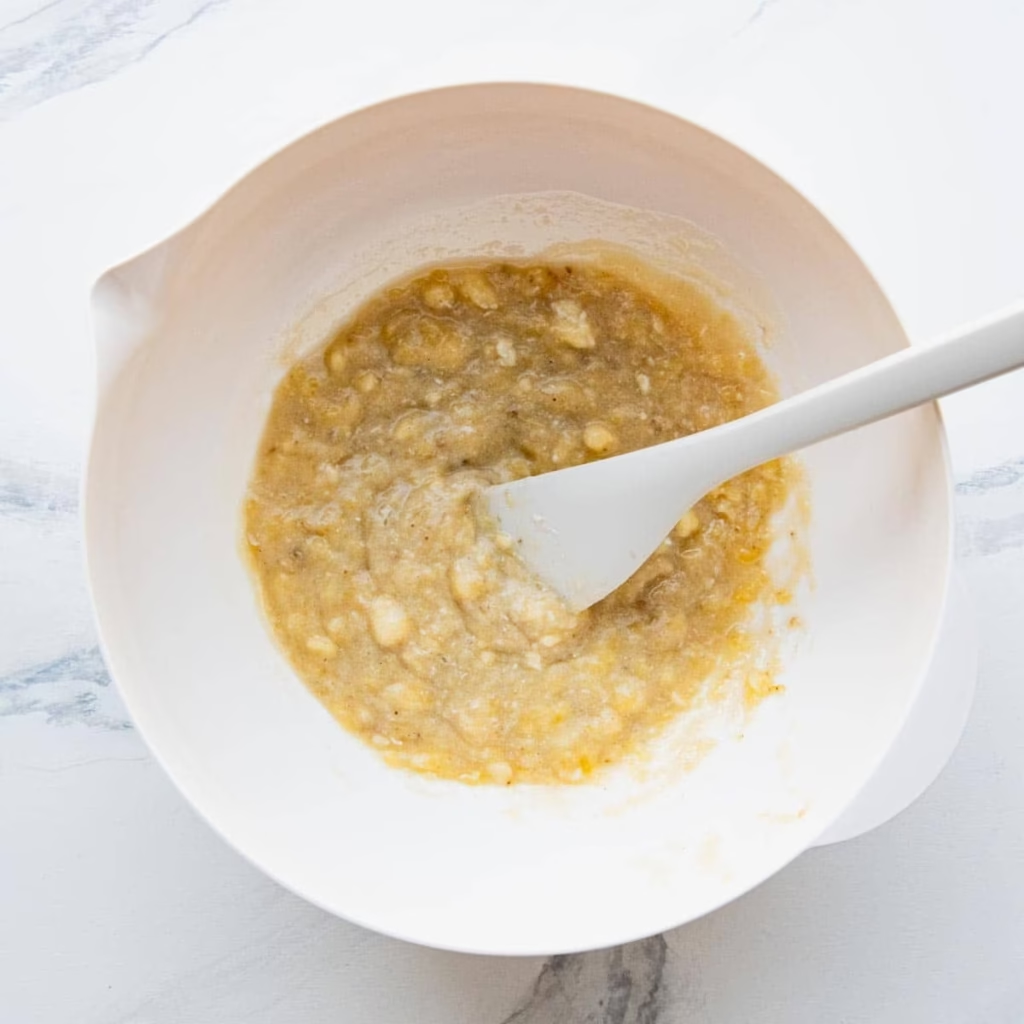
Step 3: Mix the Wet Ingredients: In a separate large bowl, whisk together the mashed banana, melted butter, sugar, egg, and vanilla extract until smooth.
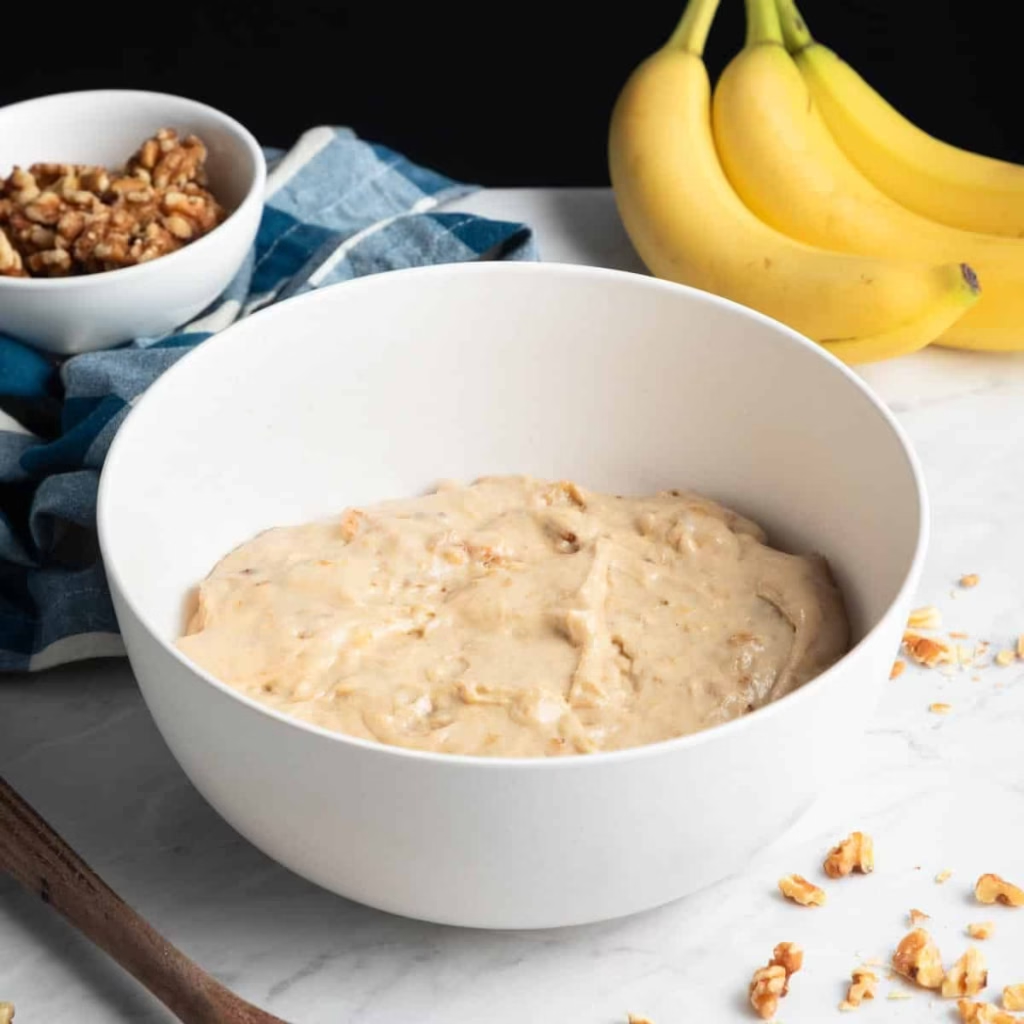
Step 4: Combine Gently: Gradually add the dry ingredients to the wet ingredients, stirring just until combined. Do not overmix.
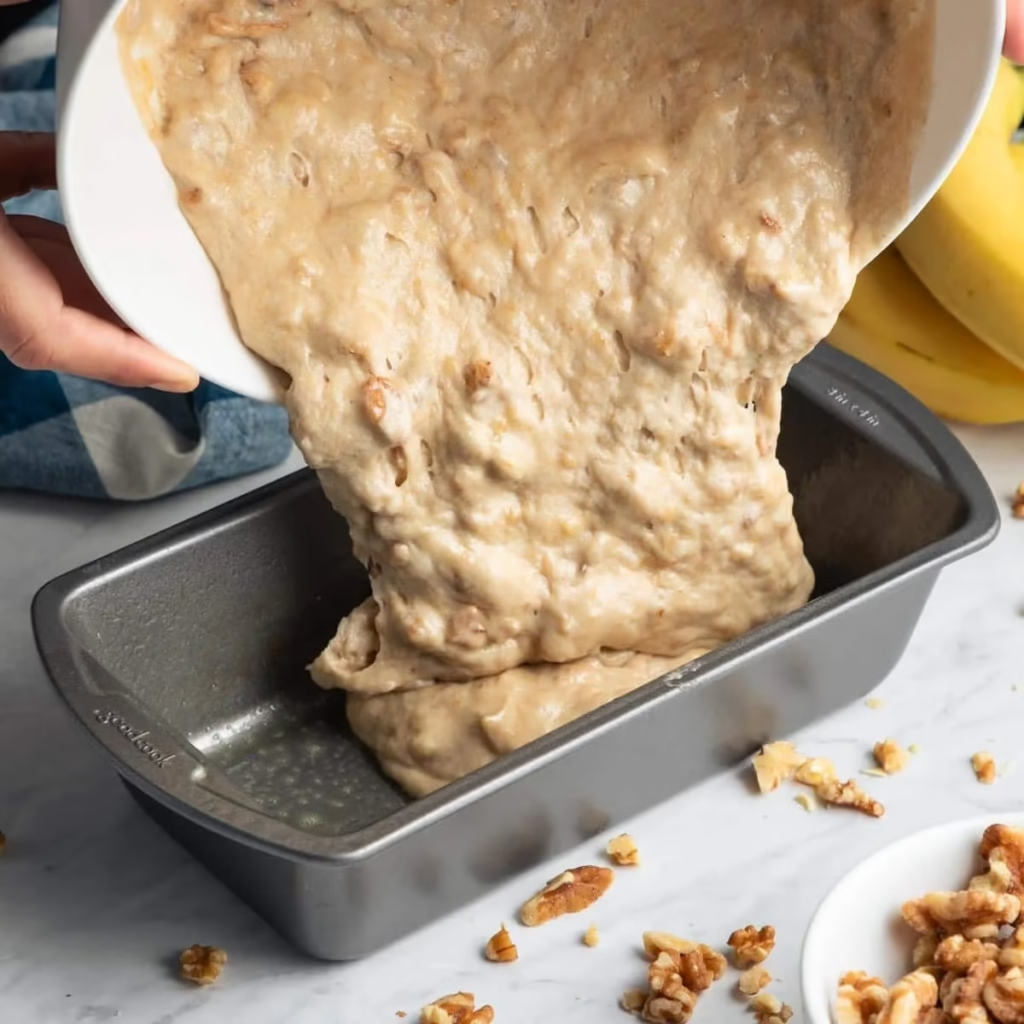
Step: 5 Fold in the Walnuts: Gently fold in the chopped walnuts so they are evenly distributed.
Step: 6 Bake: Pour the batter into the prepared loaf pan and smooth the top. Bake for 50 to 60 minutes, or until the top is golden brown and a toothpick inserted into the center comes out clean. Do not overbake.
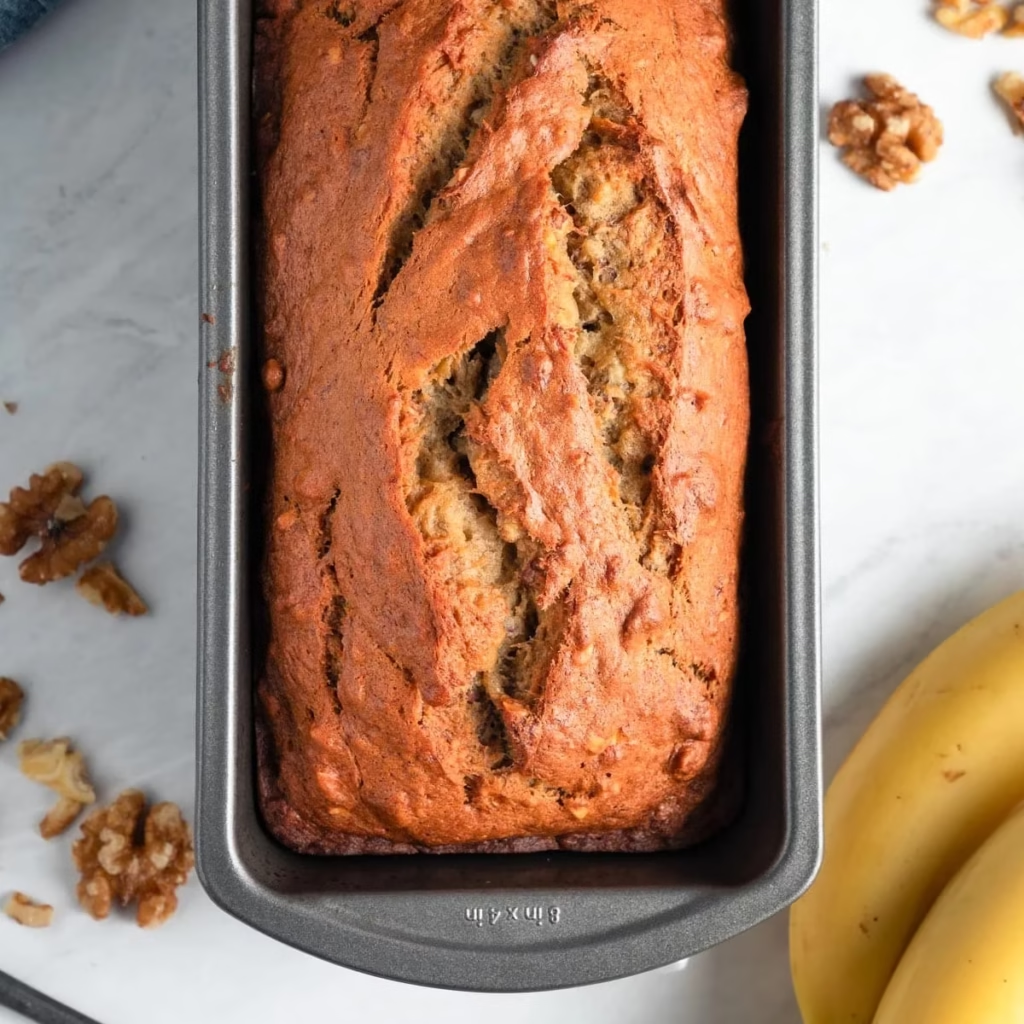
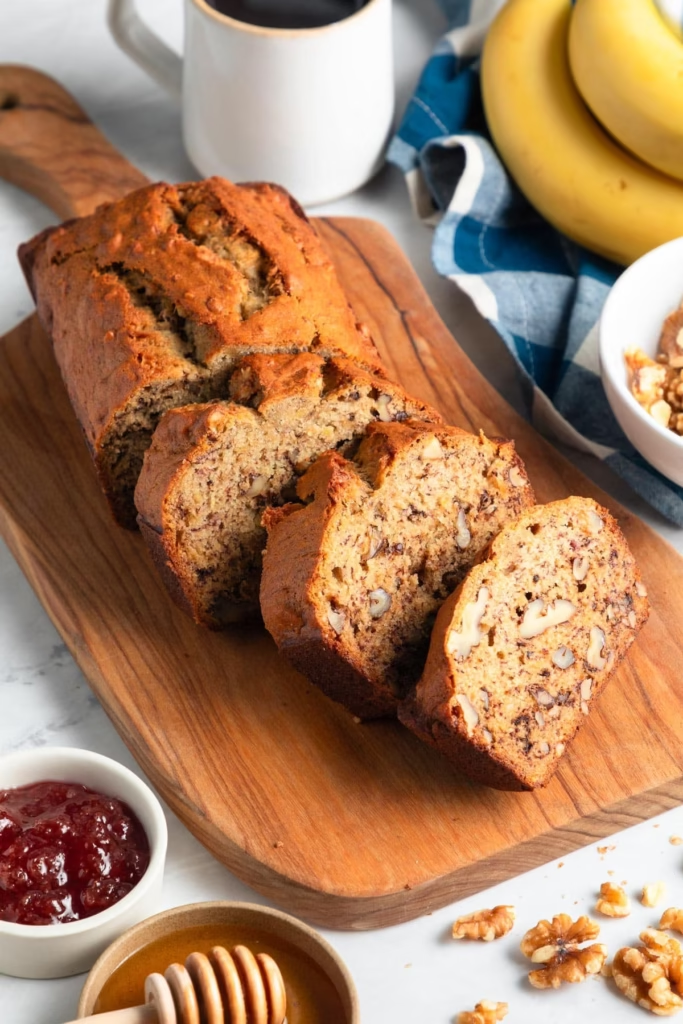
Step: 7 Cool Properly: Remove from the oven, carefully unmold from the pan, and let cool completely on a wire rack before slicing.
• Mash Bananas Thoroughly: Big banana chunks create uneven texture. I mash until mostly smooth with just tiny bits.
• Check at 50 Minutes: Ovens vary. Start checking early so it does not overbake.
• Tent with Foil If Needed: If the top browns too quickly, loosely cover with foil for the last part of baking.
• Use Room Temperature Egg: It mixes more smoothly with the batter.
• Customize the Sugar: You can swap part of the sugar with brown sugar for a slightly deeper flavor.
• Test in the Center: The edges cook faster. Always test doneness right in the middle.
• Let It Sit Overnight: If you can wait, the flavor deepens by the next day.
| Nutrition | Value |
|---|---|
| Calories | 257 kcal |
| Carbohydrates | 34 gm |
| Fat | 12 gm |
| Protein | 4 gm |
• Chocolate Chip Version: Swap half the walnuts for chocolate chips for a sweeter twist.
• No Nut Option: Skip the walnuts entirely if you prefer a softer texture.
• Add a Streusel Top: A simple mix of butter, sugar, and flour on top adds crunch.
• Coconut Addition: Stir in a handful of shredded coconut for extra texture.
• Spice It Up: Add a little extra cinnamon if you love warm spice.
• Mini Loaves or Muffins: Divide the batter into smaller pans for quicker baking and easy sharing.
• Peanut Butter Swirl: Drop spoonfuls of peanut butter on top and swirl gently before baking.
• Room Temperature Storage: Wrap tightly and keep on the counter for up to three days.
• Refrigerate for Longer: It can last up to a week in the fridge, though it may firm up slightly.
• Freeze Individual Slices: Wrap slices and freeze. Toast gently to bring them back to life.
• Warm Before Serving: A quick few seconds in the microwave makes it soft again.
• Keep It Airtight: Exposure to air dries it out. Wrap well.
• Great for Gifting: Wrap a loaf in parchment and tie with string. It makes a simple, heartfelt gift.
• With Coffee in the Morning: A thick slice and a hot cup of coffee is my quiet morning ritual.
• Lightly Toasted with Butter: The edges get crisp and the butter melts in. It is simple and perfect.
• With a Drizzle of Honey: When I want it slightly sweeter.
• As an Afternoon Snack: It pairs beautifully with tea on a slow afternoon.
• With Fresh Fruit on the Side: Strawberries or berries balance the sweetness nicely.
• Straight From the Counter: Sometimes I just slice a piece and eat it standing in the kitchen. No plate required.
Yes. Just add a tiny extra pinch of salt to balance the flavor.
You can reduce it slightly, though it may change the texture and sweetness.
A toothpick inserted in the center should come out clean or with a few crumbs.
Absolutely. It will still be soft and delicious.
It is usually from overmixing or adding too much flour. Stir gently and measure carefully.
Yes, but use two loaf pans instead of one large pan for even baking.
You can substitute the butter with a plant based alternative. Texture may vary slightly.
Too much banana can make it overly moist. Stick close to the recommended amount for best results.
Banana bread is not flashy. It does not need frosting or decorations. It just quietly shows up, slice after slice, making ordinary days feel softer.
And honestly, I think that is why I love it.
If your loaf cracks on top or the walnuts sink a little, it is still going to taste like home. Cut yourself a thick slice, pour something warm, and enjoy the fact that you turned a few overripe bananas into something worth sharing.

Craving more cozy, easy, and scroll-worthy recipes? Follow along and never lose a favorite again.
Follow Me on Pinterest →
A 28-year-old part-time barista, full-time vibe curator, and above all, an enthusiastic amateur cook living in Austin, Texas.
This whole adventure began with a bowl of very confused guacamole.
Two summers ago, I brought my now-legendary “honey-guac” to a friend’s backyard party. It was… a character-building experience.
A single bite earned me a gentle pat on the hand from my friend’s abuela and the realization that some souls are meant to enjoy food, not make it.
But instead of fading into the background, I leaned in. I laughed at the mess and decided to document the whole beautiful, blundering journey.
That’s how An Amateur Cook was born. Here, “amateur” isn’t a disclaimer. It’s the whole point.
Get exclusive access to recipes and cooking tips!


Leave a Reply