Save this recipe!
Get this recipe sent to your inbox, plus
new home-style recipes from An Amateur Cook every week.
Get this recipe sent to your inbox, plus
new home-style recipes from An Amateur Cook every week.
I did not wake up that morning thinking I was going to bake bread.
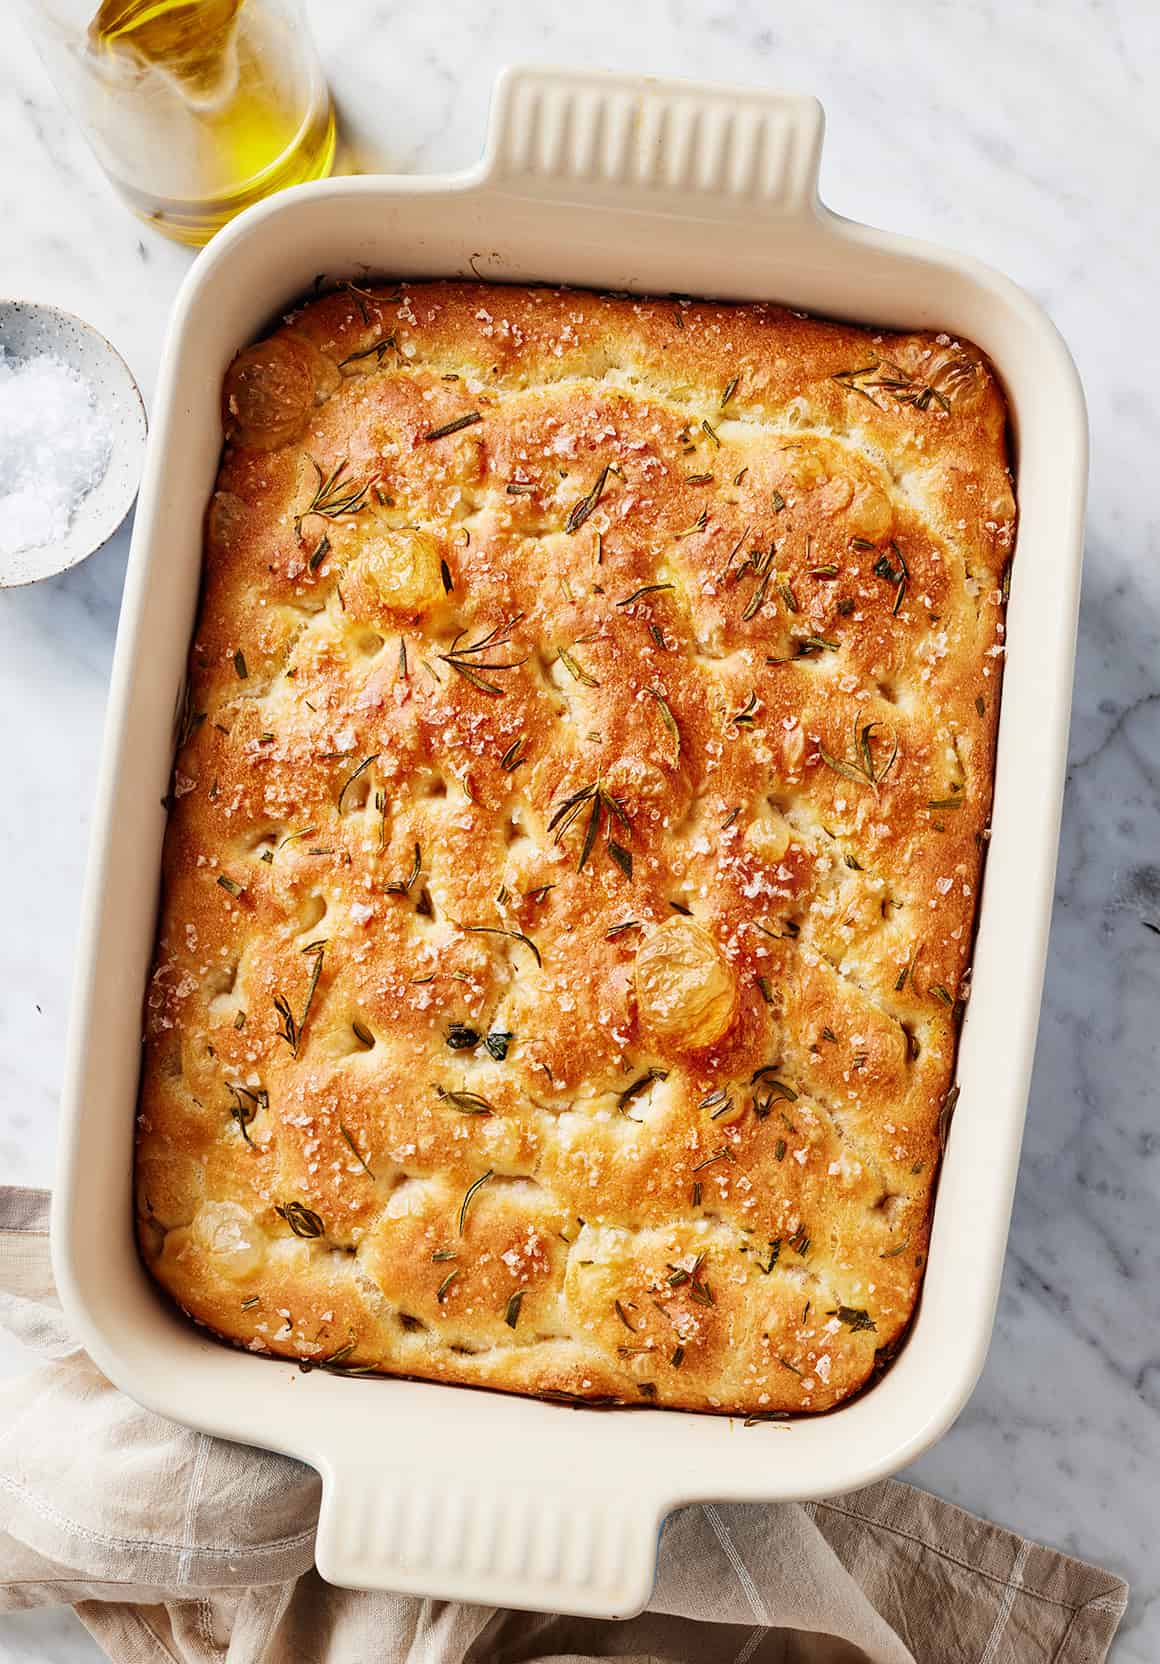
It was raining. The slow, steady kind that makes you cancel plans without guilt. I had coffee in hand and nowhere to be. And for some reason, I kept thinking about that olive oil–soaked focaccia I once had at a tiny restaurant years ago. It came to the table warm, dimpled, sprinkled with rosemary and flaky salt. I tore into it like I had not eaten in days.
I remember thinking at the time, there is no way I could make this at home.
But that Saturday, standing barefoot in my kitchen, I thought, what if I just try?
I am not a trained baker. Dough used to intimidate me. It sticks. It stretches. It does not listen. But there is something comforting about mixing flour and water and waiting. It forces you to slow down.
When that focaccia came out of the oven, golden and crisp on top, I stood there staring at it like I had just built a house with my own two hands. The smell alone was worth it. Olive oil. Warm bread. A little rosemary drifting through the kitchen.
And now, whenever the weather turns gray or I just need something grounding, this is the bread I make.
Then try not to tear into it immediately. I dare you.
• It Feels Impressive: Pulling homemade bread out of the oven makes you feel like you know what you are doing.
• Crispy Top, Soft Middle: That contrast gets me every time.
• Olive Oil Magic: The generous oil gives it flavor and that beautiful golden crust.
• Forgiving Dough: It looks messy and sticky, but it still turns out great.
• Perfect for Sharing: Tear and pass. No slicing stress.
• Smells Like Comfort: The rosemary and bread aroma fills the whole house.
• Rainy Day Therapy: Kneading and waiting calm my brain in the best way.
• Leftovers Are a Gift: Toasted the next day, it might be even better.
• Check the Yeast First: If it does not foam, do not hope for the best. Start again. Trust me.
• Sticky Is Good: I used to panic when the dough stuck to everything. That stickiness creates that airy texture.
• Oil Is Your Friend: Oil your hands generously when handling the dough. It saves frustration.
• Let It Rest When It Fights Back: If the dough shrinks when you press it, give it five minutes. It will relax.
• Do Not Skip the Dimples: Press all the way down to the pan. Those pockets hold olive oil and flavor.
• Watch the Oven Closely: Every oven runs differently. Look for golden brown, not just the timer.
• Cool Slightly Before Cutting: Cutting too soon can compress the inside.
• Use Good Olive Oil: You can taste it. This is not the time for the dusty bottle in the back of the cabinet.
• Garlic Lover Version: Add thin slices of garlic into the dimples before baking.
• Cherry Tomato Topping: Press halved cherry tomatoes into the dough for bursts of sweetness.
• Caramelized Onion Style: Scatter cooked onions over the top before baking.
• Olive Studded: Add sliced olives for a salty bite.
• Cheesy Finish: Sprinkle grated parmesan over the top in the last five minutes.
• Herb Mix: Try thyme or oregano if rosemary is not your thing.
• Spicy Kick: Add a pinch of red pepper flakes.
• Sweet Twist: Drizzle with a little honey after baking for something unexpected.
• Room Temperature Storage: Keep in an airtight container for up to two days.
• Reheat to Revive: A few minutes in a warm oven brings back the crust.
• Freeze in Portions: Wrap tightly and freeze for up to a month.
• Toast the Next Day: Slice and toast for incredible sandwiches.
• Do Not Refrigerate: It dries out faster in the fridge.
• Use for Croutons: Cube leftovers and toast for salads.
• Make Bread Pudding: Slightly stale focaccia works beautifully in savory bread pudding.
• With Soup: Dipped into tomato or minestrone, it is unbeatable.
• As Sandwich Bread: Slice horizontally and fill with grilled vegetables or chicken.
• With Olive Oil and Balsamic: Simple dipping never disappoints.
• Alongside Pasta: It soaks up sauce like a dream.
• For Brunch: Toasted with a fried egg on top is pure comfort.
• Straight From the Pan: Sometimes I just tear off pieces standing at the counter.
There is something deeply satisfying about making bread from scratch. It is simple ingredients, a little patience, and a warm oven doing its thing.
If your first focaccia is a little uneven or oddly shaped, welcome to the club. Mine always are.
But when you tear into it and steam rises up and olive oil glistens in those little dimples, none of that matters.
Some days, you just need flour, water, and time. And that feels like enough.

Craving more cozy, easy, and scroll-worthy recipes? Follow along and never lose a favorite again.
Follow Me on Pinterest →
A 28-year-old part-time barista, full-time vibe curator, and above all, an enthusiastic amateur cook living in Austin, Texas.
This whole adventure began with a bowl of very confused guacamole.
Two summers ago, I brought my now-legendary “honey-guac” to a friend’s backyard party. It was… a character-building experience.
A single bite earned me a gentle pat on the hand from my friend’s abuela and the realization that some souls are meant to enjoy food, not make it.
But instead of fading into the background, I leaned in. I laughed at the mess and decided to document the whole beautiful, blundering journey.
That’s how An Amateur Cook was born. Here, “amateur” isn’t a disclaimer. It’s the whole point.
Get exclusive access to recipes and cooking tips!


Leave a Reply