Get this recipe sent to your inbox, plus
new home-style recipes from An Amateur Cook every week.
This one started with a craving that didn’t know what it wanted to be.
I was standing in my kitchen on a warm afternoon, debating between baking cookies or just cutting up some fruit and calling it a day. I didn’t have the energy for anything complicated, but I also didn’t want something boring. You know those days where you want effort and no effort at the same time? That was me.
Then it hit me. What if I didn’t choose?
What if I made something that felt like both?
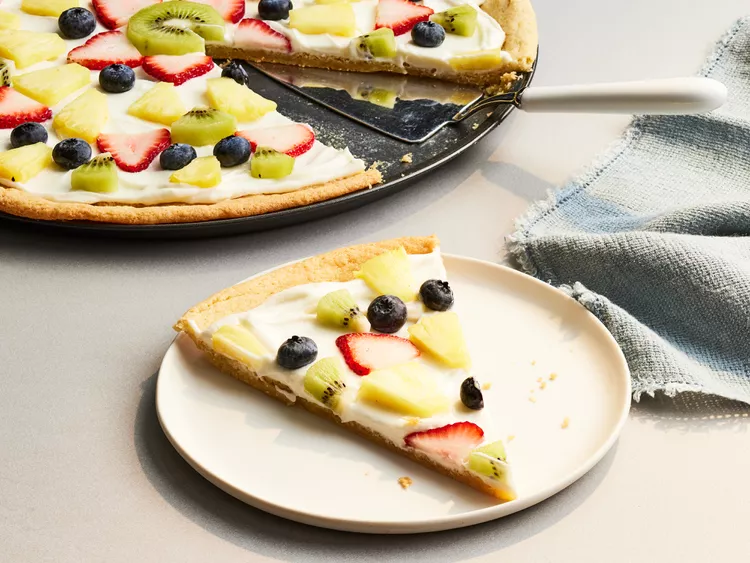
That’s how this fruit pizza happened. A soft cookie base, a creamy layer that feels like cheesecake’s laid-back cousin, and fresh fruit on top like it just showed up to make everything look good.
The first time I made it, I didn’t even roll the dough properly. It was uneven, a little too golden on one side, and the fruit placement looked like I gave up halfway through. But somehow, it worked. More than worked. It disappeared faster than anything else I’d made that week.
Now it’s one of those recipes I come back to when I want something cheerful. Something that looks like I tried harder than I did. Something that feels like a small celebration without needing a reason.
And honestly, that’s my favorite kind of food.
Table of Contents
Why I Keep Coming Back to It
Feels Like a Celebration: There’s something about colorful fruit on a creamy base that just makes it feel special, even on an ordinary day.
Soft Meets Fresh: The soft cookie crust with the cool, fresh fruit on top is a combination I never get tired of.
Looks Fancy, Isn’t: It looks like something you’d buy from a bakery, but it’s surprisingly simple to pull off.
Customizable Every Time: I rarely make it the exact same way twice. Different fruits, different patterns, same happiness.
Sweet but Not Heavy: It satisfies a sweet craving without feeling too rich or overwhelming.
Great for Sharing: This is one of those dishes that makes people gather around and grab a slice without hesitation.
Kid and Adult Approved: I’ve yet to meet someone who doesn’t smile after the first bite.
Real-Life Cooking Notes from Ethan
Don’t Overbake the Crust: Keep an eye on it. You want it lightly golden, not crispy. I’ve taken it too far before, and it loses that soft cookie magic.
Cool Means Cool: Let the crust cool completely before adding the topping. I rushed once and ended up with a melty mess.
Soft Cream Cheese Is Key: If it’s not soft, your filling won’t be smooth. And lumps are not the vibe here.
Spread Gently: The crust is soft, so don’t press too hard when spreading the filling. Think calm, not aggressive.
Slice Fruit Evenly: It doesn’t have to be perfect, but similar sizes make it easier to eat and look better too.
Bananas Last: Add banana slices right before serving if you can. They brown faster than the others.
Chill Before Serving: This helps everything set and makes slicing much easier.
Have Fun With the Pattern: I’ve tried neat circles and random scatter. Both work. Don’t overthink it.
Ingredients You’ll Need
All-Purpose Flour: 1 ¼ cups
Cream of Tartar: 1 teaspoon
Baking Soda: ½ teaspoon
Salt: ¼ teaspoon
Butter (Softened): ½ cup
White Sugar: 1 ¼ cups (divided)
Egg: 1 large
Cream Cheese: 1 (8 ounce) package
Vanilla Extract: 2 teaspoons
Blueberries: ½ cup (or more)
Strawberries (Sliced): ½ cup (or more)
Banana (Sliced): ½ cup (or more)
How It Comes Together
Preheat the Oven: Set it to 350°F (175°C).
Mix Dry Ingredients: In a bowl, combine flour, cream of tartar, baking soda, and salt.
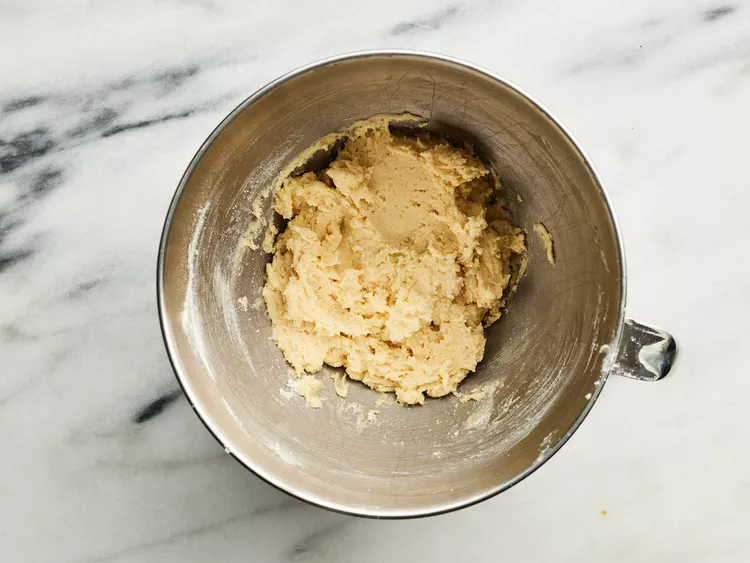
Cream Butter and Sugar: In another bowl, beat butter with ¾ cup sugar until smooth. Add the egg and mix well.
Combine Everything: Stir the dry ingredients into the wet mixture until just blended.
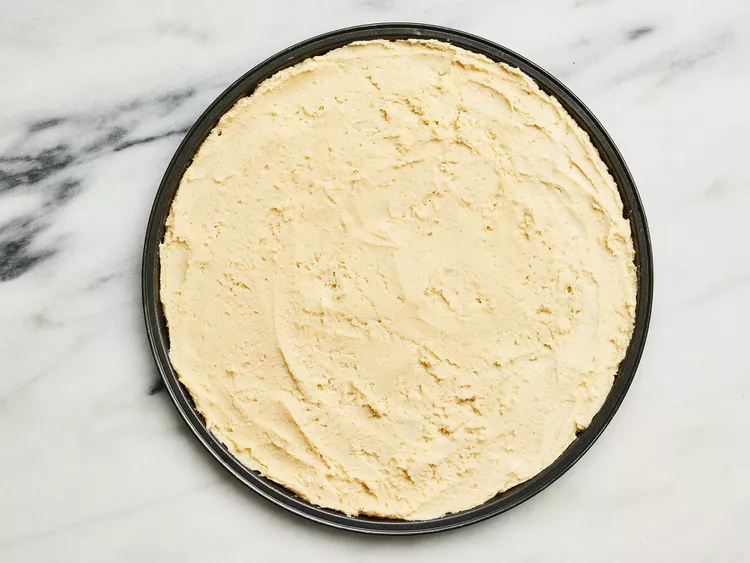
Shape the Crust: Press the dough into an ungreased pizza pan.
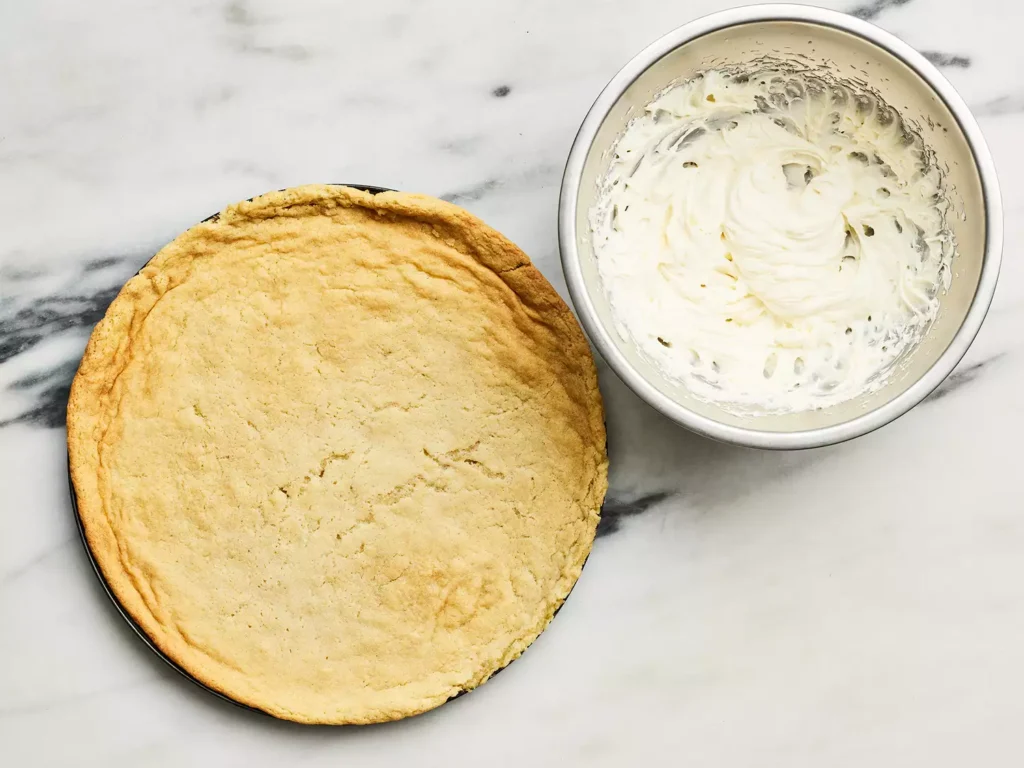
Bake: Bake for 8 to 10 minutes until lightly golden. Let it cool completely.
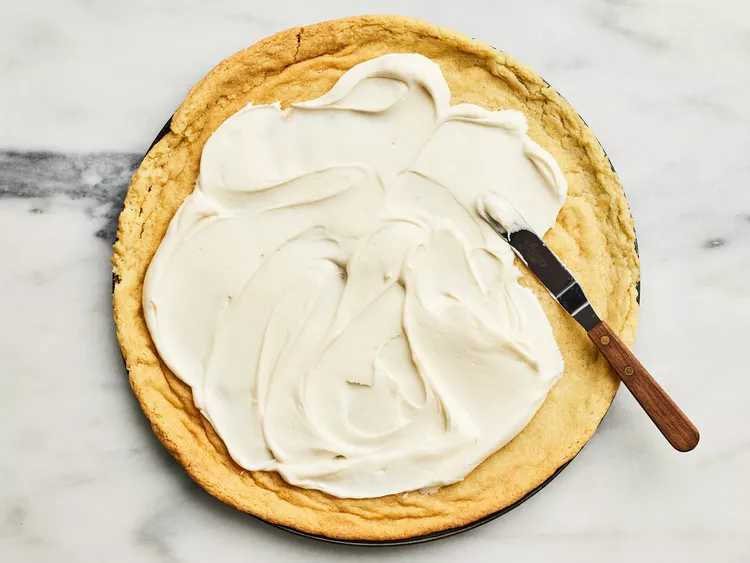
Make the Filling: Beat cream cheese with the remaining sugar and vanilla until smooth and fluffy.
Assemble: Spread the filling over the cooled crust, then arrange the fruit on top.
Chill: Refrigerate before serving for the best texture.
Variations You’ll Enjoy Trying
Tropical Twist: Swap in mango, kiwi, and pineapple for a sunny, vacation-style version.
Berry Overload: Use only berries for a more intense, slightly tangy flavor.
Chocolate Drizzle: A light drizzle of melted chocolate makes it feel like dessert-dessert.
Honey Sweetened Filling: Replace some sugar with honey for a softer sweetness.
Nutty Crunch: Add a sprinkle of crushed nuts on top for texture.
Mini Versions: Make smaller individual fruit pizzas for parties or just portion control that I ignore.
fruit pizza recipe
Soft sugar cookie crust topped with creamy vanilla filling and fresh fruits, creating a colorful, sweet, and refreshing dessert everyone loves.


Leave a Reply