Hummus Recipe

An Amateur Cook – Save Recipe

Save this recipe!

Get this recipe sent to your inbox, plus
new home-style recipes from An Amateur Cook every week.

This one started because I was trying to be “healthy,” which usually lasts about two days before I end up ordering something fried.

I had a can of chickpeas sitting in the pantry that I bought during one of those “I cook now” phases. You know the phase. It comes with optimism and zero follow-through.

Anyway, I decided to make hummus. Seemed simple enough. Throw things in a blender, press a button, feel accomplished. What I didn’t expect was how weirdly satisfying it would be to peel chickpeas. Not fun exactly… but oddly calming. Like bubble wrap, but edible.

Somewhere between questioning my life choices while peeling skins and accidentally tasting the garlic mid-process (bad idea), I ended up with a bowl of hummus that was actually… really good. Smooth, creamy, and way better than the store stuff I pretend to like.

Now I keep making it. Not always perfectly, but always happily.

Why I Keep Making This Dish (Real Reasons)

  • Better Than Store-Bought: I didn’t expect this, but yeah… it really is. And now I can’t un-know that.
  • Weirdly Relaxing: Peeling chickpeas feels unnecessary… until it’s not. It’s oddly calming.
  • Customizable Every Time: More garlic, less lemon, extra olive oil. Depends on my mood.
  • Feels Healthy-ish: I say “-ish” because I still eat half the bowl in one sitting.
  • Cheap and Filling: Chickpeas don’t judge your budget. They just show up and do their job.
  • Impresses People: Saying “I made hummus” sounds way cooler than it should.
  • Snack Hero: Works with almost anything. Bread, veggies, or just a spoon when no one’s watching.

Equipments Required

  1. Large bowl (for soaking, if using dried chickpeas)
  2. Saucepan
  3. Colander
  4. Food processor (very important here)
  5. Spatula or spoon

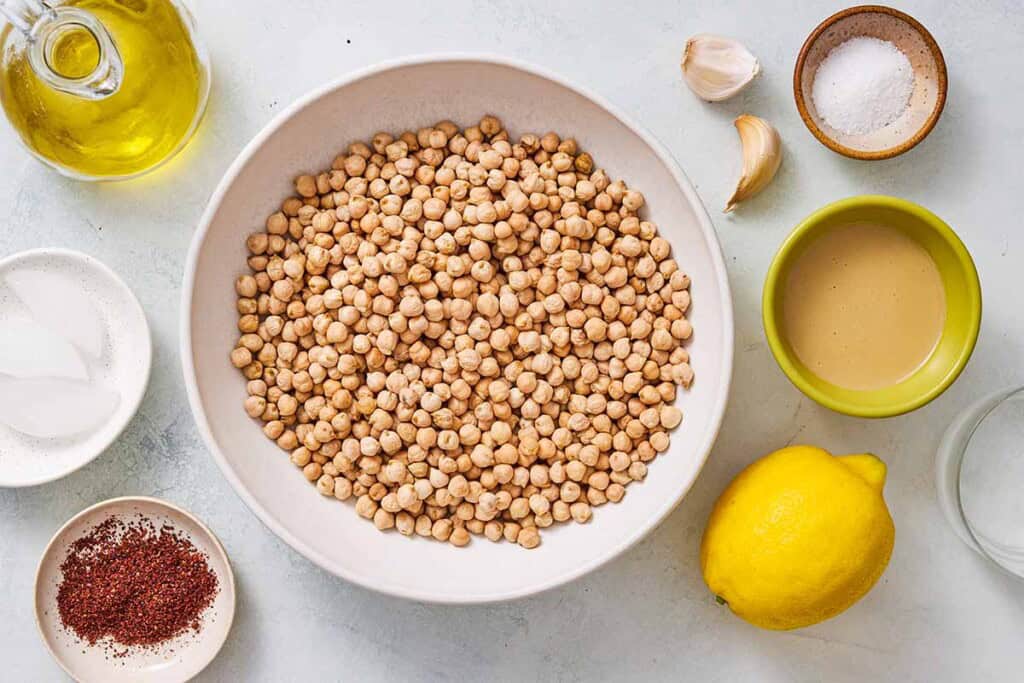
Ingredients Required

  1. 3 cups cooked chickpeas, peeled (from 1 to 1 1/4 cup dry chickpeas or from quality canned chickpeas.)
  2. 1 1/2 teaspoons baking soda, (optional) use if peeling chickpeas
  3. 1 to 2 garlic cloves minced
  4. 2 ice cubes
  5. 1/3 cup tahini
  6. 1/2 tsp kosher salt
  7. Juice of 1 lemon
  8. Arbequina extra virgin olive oil, to serve
  9. Sumac, to serve

Instructions

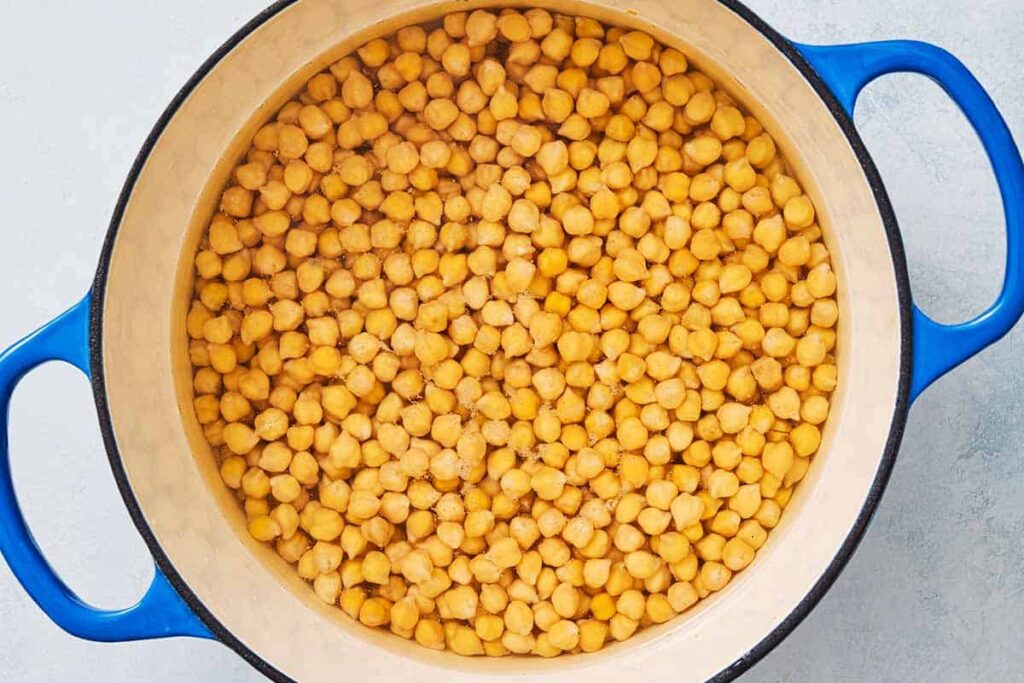
Step 1: Soak chickpeas (if using dried): Place dried chickpeas in a bowl, cover with water, and leave overnight. Try not to forget them. I almost did.

Step 2: Cook chickpeas: Drain, cover with fresh water, and simmer for 1 1/2 to 2 hours until soft.

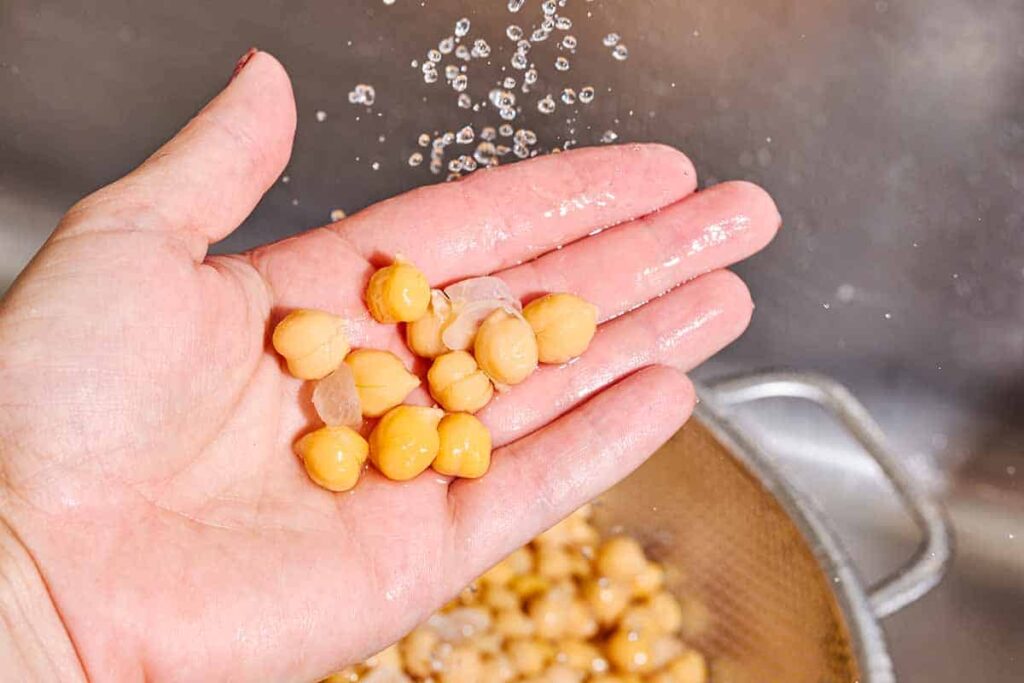
Step 3: Remove skins: Add baking soda, let sit briefly, then rinse and rub chickpeas to remove skins. Slightly tedious, but worth it.

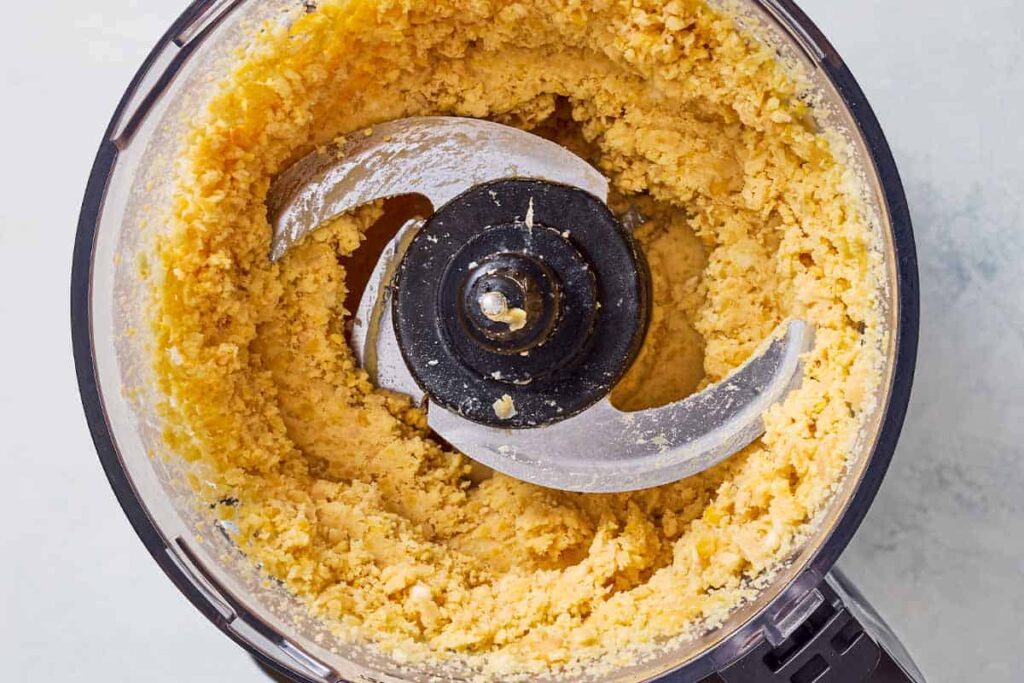
Step 4: Start blending: Add chickpeas and garlic to a food processor and blend until it looks like a crumbly paste.

Step 5: Add the good stuff: While blending, add ice cubes, tahini, salt, and lemon juice. Blend for 4 to 5 minutes until smooth.

Step 6: Adjust texture: If too thick, add water slowly until it becomes creamy and silky.

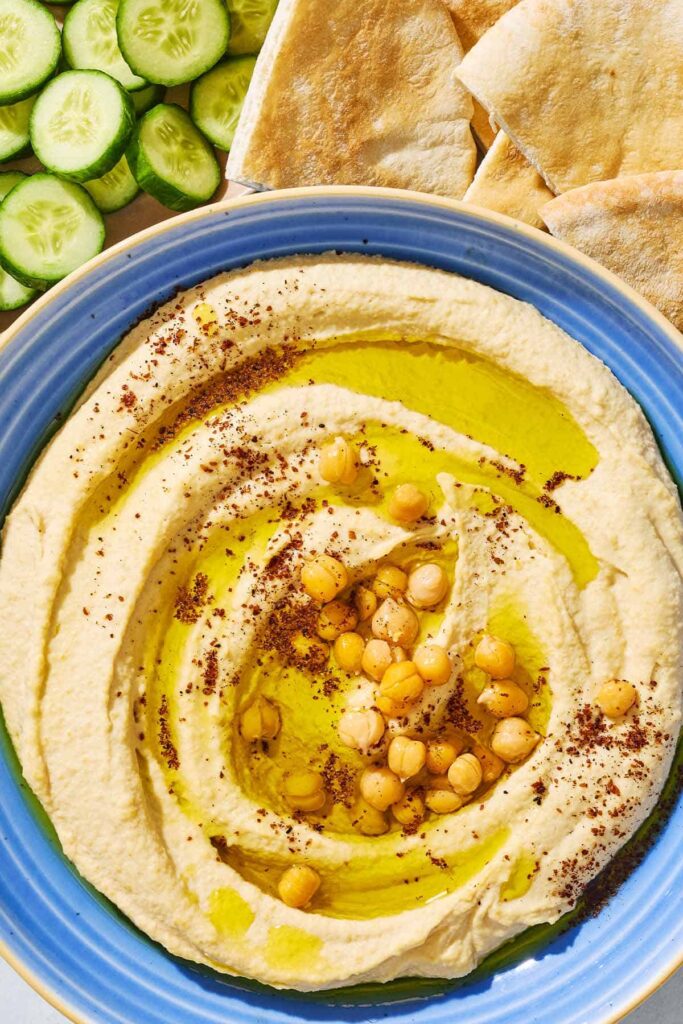
Step 7: Serve: Spread in a bowl, drizzle olive oil, sprinkle sumac, and admire your work for a second before eating it.

Tips I Learned the Hard Way

  1. Peeling Is Worth It: I skipped it once. Texture was fine… but not amazing. Big difference.
  2. Don’t Rush Blending: I stopped early once. Grainy hummus is not the goal. Keep going.
  3. Ice Cubes Matter: Sounds strange, but they help make it smoother. I questioned it too.
  4. Go Easy on Garlic: Too much garlic turns this into a completely different experience. Learned that the hard way.
  5. Taste As You Go: Lemon and salt can be adjusted. Fix it before serving, not after.
  6. Use Good Tahini: Bad tahini = bitter hummus. This one matters more than I expected.
  7. Water Slowly: Add a little at a time. I once added too much and had hummus soup.

Hummus Recipe

A creamy, homemade hummus made from chickpeas, tahini, garlic, and lemon, blended until smooth. Simple, customizable, and healthier than store-bought, it’s perfect as a dip, spread, or snack.
Prep Time 10 minutes
Cook Time 5 minutes
Total Time 15 minutes
Servings: 4
Course: Appetizer
Cuisine: Middle Eastern
Calories: 450

Ingredients
  

  • 3 cups cooked chickpeas peeled (from 1 to 1 1/4 cup dry chickpeas or from quality canned chickpeas.)
  • 1 1/2 teaspoons baking soda (optional) use if peeling chickpeas
  • 1 to 2 garlic cloves minced
  • 2 ice cubes
  • 1/3 cup tahini
  • 1/2 tsp kosher salt
  • Juice of 1 lemon
  • Arbequina extra virgin olive oil to serve
  • Sumac to serve

Equipment

  • Large bowl (for soaking, if using dried chickpeas)
  • Saucepan
  • Colander
  • Food processor (very important here)
  • Spatula or spoon

Method
 

  1. Soak chickpeas (if using dried): Place dried chickpeas in a bowl, cover with water, and leave overnight. Try not to forget them. I almost did.
  2. Cook chickpeas: Drain, cover with fresh water, and simmer for 1 1/2 to 2 hours until soft.
  3. Remove skins: Add baking soda, let sit briefly, then rinse and rub chickpeas to remove skins. Slightly tedious, but worth it.
  4. Start blending: Add chickpeas and garlic to a food processor and blend until it looks like a crumbly paste.
  5. Add the good stuff: While blending, add ice cubes, tahini, salt, and lemon juice. Blend for 4 to 5 minutes until smooth.
  6. Adjust texture: If too thick, add water slowly until it becomes creamy and silky.

Variations You Can Mess Around With

  • Spicy Version: Add chili flakes or a bit of hot sauce. Instant upgrade.
  • Roasted Garlic: Swap raw garlic for roasted. Milder, sweeter flavor.
  • Herb Boost: Add parsley or cilantro for a fresh twist.
  • Extra Lemony: More lemon for a sharper, brighter taste.
  • Chunky Style: Blend less if you like texture. Not traditional, still good.
  • No Tahini: It changes the flavor, but still works if you’re out.
  • Olive Oil Mix-In: Blend some olive oil in, not just on top. Makes it richer.

How I Like to Serve This

  1. With Warm Pita: Classic and honestly hard to beat.
  2. Veggie Dip: Carrots, cucumbers, whatever’s in the fridge.
  3. Spread on Sandwiches: Makes boring sandwiches feel important.
  4. Snack Bowl: Just hummus and a spoon. No explanation needed.
  5. With Friends: Put it on the table and pretend you planned snacks.
  6. Side Dish: Works next to almost any meal.

Storage, Leftovers, and Next-Day Thoughts

  • Fridge Friendly: Keeps well for 3 to 5 days in the fridge.
  • Cover It Tight: Otherwise it dries out on top. Not great.
  • Stir Before Serving: It thickens a bit, just mix it back.
  • Add Oil Later: A fresh drizzle helps bring it back to life.
  • Freezing Works: Texture changes slightly, but still usable.
  • Next-Day Flavor: Somehow tastes even better after sitting overnight.

FAQs (Real Questions People Actually Ask)

  1. Do I have to peel the chickpeas?
    No… but it makes a difference. Smoother texture if you do.
  2. Can I use canned chickpeas?
    Yes, and I often do. Just rinse them well.
  3. Why is my hummus not smooth?
    Probably didn’t blend long enough. Or skipped peeling. Or both.
  4. Can I skip tahini?
    You can, but it won’t taste the same. Still edible though.
  5. How do I fix thick hummus?
    Add water slowly while blending. Don’t panic.
  6. Why add ice cubes?
    I asked the same thing. It actually helps with texture.
  7. Is it supposed to be this garlicky?
    Depends how much you added. Start small next time.
  8. Can I make it ahead?
    Yes, and it’s even better the next day.

The Last Bite

This is one of those recipes that starts simple and somehow turns into something you feel proud of every single time.

It doesn’t have to be perfect. A little too thick, a little too lemony… still good. That’s kind of the beauty of it.

Author Image

Ethan

I am a 28-year-old part-time barista, full-time vibe curator, and above all, an enthusiastic amateur cook living in Austin, Texas. .

Rate This Recipe

Thank you for rating! 🤍

Leave a Reply

Your email address will not be published. Required fields are marked *

Recipe Rating


PIN & SAVE

Follow on Pinterest

Craving more cozy, easy, and scroll-worthy recipes? Follow along and never lose a favorite again.

Follow Me on Pinterest →

You'll also love