Get this recipe sent to your inbox, plus
new home-style recipes from An Amateur Cook every week.
I used to think brownies were one of those things you just buy.
Not because I didn’t like baking them. Mostly because every time I tried, something weird happened. Either they came out dry like chocolate cake that lost hope, or so gooey that slicing them felt like trying to cut chocolate lava.
One night a few years ago, I had a serious chocolate craving. The kind where nothing else will do. Not cookies, not ice cream, not “just one square of dark chocolate.”
I wanted real brownies.
So I did what I always do when curiosity wins. I grabbed a bowl, pulled out cocoa powder, sugar, eggs, and started mixing without overthinking it.
The batter looked suspiciously thick. I almost added more liquid but stopped myself.
Good thing I did.
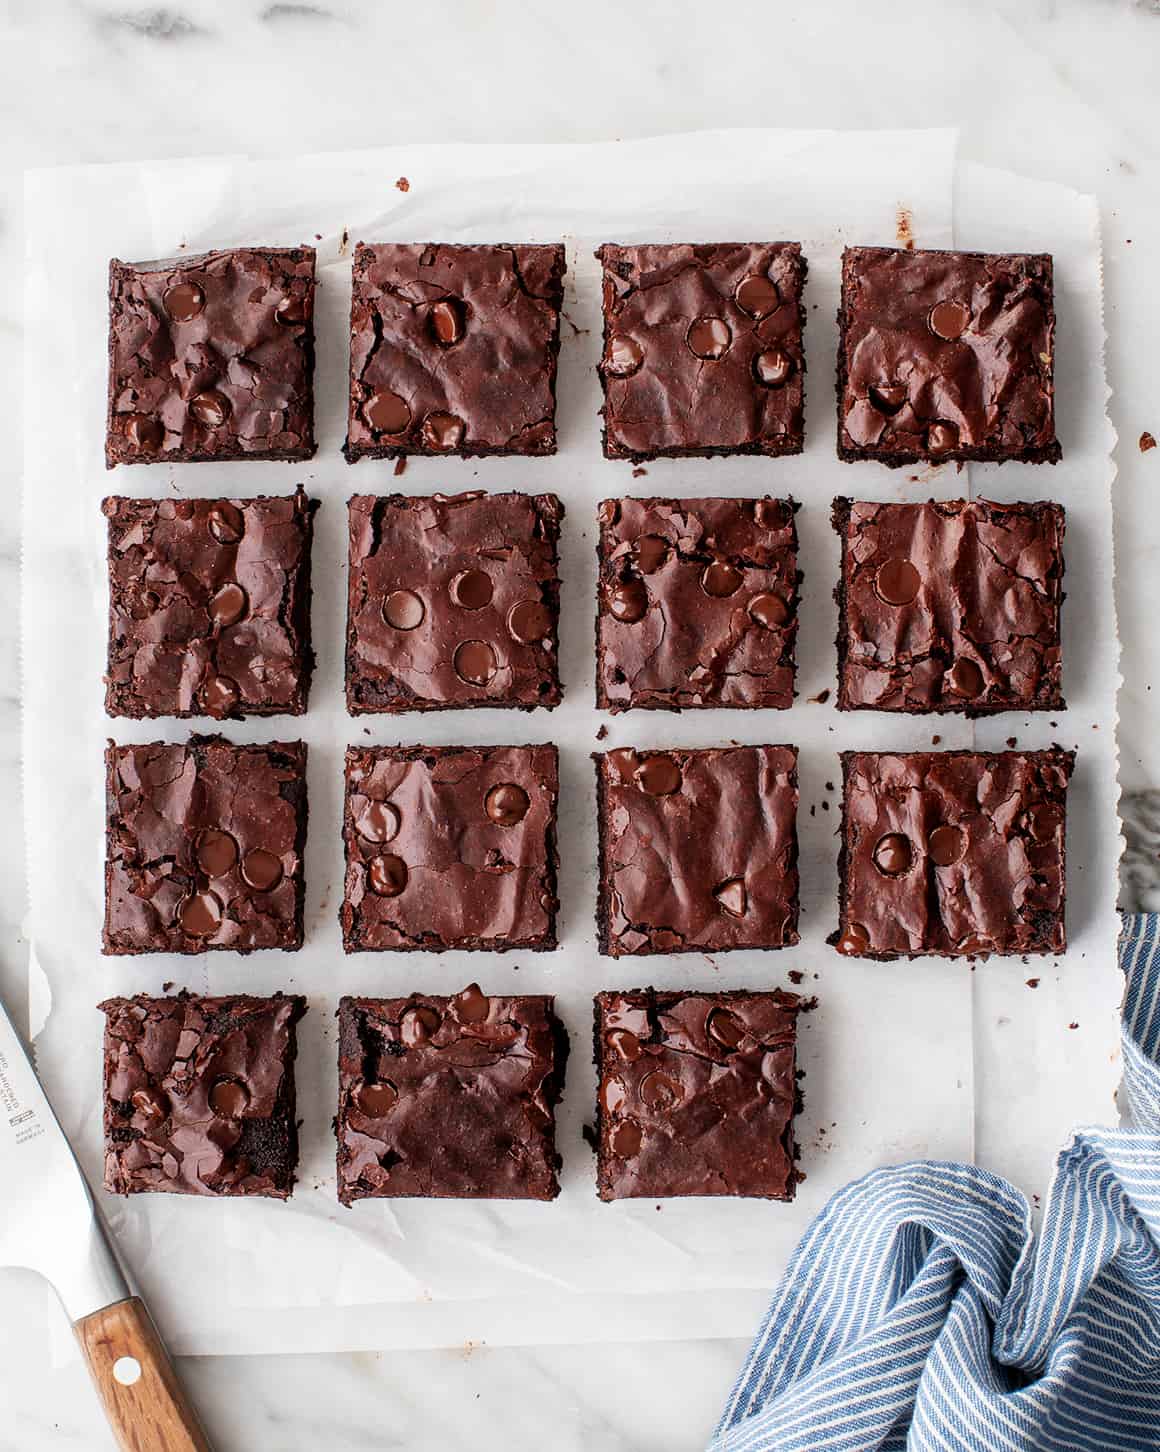
Forty minutes later, the kitchen smelled like a chocolate shop and I pulled out a pan of brownies with shiny tops, crispy edges, and the fudgiest centers I had ever made.
I cut a square while they were still a little warm, burned my tongue slightly, and decided right then that this recipe was staying in my life.
Now these brownies show up whenever someone says, “Bring dessert.” And strangely enough, they disappear faster than anything else on the table.
Table of Contents
Why This Is My Go-To Brownie Recipe
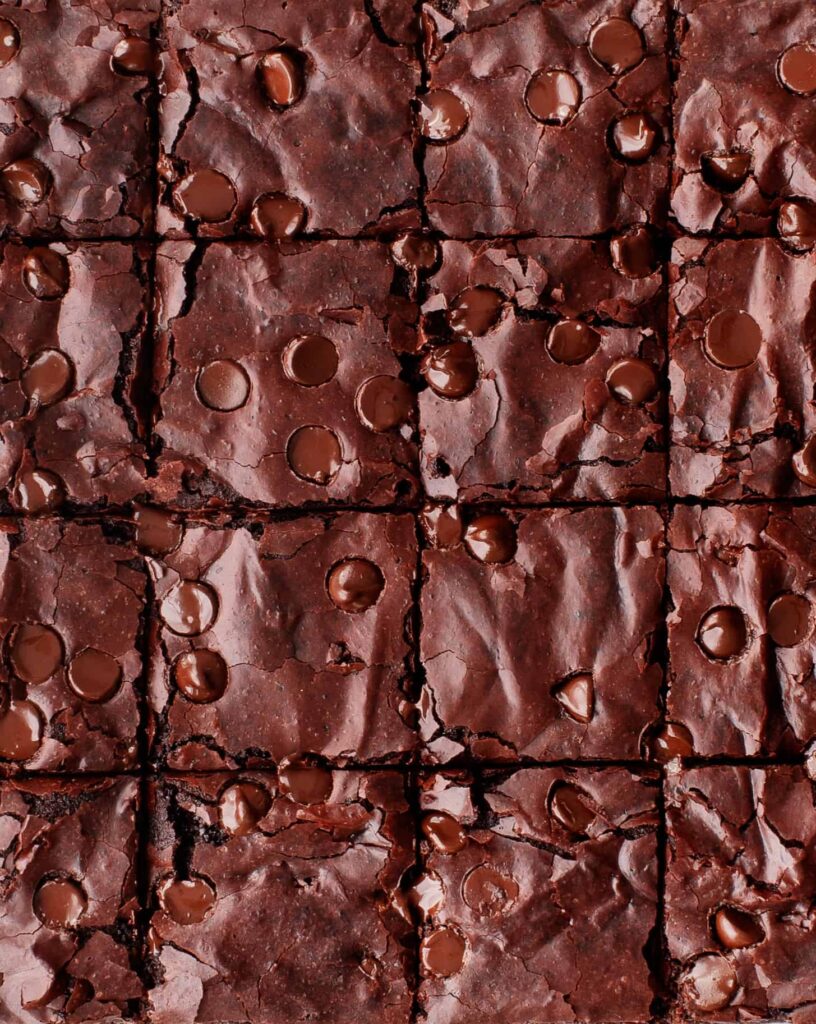
Fudgy Every Single Time: These brownies land right in that perfect middle spot. Not cakey, not undercooked, just rich and dense in the best possible way.
Crispy Edges Are Guaranteed: That thin crackly top and those chewy edges are the reason I keep making this recipe.
Simple Pantry Ingredients: No fancy chocolate bars or complicated steps. Most of the ingredients are probably already sitting in your kitchen.
One Bowl for the Win: Fewer dishes means I’m more likely to bake. This recipe keeps things simple.
Chocolate Overload: Between cocoa powder and chocolate chips, the flavor is deep and ridiculously chocolaty.
Beginner Friendly: If you’ve ever been nervous about baking, brownies are the safest place to start.
Perfect for Sharing: One small pan makes sixteen squares, which is perfect for family nights or small gatherings.
They Freeze Beautifully: Which means future-you gets surprise brownies.
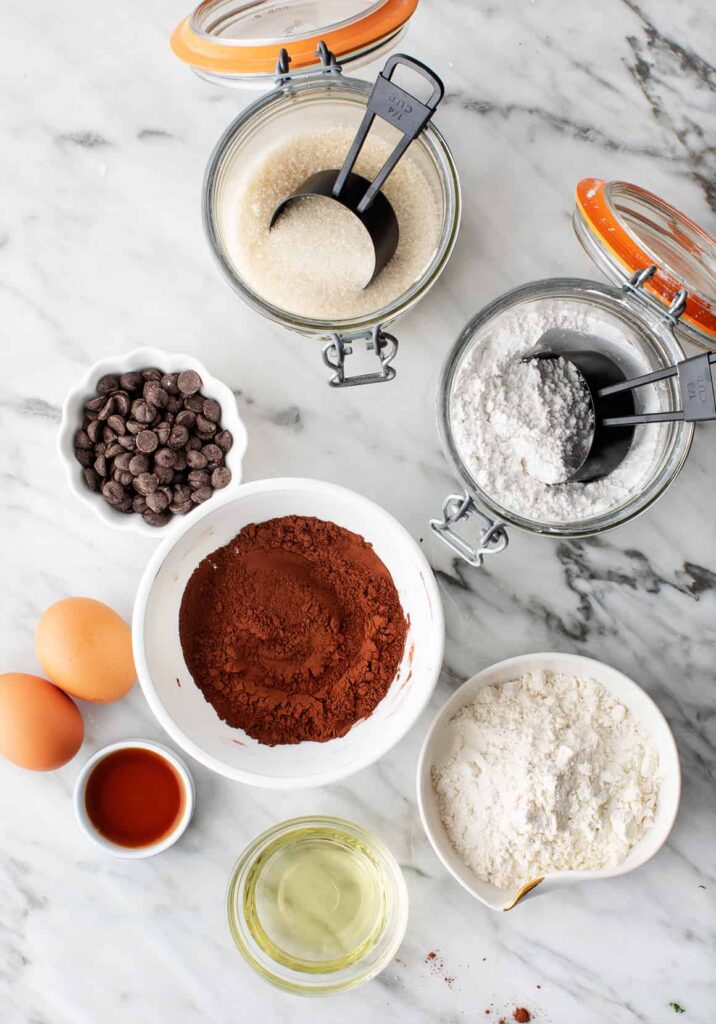
Ingredients You’ll Need
1½ cups granulated sugar
¾ cup all-purpose flour
⅔ cup cocoa powder (sift if lumpy)
½ cup powdered sugar (sift if lumpy)
½ cup dark chocolate chips
¾ teaspoon sea salt
2 large eggs
½ cup canola oil or extra-virgin olive oil
2 tablespoons water
½ teaspoon vanilla extract
Before jumping into the mixing bowl, here are two quick things that made a big difference for me the first time I made these.
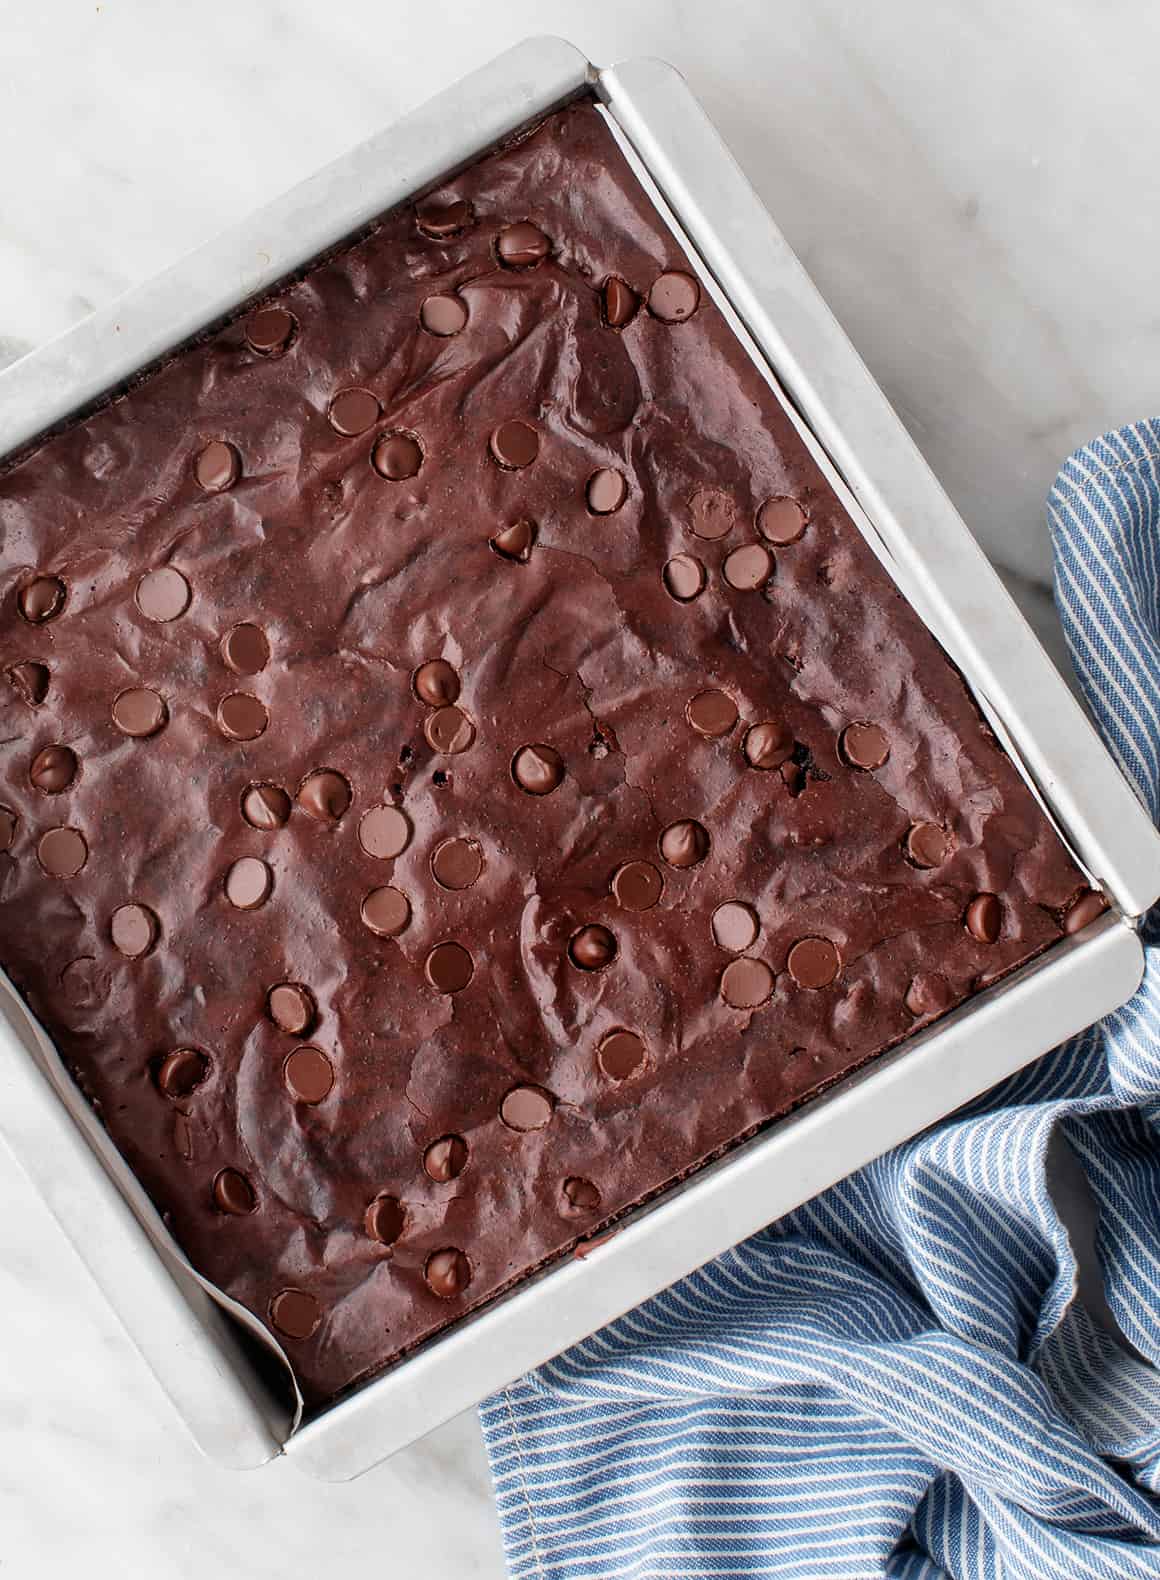
First, use an 8×8 baking dish. I tried a 9×9 pan once and ended up with brownies that baked too fast and lost that fudgy center.
Second, line the pan with parchment paper. It makes lifting the brownies out ridiculously easy and saves you from scraping stuck chocolate out of the corners later.
How I Make These Brownies at Home
Step 1: Preheat your oven to 325°F. Lightly spray an 8×8 baking dish and line it with parchment paper. Spray the parchment too.
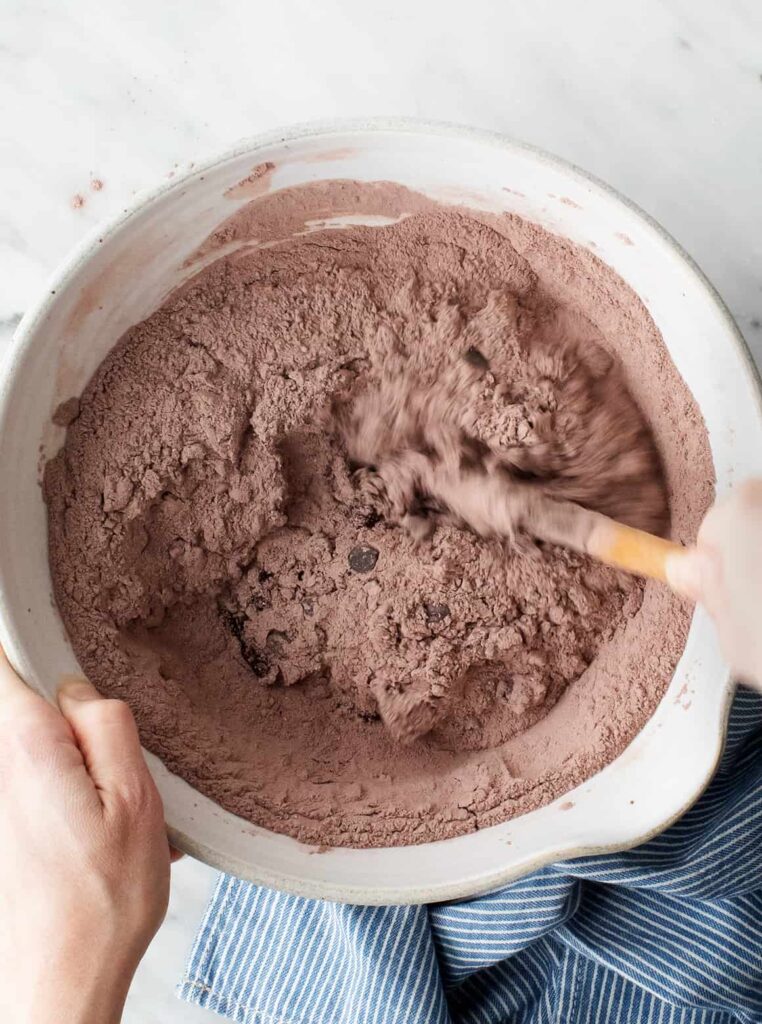
Step 2: In a medium bowl, combine sugar, flour, cocoa powder, powdered sugar, chocolate chips, and salt.
Step 3: In a large bowl, whisk together eggs, oil, water, and vanilla extract until smooth.
Step 4: Sprinkle the dry ingredients over the wet ingredients.
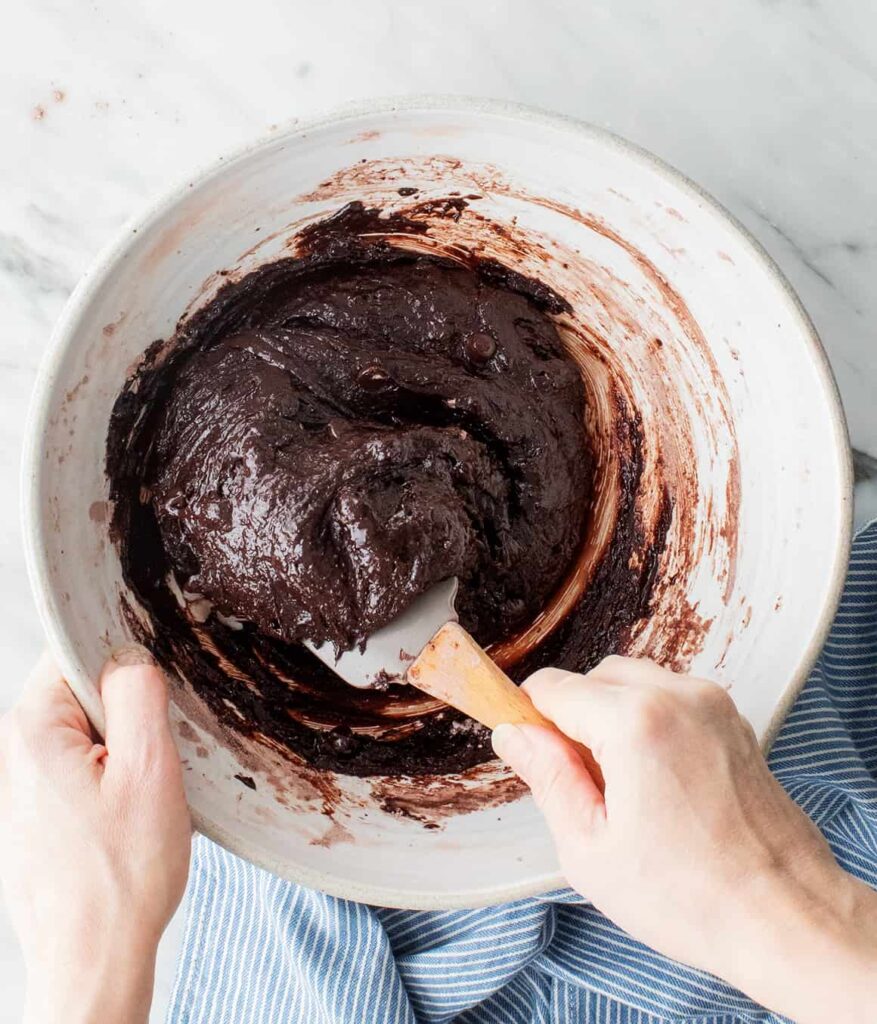
Step 5: Stir everything together until just combined. The batter will be thick. That’s exactly what you want.
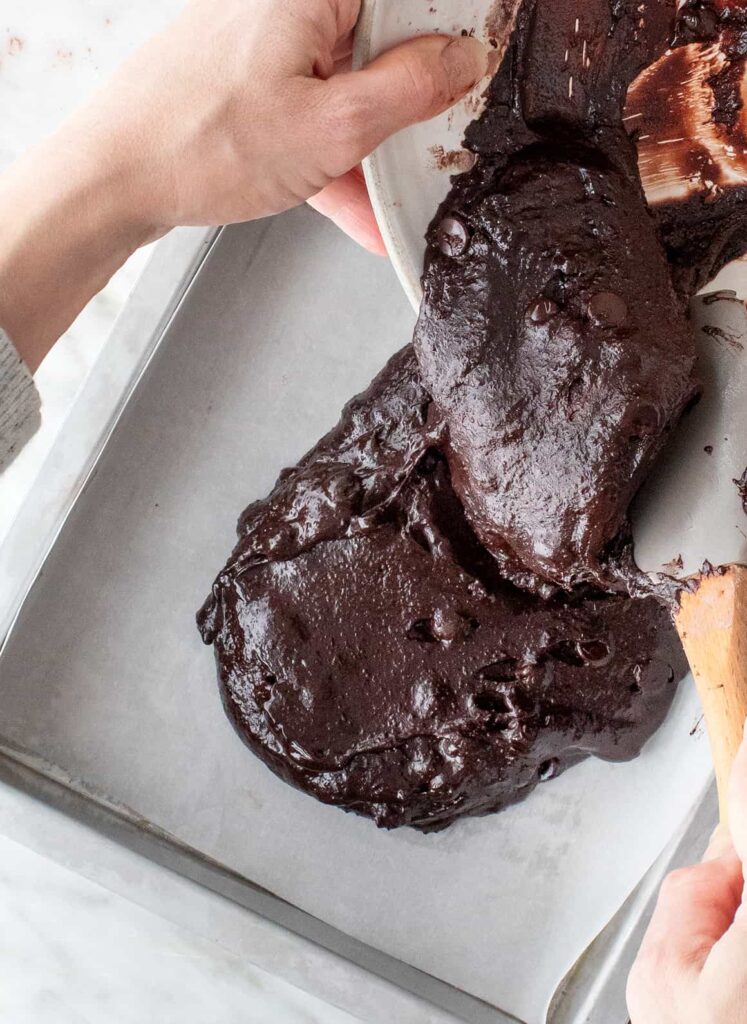
Step 6: Pour the batter into the prepared pan and smooth the top with a spatula.
Step 7: Bake for 40 to 48 minutes. A toothpick should come out with a few crumbs attached.
Step 8: Let the brownies cool completely before slicing. I know it’s hard, but it’s worth the wait.
Tips I Learned (Mostly From Messing Up)
Thick Batter Is Normal: The first time I made this, I thought something was wrong. Brownie batter is supposed to be thick. Resist the urge to add more liquid.
Don’t Overbake: The biggest brownie crime is leaving them in the oven too long. Pull them out when there are still a few crumbs on the toothpick.
Cool Before Cutting: I know the smell is torture. But cutting warm brownies can turn them into chocolate rubble.
Use Good Cocoa Powder: Since cocoa is the main chocolate flavor here, a good one makes a noticeable difference.
Oil Keeps Them Moist: Butter brownies are great, but oil makes these incredibly soft and fudgy for days.
Parchment Paper Is Your Friend: You can lift the entire brownie slab out and slice it neatly.
Add Chips on Top: Sometimes I sprinkle extra chocolate chips on the batter before baking for a melty chocolate top.
Sea Salt Finish: A tiny pinch of flaky salt on warm brownies makes the chocolate flavor pop.
Best Homemade Brownies
Rich, fudgy homemade brownies with deep chocolate flavor and crisp edges. Easy to prepare with simple pantry ingredients, perfect for dessert, snacking, or sharing with family and friends.
Preheat the oven to 325°F (163°C). Lightly coat an 8×8 baking dish with cooking spray and line it with parchment paper. Spray the parchment paper as well.
In a medium bowl, mix together the granulated sugar, all-purpose flour, cocoa powder, powdered sugar, chocolate chips, and sea salt.
In a large bowl, whisk the eggs, olive oil, water, and vanilla extract until well combined.
Add the dry ingredient mixture to the wet ingredients and stir gently until just combined.
Transfer the thick batter into the prepared baking dish and use a spatula to evenly spread and smooth the surface.
Bake for 40 to 48 minutes, or until a toothpick inserted in the center comes out with only a few crumbs attached.
Allow the brownies to cool completely before slicing.
Store the brownies in an airtight container at room temperature for up to 3 days, or freeze them for longer storage.
Nutritional Information (Per Serving)
Nutrient
Amount
Calories
210 kcal
Carbohydrates
28 g
Sugar
20 g
Protein
3 g
Fat
10 g
Saturated Fat
3 g
Cholesterol
25 mg
Sodium
110 mg
Variations You Will Enjoy Trying
Walnut Brownies: Stir in a handful of chopped walnuts for crunch.
Espresso Boost: Add a teaspoon of espresso powder to deepen the chocolate flavor.
Peanut Butter Swirl: Drop spoonfuls of peanut butter on the batter and swirl with a knife.
Mint Chocolate Version: Add a few drops of peppermint extract.
Double Chocolate Madness: Mix in extra chocolate chunks.
Caramel Swirl: Drizzle caramel sauce through the batter before baking.
Orange Chocolate Twist: A little orange zest makes these surprisingly good.
Storage and Leftover Tips
Room Temperature Storage: Keep brownies in an airtight container for up to 3 days.
Refrigerator Option: If your kitchen runs warm, store them in the fridge to keep them firm.
Freezing Works Great: Wrap individual squares and freeze for up to three months.
Quick Warm-Up Trick: Ten seconds in the microwave makes them taste freshly baked.
Ice Cream Partner: Warm brownies plus vanilla ice cream is one of life’s greatest combinations.
Cut Once Fully Cool: This keeps the edges clean and the texture perfect.
How I Like to Serve These Brownies
Classic Plate of Brownies: Sometimes the simplest way is the best. Just cut squares and serve.
Brownie and Ice Cream: Warm brownie, vanilla ice cream, and chocolate sauce. Zero regrets.
Coffee Companion: A square of brownie next to a strong cup of coffee is my favorite afternoon break.
Brownie Sundae: Add whipped cream, caramel, and nuts.
Stacked Dessert: Layer brownie pieces with whipped cream and berries.
Late-Night Snack: Straight from the container while standing in the kitchen. No judgment here.
FAQs
Why are my brownies dry: They were likely baked too long or in a pan that was too large.
Can I use butter instead of oil: Yes, but the brownies will be slightly firmer.
Why add powdered sugar: It helps create that shiny crackly top.
Can I double the recipe: Yes, just use a 9×13 baking pan and adjust baking time slightly.
Can I make them gluten free: You can substitute a gluten-free flour blend.
Why do my brownies sink in the middle: They might be slightly underbaked or cooling too quickly.
Do I have to sift cocoa powder: Only if it’s lumpy. Otherwise it mixes fine.
Can I reduce the sugar: You can slightly reduce it, but it affects the texture.
The Last Bite
I’ve learned something important about brownies over the years.
They don’t have to be fancy.
You just need good chocolate, a little patience, and maybe someone nearby who will happily “taste test” the corner piece.
If these brownies don’t disappear in one evening, I’ll be surprised.
But if they do… well, that just means it’s time to make another batch tomorrow.


Leave a Reply