No Knead Bread Recipe

An Amateur Cook – Save Recipe

Save this recipe!

Get this recipe sent to your inbox, plus
new home-style recipes from An Amateur Cook every week.

This bread started on a day I didn’t feel like doing much… but still wanted to make something.

Not a full recipe, not a big project. Just something simple enough that I wouldn’t talk myself out of it halfway through.

I had flour, yeast, salt. That’s it. No plan, no expectations. I mixed it together, looked at the sticky mess in the bowl, and thought, there’s no way this turns into real bread.

Spoiler: it did.

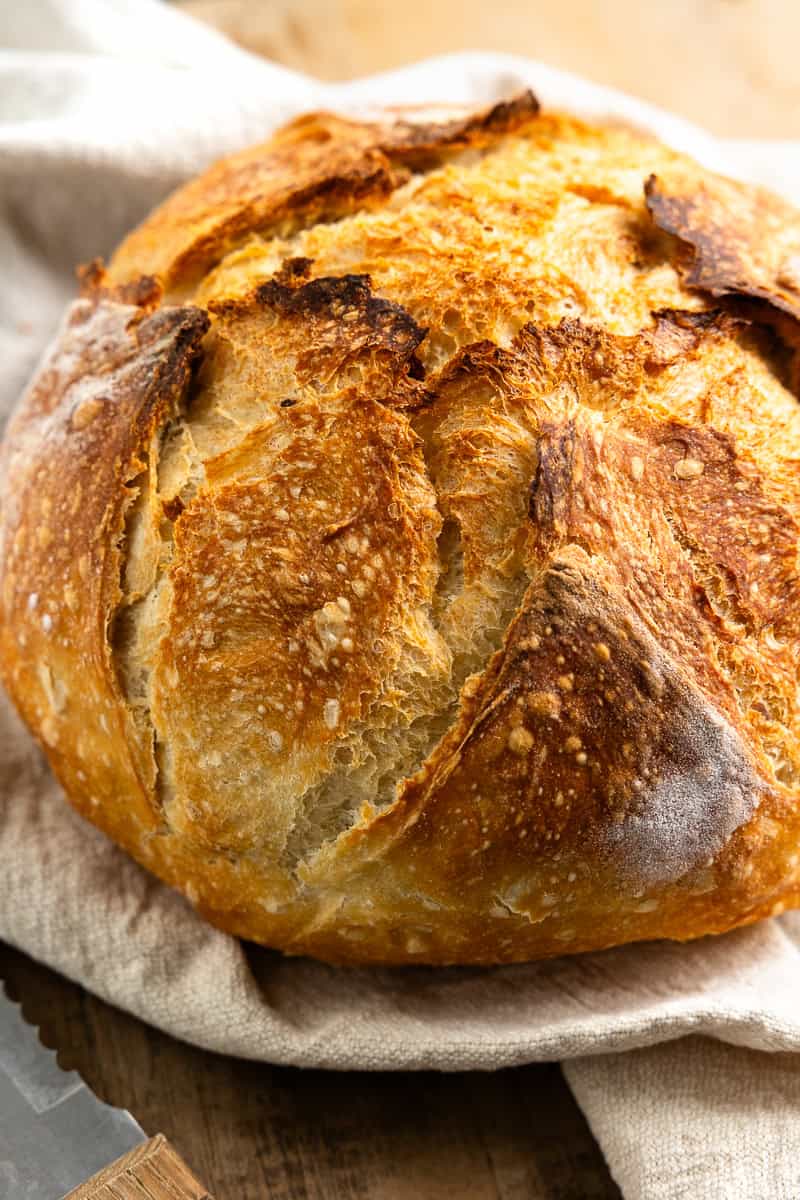
A few hours later, I pulled this golden, crusty loaf out of the oven, and I just stood there for a second. Because somehow, with almost no effort, I had made actual bread.

The kind with a crackly crust and a soft, chewy inside.

Now this is my go-to when I want to feel like I did something productive… without actually working that hard.

Why I Keep Coming Back to It

  • Almost No Effort: You mix it, wait, and bake. That’s basically it.
  • Real Bread Results: It looks and tastes like bakery bread.
  • No Kneading Needed: Which is great, because I’m not patient.
  • Simple Ingredients: Just pantry basics.
  • That Crispy Crust: The kind that crackles when you cut into it.
  • Flexible Timing: You can bake it now or later.
  • Feels Like Magic: Every single time.

Real-Life Cooking Notes from Ethan

  1. Wet Dough is Good: Don’t panic, it’s supposed to be sticky.
  2. Measure Water Temperature: Too hot can kill the yeast.
  3. Let It Rise Fully: Don’t rush this step.
  4. Cold Rest Helps Flavor: If you have time, refrigerate it.
  5. Preheat the Dutch Oven: This step makes the crust amazing.
  6. Don’t Over-Shape: Rough is perfectly fine here.
  7. Use Parchment Paper: Makes transferring easier.
  8. Let It Cool Before Cutting: I know it’s hard, but it matters.

Ingredients You’ll Need

  1. Bread Flour (or All-Purpose): 4 cups
  2. Instant Yeast: 2 ¼ teaspoons
  3. Salt: 2 ½ teaspoons
  4. Warm Water: 2 cups

How It Comes Together

Mix Ingredients: Combine flour, yeast, and salt.

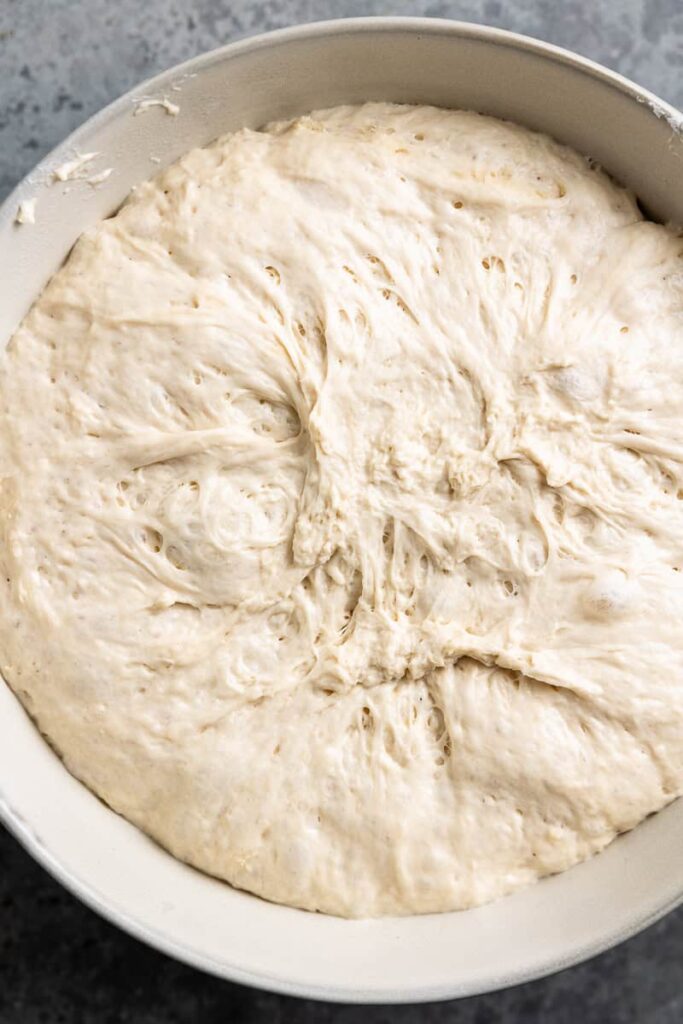
Add Water: Stir until a shaggy dough forms.

Let It Rise: Cover and rest for 2–3 hours.

Optional Chill: Refrigerate for deeper flavor.

Preheat Oven & Pot: Heat Dutch oven to 450°F.

Shape Dough: Form a rough ball on floured surface.

Bake Covered: 30 minutes with lid on.

Finish Uncovered: Bake until golden and crisp.

Variations You Will Enjoy Trying

  • Herb Bread: Add rosemary or thyme.
  • Garlic Version: Mix in minced garlic.
  • Cheese Bread: Add shredded cheese.
  • Whole Wheat Mix: Swap part of the flour.
  • Seed Topping: Add sesame or sunflower seeds.
  • Spicy Twist: Add chili flakes.

no knead bread recipe

Crusty artisan-style bread with a soft interior, made from simple ingredients, slow-risen for flavor, and baked until golden and crisp.
Prep Time 10 minutes
Cook Time 45 minutes
Total Time 55 minutes
Servings: 1
Course: bread
Cuisine: european inspired
Calories: 180

Ingredients
  

  • 4 cups bread flour or all-purpose flour
  • teaspoons instant yeast
  • teaspoons salt
  • 2 cups warm wate

Equipment

  • Large mixing bowl
  • Wooden spoon or spatula
  • Plastic wrap or kitchen towel
  • Dutch oven with lid
  • Oven
  • Measuring cups and spoons
  • Floured surface (for shaping)

Method
 

  1. In a large bowl, combine the flour, instant yeast, and salt.
  2. Pour in the warm water and stir until a shaggy dough forms.
  3. Cover the bowl and let the dough rest for 2–3 hours until it expands.
  4. For deeper flavor, refrigerate the dough after rising.
  5. Preheat the oven to 450°F and place a Dutch oven inside to heat.
  6. Transfer the dough onto a floured surface and shape it into a rough ball.
  7. Place the dough into the hot Dutch oven, cover, and bake for 30 minutes.
  8. Remove the lid and continue baking until the bread is golden and crisp.

Nutritional Snapshot (Per Serving)

NutrientAmount
Calories~180
Carbohydrates~36g
Fat~1g
Protein~5g

Storage and Leftover Tips

  • Room Temperature Storage: Keeps well for 2–3 days.
  • Use a Paper Bag or Cloth: Helps maintain crust.
  • Avoid Refrigeration: It dries out faster.
  • Freeze Slices: Great for later use.
  • Toast to Refresh: Brings it back to life.

How I Like to Serve This Dish

  1. With Butter: Simple and perfect.
  2. With Soup: Classic pairing.
  3. As Toast: Breakfast win.
  4. For Sandwiches: Holds up really well.
  5. Straight from the Cutting Board: Happens more than I admit.

FAQs

  • Do I need a Dutch oven? It helps, but alternatives exist.
  • Can I use active dry yeast? Yes, with slight adjustments.
  • Why is my dough too sticky? That’s normal.
  • Can I let it rise overnight? Yes, in the fridge.
  • How do I get a crisp crust? Preheat the pot well.
  • Can I add flavors? Absolutely.
  • Why is my bread dense? It may not have risen enough.
  • Can I double the recipe? Yes, just adjust baking time.

The Last Bite

This bread is proof that simple things can still feel kind of amazing.

No complicated steps, no fancy techniques… just a few ingredients and a little patience.

And somehow, that turns into something you’ll want to make again before the loaf is even finished.

Author Image

Ethan

I am a 28-year-old part-time barista, full-time vibe curator, and above all, an enthusiastic amateur cook living in Austin, Texas. .

Rate This Recipe

Thank you for rating! 🤍

Leave a Reply

Your email address will not be published. Required fields are marked *

Recipe Rating


PIN & SAVE

Follow on Pinterest

Craving more cozy, easy, and scroll-worthy recipes? Follow along and never lose a favorite again.

Follow Me on Pinterest →

You'll also love