Key Lime Pie Recipe

An Amateur Cook – Save Recipe

Save this recipe!

Get this recipe sent to your inbox, plus
new home-style recipes from An Amateur Cook every week.

This pie happened on a day when it was way too hot to be baking anything… which is exactly why I ended up baking something.

I had a couple of limes sitting on the counter, slowly getting ignored, and a random craving for something cold, creamy, and not overly sweet. Something that felt like summer without trying too hard.

I wasn’t aiming for anything fancy. Honestly, I just didn’t want to turn on the stove for long.

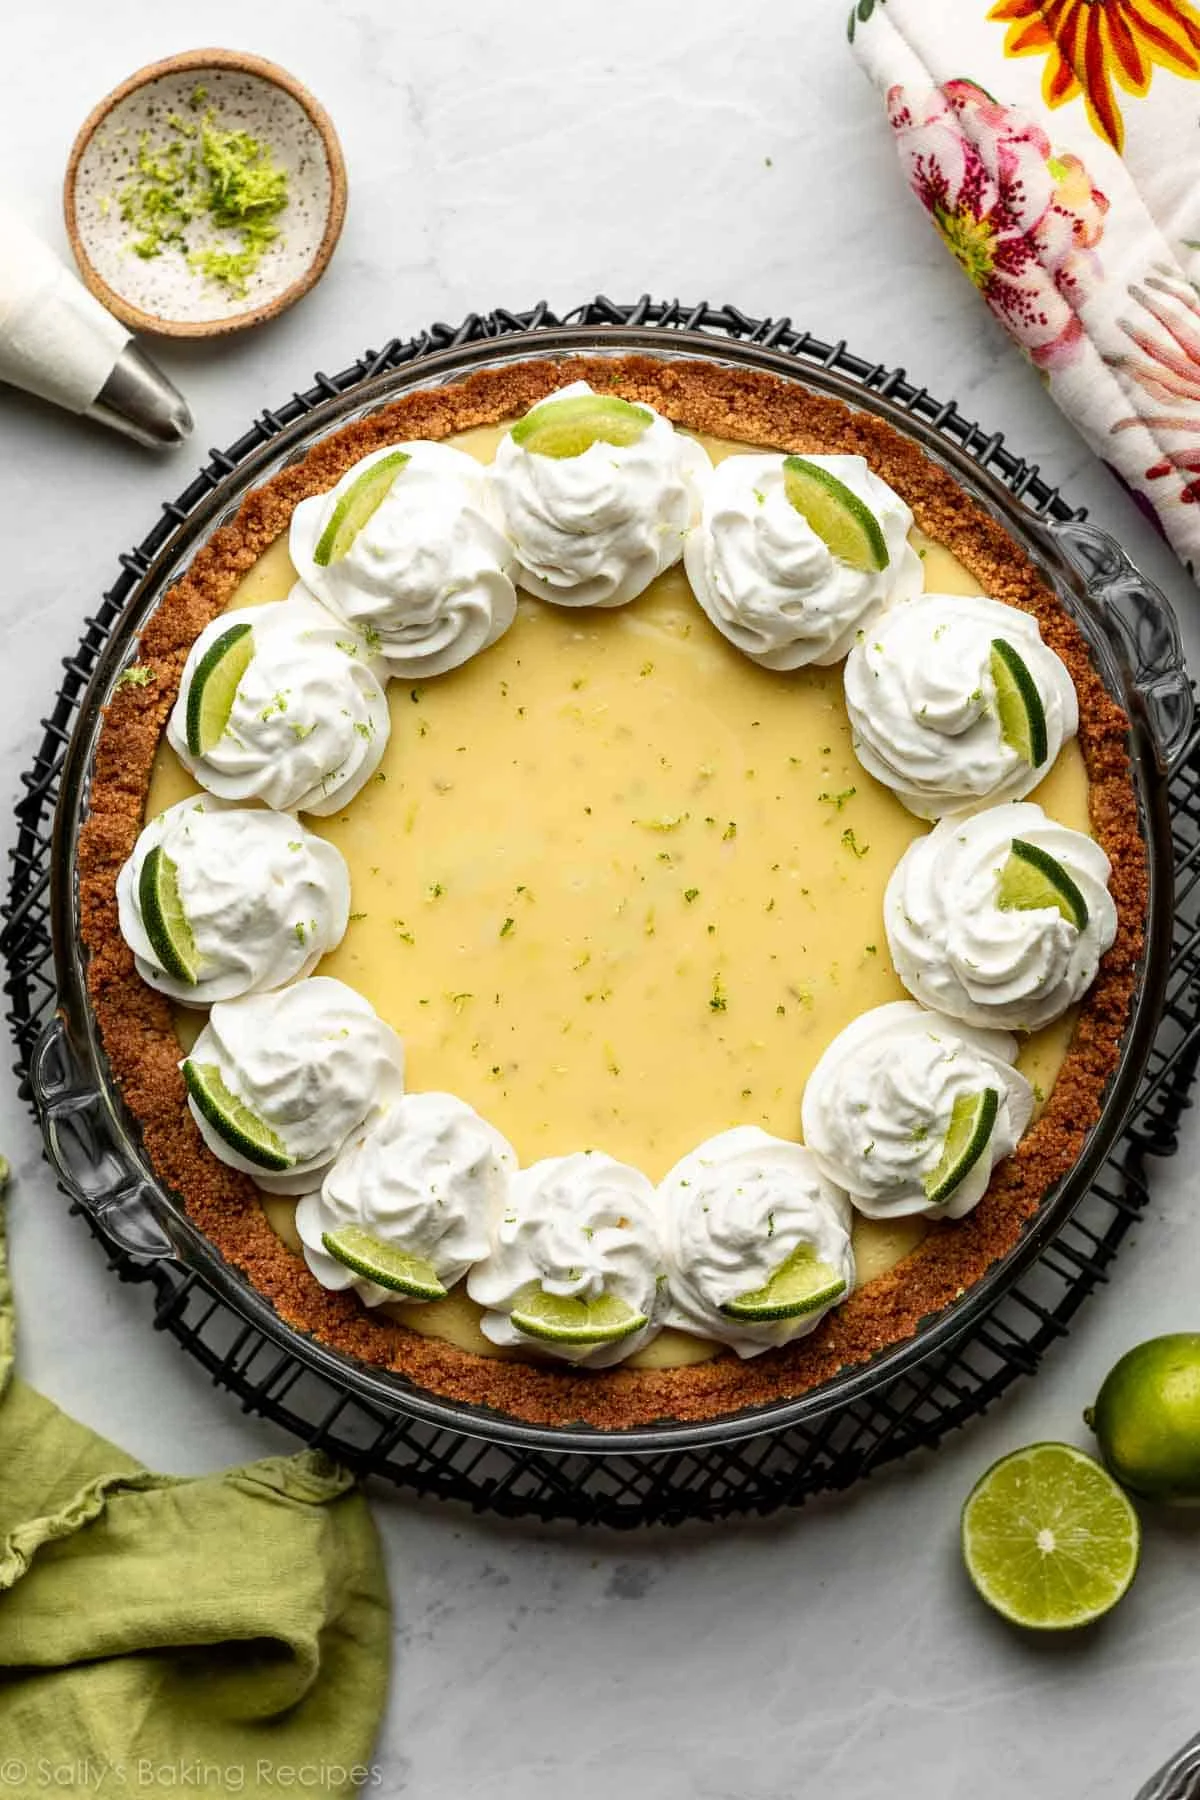
Then I remembered key lime pie.

But here’s the thing, I didn’t have all the “proper” ingredients, and I definitely wasn’t in the mood to follow rules. So I improvised a little, added macadamia nuts to the crust (because they were just sitting there), and hoped for the best.

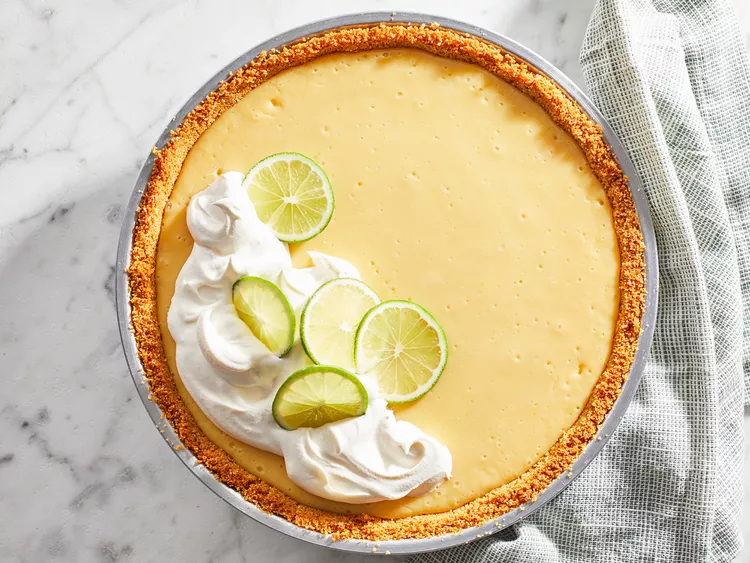
What came out of the fridge a few hours later? Bright, creamy, a little tangy, and somehow exactly what I needed.

Now it’s one of those desserts I make when I want something that feels light but still hits that “this is dessert” feeling.

Why This Is My Go-To

  • That Tangy Kick: It wakes you up in the best way.
  • Creamy Without Feeling Heavy: Somehow rich but still refreshing.
  • Minimal Effort Dessert: The oven does most of the work.
  • Perfect for Warm Days: Cold, smooth, and satisfying.
  • The Crust Steals the Show: Macadamia nuts make it special.
  • Make-Ahead Friendly: Actually better after chilling.
  • Looks Way Fancier Than It Is: Always a win.

Real-Life Cooking Notes from Ethan

  1. Don’t Overpack the Crust: Press it gently or it gets too hard.
  2. A Few Nut Chunks Are Good: Adds texture, don’t over-blend.
  3. Use Fresh Lime Juice if You Can: The flavor really shows.
  4. Whisk Until Smooth: No streaky filling.
  5. Don’t Overbake: Slight jiggle in the center is perfect.
  6. Cooling Time Matters: It sets as it chills, don’t rush it.
  7. Chill Longer If You Can: The flavor gets better.
  8. Slice with a Warm Knife: Cleaner cuts, less mess.

Ingredients You’ll Need

For the Crust

  1. Graham Crackers: 11 full sheets
  2. Macadamia Nuts: ½ cup
  3. Sugar: 2 tablespoons
  4. Butter (Melted): 5 tablespoons

For the Filling

  1. Sweetened Condensed Milk: 28 ounces
  2. Key Lime Juice: 1 cup
  3. Egg Yolks: 4 large
  4. Lime Zest: 1 teaspoon

Optional Toppings

  1. Whipped Cream
  2. Extra Lime Zest
  3. Lime Slices
  4. Macadamia Nuts

How It Comes Together

Preheat Oven: 350°F (175°C).

Make Crust: Blend crackers and nuts into crumbs.

Mix with Butter & Sugar: Until sandy.

Press into Pan: Bottom and sides.

Pre-Bake Crust: 8 minutes.

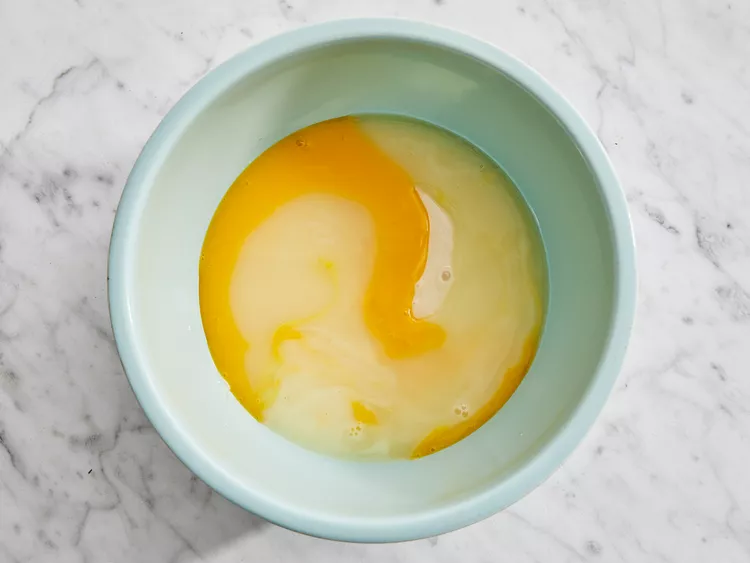
Mix Filling: Whisk condensed milk, lime juice, yolks, zest.

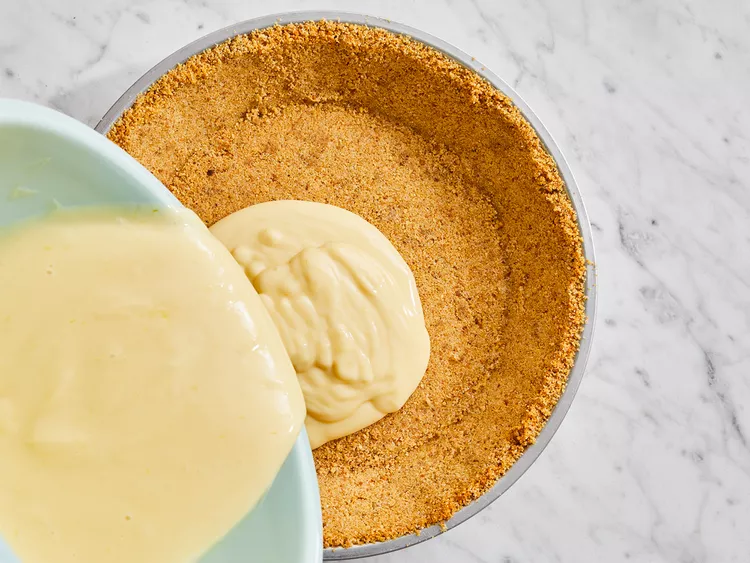
Pour into Crust: While crust is warm.

Bake: 18–20 minutes until slightly jiggly center.

Cool Completely: On a rack.

Chill: At least 1 hour before serving.

Variations You Will Enjoy Trying

  • Classic Crust Version: Skip nuts, use only graham crackers.
  • Coconut Twist: Add shredded coconut to crust.
  • Extra Tangy: Add more lime zest.
  • Meringue Topping: For a bakery-style finish.
  • Mini Pies: Perfect for individual servings.
  • No-Bake Version: Skip eggs and baking (different texture but still good).

key lime pie recipe

Creamy key lime pie with a buttery nutty crust, tangy citrus filling, and smooth texture, chilled for a refreshing dessert.
Prep Time 20 minutes
Cook Time 30 minutes
Total Time 50 minutes
Servings: 10
Course: Dessert
Cuisine: American
Calories: 420

Ingredients
  

  • For the Crust
  • 11 full sheets graham crackers
  • ½ cup macadamia nuts
  • 2 tablespoons sugar
  • 5 tablespoons butter melted
  • For the Filling
  • 28 ounces sweetened condensed milk
  • 1 cup key lime juice
  • 4 large egg yolks
  • 1 teaspoon lime zest
  • Optional Toppings
  • Whipped cream
  • Extra lime zest
  • Lime slices
  • Macadamia nuts
  • Equipment
  • Food processor or blender
  • Mixing bowls
  • Pie pan
  • Spoon or spatula
  • Whisk
  • Measuring cups and spoons
  • Oven
  • Cooling rack

Equipment

  • Food processor or blender
  • Mixing bowls
  • Pie pan
  • Spoon or spatula
  • Whisk
  • Measuring cups and spoons
  • Oven
  • Cooling rack

Method
 

  1. Preheat the Oven
  2. Preheat the oven to 350°F (175°C).
  3. Make the Crust
  4. Blend the graham crackers and macadamia nuts into fine crumbs.
  5. Mix with Butter & Sugar
  6. Combine the crumbs with melted butter and sugar until the texture resembles wet sand.
  7. Press into Pan
  8. Press the mixture into the bottom and sides of a pie pan, forming an even crust.
  9. Crust Tip
  10. Press firmly but not too aggressively, and smooth the edges for cleaner slices later.
  11. Pre-Bake Crust
  12. Bake the crust for 8 minutes, then remove from the oven.
  13. Mix Filling
  14. In a bowl, whisk together the sweetened condensed milk, key lime juice, egg yolks, and lime zest until smooth.
  15. Filling Check
  16. The mixture should be creamy and slightly thickened.
  17. Pour into Crust
  18. Pour the filling into the warm crust, spreading evenly.
  19. Bake
  20. Bake for 18–20 minutes, until the center is slightly jiggly.
  21. Cool Completely
  22. Let the pie cool on a rack.
  23. Chill
  24. Refrigerate for at least 1 hour before serving.
  25. Course: Dessert
  26. Cuisine: American

Nutritional Snapshot (Per Serving)

NutrientAmount
Calories~420
Carbohydrates~48g
Fat~22g
Protein~8g

Storage and Leftover Tips

  • Keep Refrigerated: Always.
  • Cover Well: Prevents it from drying out.
  • Best Within 3–4 Days: Though it lasts longer.
  • Freeze Slices: Works surprisingly well.
  • Thaw in Fridge: Keeps texture smooth.

How I Like to Serve This Dish

  1. With Whipped Cream: Always a good idea.
  2. Extra Lime Zest on Top: Brightens everything.
  3. Cold, Straight from the Fridge: Best texture.
  4. With Coffee or Tea: Balances the sweetness.
  5. On a Quiet Afternoon: No occasion needed.

FAQs

  • Can I use regular limes? Yes, totally fine.
  • Why is my pie too soft? It may need more chilling time.
  • Can I skip eggs? Yes, but texture will change.
  • Do I need fresh juice? Not required, but recommended.
  • Can I make it ahead? Yes, it’s actually better that way.
  • Why is my crust crumbly? Might need more butter or firmer pressing.
  • Can I use bottled juice? Yes, in a pinch.
  • How do I get clean slices? Warm knife, wipe between cuts.

The Last Bite

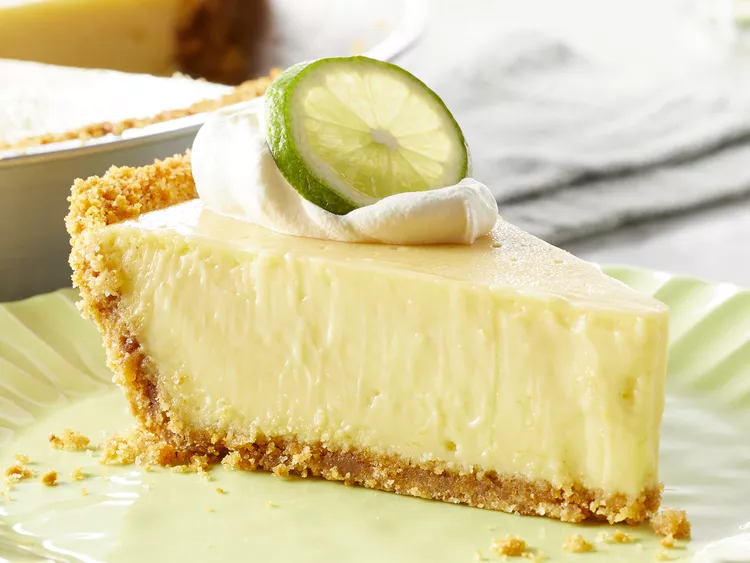
This pie feels like a small reset.

It’s bright, cool, and just sweet enough to remind you that simple things can still feel a little special.

And if you end up going back for a second slice straight from the fridge…

Honestly, I won’t ask questions.

Author Image

Ethan

I am a 28-year-old part-time barista, full-time vibe curator, and above all, an enthusiastic amateur cook living in Austin, Texas. .

Rate This Recipe

Thank you for rating! 🤍

Leave a Reply

Your email address will not be published. Required fields are marked *

Recipe Rating


PIN & SAVE

Follow on Pinterest

Craving more cozy, easy, and scroll-worthy recipes? Follow along and never lose a favorite again.

Follow Me on Pinterest →

You'll also love